
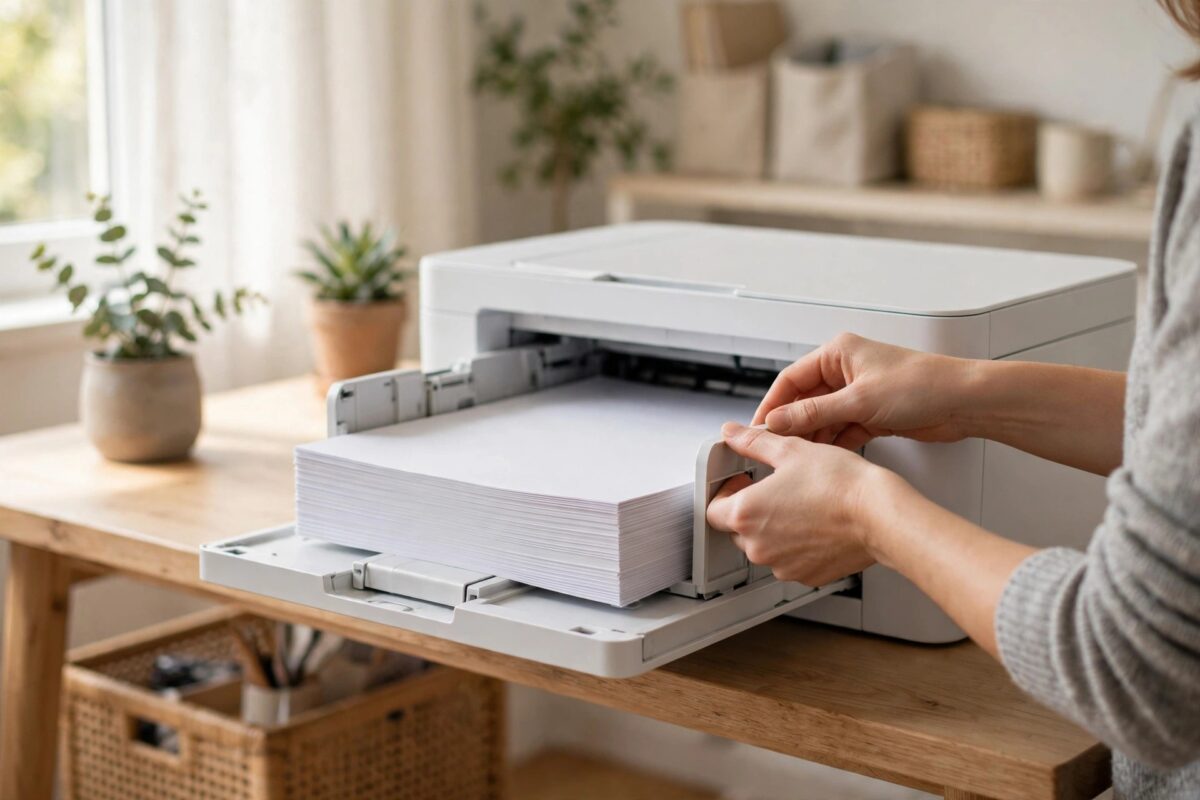
You can see the paper sitting in the tray. The stack is full, the guides are set, and yet your HP printer insists there is no paper and tells you to load some. This “load paper” error with a full tray is rarely about paper at all — it is about the printer failing to detect or pick up the sheets that are there. Dirty or worn pickup rollers, a stuck paper sensor, incorrectly loaded media, or a driver telling the printer to use a different tray are the usual suspects. This guide works through them from cheapest to deepest.
Quick Answer
When an HP printer says “load paper” with a full tray, remove the stack, fan it, and reload it neatly below the fill line with the guides snug. Then clean the pickup rollers inside the tray area with a lint-free cloth dampened with distilled water. Check the paper size and type settings in the driver match what is loaded, and make sure the app is not asking for a different tray or manual feed.
The Main Causes Behind a False “Load Paper” Error
- Pickup rollers are dirty or worn: the roller spins but cannot grip the top sheet, so the printer concludes the tray is empty.
- Paper loaded badly: a stack pushed too far in, sitting crooked, or overfilled past the limit prevents pickup.
- Glossy or stuck-together sheets: fresh paper from a new ream can cling; the roller slides over it.
- A stuck paper-present sensor: a small plastic flag near the tray tells the printer paper is there. If it is jammed by debris, the printer thinks the tray is empty.
- Settings mismatch: the job asks for a paper size or tray that is not loaded, and the printer reports it as “load paper”.
Step 1: Reload the Paper Properly
- Pull the tray out and remove the entire stack.
- Check the sheets: discard any that are curled, bent, damp, or torn.
- Fan the stack — flex it and riffle the edges — to separate the sheets and discharge static.
- Tap the stack square on a flat surface and load it print-side as your model requires (face down for most LaserJets, face up for most inkjets — check the icon inside the tray).
- Do not exceed the fill line on the tray guides.
- Slide the length and width guides until they just touch the paper edges — snug, not crushing.
- Reinsert the tray firmly until it clicks fully home. A tray that is 95% in will often not register its paper.
Step 2: Clean the Pickup Rollers
If reloading does not cure it, the pickup rollers are next. HP’s own paper feed problem guide recommends the same cleaning:
- Switch the printer off and unplug it. Remove the paper tray.
- Look inside the tray cavity for the rubber pickup roller(s) — grey or black rubber rollers on a shaft above where the paper sits. On some models you access them from the rear door instead.
- Dampen a lint-free cloth with distilled water (not wet — just damp) and wipe the roller surface while rotating it by hand.
- Keep wiping until no more black residue comes off, then let the rollers dry for ten minutes.
- Reload paper, reconnect power, and print a test page.
Rollers that are smooth, shiny, or cracked even after cleaning have lost their grip permanently and need replacing — a cheap part on most models. Our broader guide to fixing printer paper jams and feed problems covers roller replacement and sensor checks in more detail.
Step 3: Check the Sensor and the Settings
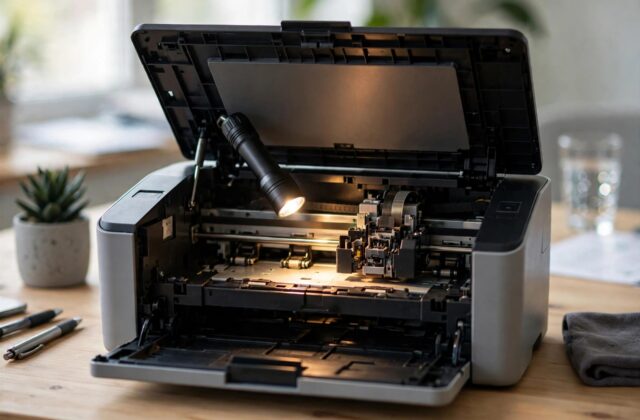
- Shine a torch into the tray slot and look for the small paper sensor flag near the pickup area. It should move freely and spring back. Clear any paper dust or scraps around it with a gentle puff of air.
- In the print dialog and driver, confirm the paper source is the tray you loaded — not Manual Feed or Tray 1 if your paper is in Tray 2.
- Confirm the paper size matches: a job asking for A4 will demand paper if the tray is set to Letter, and vice versa, depending on the model’s settings.
- On the printer’s own settings, set the tray’s paper size and type to match what you actually loaded.
Common Mistakes to Avoid
- Overfilling the tray to “make sure it sees paper” — overfilling actively prevents pickup and causes multi-sheet feeds.
- Cleaning rollers with alcohol or solvents — these dry and crack the rubber. Distilled water on a cloth is the right approach.
- Pushing the stack in as hard as possible — paper should sit naturally against the back of the tray, not be rammed.
- Ignoring the driver’s tray selection — the printer may be entirely correct: the job is asking for a different tray.
- Mixing paper types in one stack — a few glossy sheets on top of plain paper confuses pickup and sensing.
Testing with a Different Tray or Manual Feed
Most HP models give you a second way to feed paper, and it is a powerful diagnostic. If your printer has a manual feed slot or a second tray, load a few sheets there and print a test page with the driver set to that source. If the manual feed works perfectly while the main tray insists it is empty, you have isolated the fault to the main tray’s pickup roller or sensor — the printer’s brain and the rest of the paper path are proven healthy. If both sources fail the same way, suspect the settings mismatch or a sensor issue common to both paths instead. While testing, also try a completely different paper: a fresh ream of standard office paper, loaded in small quantity. Paper that has been sitting in the tray for months in a humid room absorbs moisture, sticks together, and defeats pickup rollers that handle fresh paper all day. Swapping the paper is a two-minute test that eliminates an entire category of causes before you clean or replace anything.
After any successful fix, mark the date on a small note kept with the printer’s spare paper. Pickup rollers degrade gradually, and knowing when they were last cleaned turns the next occurrence of this error into a scheduled five-minute clean rather than a fresh mystery — especially useful on shared printers where nobody remembers the machine’s history.
Conclusion
A “load paper” message with a full tray means the printer cannot detect or grip the paper that is there. Reload a fanned, squared stack below the fill line with snug guides, clean the pickup rollers, and verify the tray and size settings match the job. If cleaned rollers still cannot grip, replace them — after that, this error should be gone for good.
Frequently Asked Questions
The error only appears with photo paper. Why?
Glossy media is harder for worn rollers to grip, and the job’s paper-type setting must match photo paper. Set the type correctly in the driver and clean the rollers — photo paper shows up weak rollers first.
Why does it feed two or three sheets at once instead?
That is the opposite failure of the same parts: sheets sticking together or a worn separation pad. Fan the paper thoroughly and load less; if it persists, the separation pad/roller set needs attention.
Can a firmware issue cause a false load-paper error?
Rarely, but sensor logic is firmware-driven. If the hardware checks out, update the printer firmware from HP’s site and test again.
The tray sensor flag looks broken. Can it be replaced?
On many models the flag is part of a small sensor assembly that a repair shop can swap cheaply. First confirm it is broken and not just stuck with debris.
Does paper brand make a difference?
Very cheap, dusty paper sheds fibres that coat rollers quickly and can cause this error within weeks of a cleaning. Mid-range paper noticeably extends the interval between cleanings.
Leave a Reply