
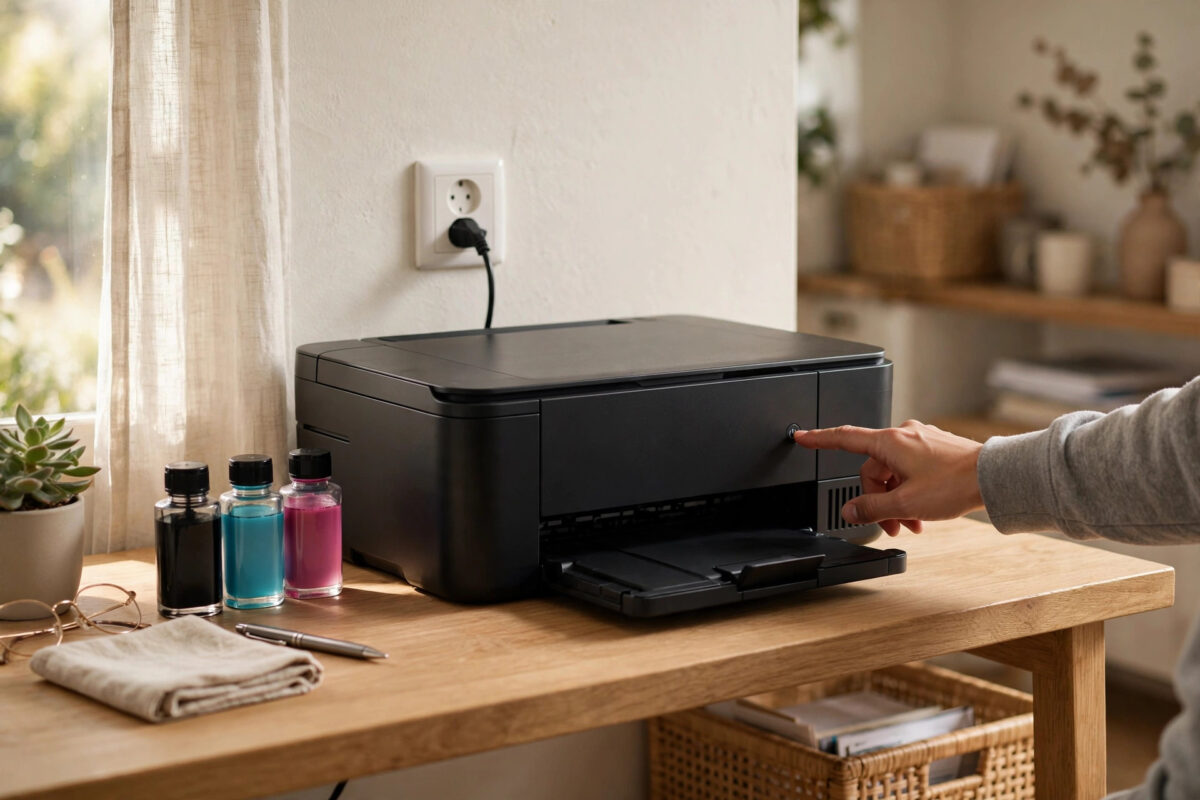
Every time you switch your Epson printer on, it runs a long cleaning cycle before you can print. It wastes time and ink. A short start-up check is normal, but a full clean at every start usually means the printer is switched off incorrectly or reacting to an ink problem.
This guide explains how to stop the unnecessary cycle without causing clogged nozzles.
Quick Answer
You usually stop an Epson printer from running a cleaning cycle at every start-up by leaving it plugged in and using its power button, not the wall switch, keeping it in sleep mode instead of fully off, and fixing any low ink, unrecognised cartridge, or overdue maintenance warning. Do not disable maintenance completely, because occasional cleaning protects the print head from drying and clogging.
Why Epson Printers Run Cleaning Cycles at All
Inkjet print heads have tiny nozzles that dry out when ink sits still. Epson printers therefore run maintenance: a brief check and wipe, occasional small purges, and, when needed, a deeper head clean.
Distinguish normal maintenance from excessive maintenance:
- Normal: A short start-up sequence of under a minute, and an occasional longer clean after many days switched off or after changing ink
- Excessive: A long, noisy cleaning cycle with visible ink use every single time you turn the printer on, even if you printed yesterday
If your printer is in the second group, find and remove the trigger — do not try to defeat the cleaning system itself.
The Main Reasons for Cleaning at Every Start
1. Switching Off at the Wall or Power Strip
This is the most common cause. When you cut power at the wall, the printer cannot park its print head in the sealed position or record a clean shutdown. At the next start it runs a recovery clean and uses extra ink. A smart plug timer has the same effect.
2. Long Gaps Between Uses
If the printer sits unused for a week or more, it will run stronger maintenance on wake-up to clear thickened ink. That is protective. Daily users should not see it every time.
3. Ink System Warnings Being Ignored
Low ink, an unrecognised cartridge, a refill without a level reset, or a maintenance box nearing full can all cause repeated start-up routines, because the printer never confirms the ink system is ready.
4. Auto Cleaning or Power Cleaning Settings
Some models offer automatic nozzle check options and a much stronger Power Cleaning function. Power Cleaning should be rare and deliberate. If aggressive automatic cleaning is enabled, ink use stays high.
5. Firmware, Clock, and Power Problems
Repeated power cuts or outdated firmware can make the printer lose track of maintenance history, so it treats every start as a cold start after a long break.
Step-by-Step: Stop the Cycle at Every Start
Step 1: Change How You Switch the Printer Off and On
- Always turn the printer off with its own power button and wait until the screen and lights go fully off.
- Leave the printer plugged into the wall socket with the socket switched on. Do not use the wall switch or a power strip switch to turn it off daily.
- For everyday gaps, let the printer go into sleep mode by itself instead of switching it off at all. Set the sleep timer in Settings, General Settings, Basic Settings if you need to adjust it.
- If you use a smart plug, remove the printer from its schedule or set it to stay powered. Never cut power while the printer is cleaning or printing.
- Test this routine for three days. For most users, the long start-up clean disappears immediately.
Step 2: Clear Ink and Maintenance Warnings Properly
- Check ink levels on the screen and replace any cartridge that is empty or repeatedly unrecognised. Reseat it firmly until it clicks.
- On EcoTank models, refill tanks to the line with the correct ink, then confirm the refill on screen so the level resets properly.
- Check the maintenance box status in the maintenance or supply status menu. Replace it if it shows near full or full.
- Print a nozzle check pattern from the maintenance menu. If it is clean, do not run another head clean.
- If one colour is missing, run one standard head cleaning only, wait at least 30 minutes, then check again before considering any stronger option.
Genuine ink behaviour matters here. The advice in Epson’s official support guidance on print head maintenance is to use standard cleaning sparingly and to seek help rather than repeating Power Cleaning, because each strong clean consumes significant ink and fills the maintenance box.
Step 3: Review Automatic Maintenance Settings
- On the control panel, open Settings, then Maintenance or General Settings, depending on your model.
- Look for options such as Auto Nozzle Check, Periodic Cleaning, or Automatic Head Maintenance.
- If an aggressive automatic option is on and your model allows changing it, set it to the standard or less frequent option rather than off, unless Epson guidance for your model says otherwise.
- Turn off any setting that runs a clean at power-on if your firmware offers it, but leave normal sleep and wake maintenance alone.
- Save the settings and restart the printer once with its power button to apply them.
Menu names differ by range, so check your manual before changing an unfamiliar option. Our related guide on how to check genuine ink levels on an Epson EcoTank from Windows helps you confirm levels on the PC side while you work through these printer settings.
Step 4: Fix the Environment and Power Supply
- Plug the printer directly into a reliable wall socket for testing.
- If your area has frequent power cuts, a small uninterruptible power supply for the printer alone prevents dirty shutdowns.
- Keep the printer away from heaters and direct sun, which dry nozzles faster.
- Use the printer at least once or twice a week for a small colour document, which keeps ink moving with far less waste than a full clean.
Step 5: Update Software and Reset the Routine
Install the latest driver and firmware for your exact model from Epson, never cutting power during an update. Then run one nozzle check and use the power-button and sleep routine for a week. A drop in start-up time to under a minute confirms the fix.
What Not to Do: Methods That Cause Damage
Avoid tips that promise to stop all cleaning forever. Unplugging mid-clean or blocking the head from parking can permanently damage the print head. See Microsoft support advice for troubleshooting printer problems in Windows for Windows-side checks. Your goal is fewer, necessary cleans, not zero maintenance.
Common Mistakes and Better Habits
- Turning off at the wall every night: The single biggest trigger. Use the power button and leave the socket on.
- Running head cleaning to fix every faint print: Check paper type, quality setting, and ink levels first. Wrong paper settings look like clogs.
- Using Power Cleaning repeatedly: If two standard cleans do not fix a nozzle pattern, more cleaning rarely helps. Wait, then seek Epson advice.
- Leaving the printer unused for months: Print a small colour page weekly instead of facing a heavy recovery clean later.
- Ignoring the maintenance box: A full box stops printing entirely. Check it when you check ink.
- Mixing old and refilled ink incorrectly on EcoTank models: Use the correct ink code for your model and reset levels honestly after refilling.
When to Contact Epson
Seek service if a long clean happens at every start even after a week of correct power-button use, stable power, fresh ink, and a clean nozzle check, or if you hear grinding, see ink leaking, or get a service error code. Note your model number and how long the cycle lasts for support staff.
Conclusion
An Epson printer that cleans at every start is usually reacting to how it is powered and used, not failing. Leave it plugged in, switch it with its own button, let sleep mode handle daily gaps, keep ink and the maintenance box in good order, and print something small in colour each week. Those habits remove the trigger for constant cleaning, save a surprising amount of ink, and still protect the print head with the occasional maintenance it genuinely needs.
Frequently Asked Questions
Is it safe to leave my Epson printer on all the time?
Yes, in sleep mode it uses very little power and keeps the print head parked correctly. This is the usage pattern Epson designs for. Ensure the printer has clear ventilation, is on a stable surface, and still switch it off properly with its power button if you will be away for several weeks.
How much ink does a cleaning cycle use?
It varies by model and by clean type. A brief start-up maintenance uses very little, a standard head clean uses noticeably more, and Power Cleaning uses a large amount and should be rare. Exact figures are not published per cycle, which is why preventing unnecessary full cleans at every start saves real money over a year.
Why does my printer clean after every power cut?
A power cut is an uncontrolled shutdown. The head may not be parked and the printer cannot record a clean shutdown, so on restart it runs recovery maintenance to protect the nozzles. A small UPS or surge-protected socket reduces this in areas with unstable power, alongside always using the power button for planned shutdowns.
Can I turn off all automatic cleaning completely?
On most models you can reduce automatic options but should not try to eliminate maintenance entirely. Without any cleaning, nozzles dry and clog, and reviving them later takes stronger cleans or a new print head. Reduce the frequency by fixing power habits and ink warnings rather than disabling protection.
Why does cleaning start in the middle of the night?
If the printer stays powered in sleep mode, it may wake briefly for scheduled maintenance, especially after long idle periods or at a set periodic interval on some models. This is normally brief and protective. Check periodic cleaning settings if the noise disturbs you, and move the printer out of a bedroom if possible.

Leave a Reply