
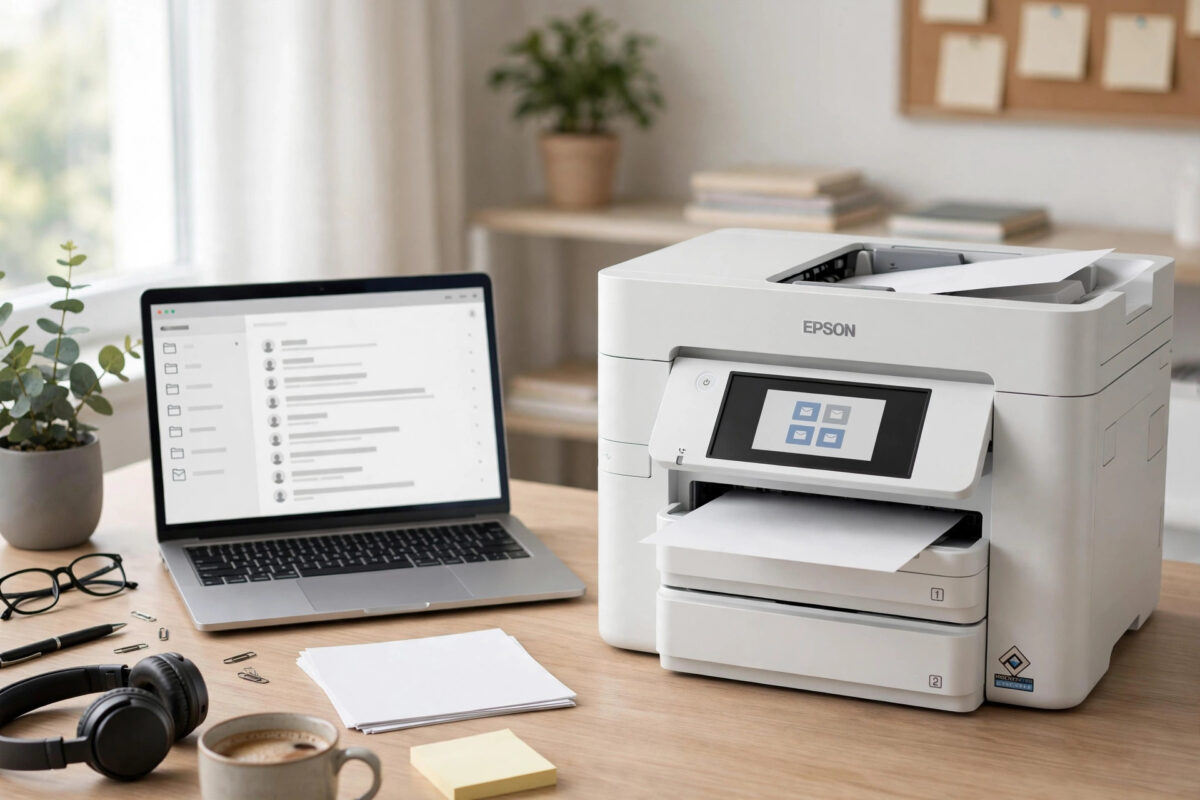
Scan to email lets you scan a document at the Epson WorkForce Pro WF-4830 and send it straight to an inbox without a computer. Setup confuses many people because email server settings, passwords, and address entries must all match exactly.
This guide walks you through the full setup in plain steps, from connecting the printer correctly to sending your first test scan, plus what to check when a scan fails to arrive.
Quick Answer
To set up scan to email on the Epson WorkForce Pro WF-4830, connect the printer to your network, open its Web Config page in a browser, enter your email server SMTP settings and sender address, add recipient addresses to the contacts list, then test Scan to Email from the printer control panel. Using an app password is required for Gmail, Outlook, and most providers with two-step verification.
What Scan to Email Does and How It Works
The printer itself acts like a small email client. It scans the pages, builds a PDF or image file, connects to your outgoing mail server, and sends it as an attachment. Your computer does not need to be on.
Because the printer sends the email directly, you must give it three things:
- A working network connection with internet access
- The correct outgoing server, called SMTP, details for your email provider
- A valid email account and password, or app password, that the printer can sign in with
If any one is wrong, the email will fail, often with a vague connection or authentication error.
What You Need Before You Start
- The WF-4830 connected to the same Wi-Fi or wired network as your computer, with its IP address noted from the control panel under Settings, General Settings, Network Settings
- Your email address and the SMTP server name, port, and security type for your provider
- An app password if your account uses two-step verification, which Gmail, Microsoft, Yahoo, and Apple accounts normally do
- The recipient email addresses you want to save as one-touch contacts
- A computer or phone browser to open Web Config, which is far easier than typing long passwords on the printer screen
Typical SMTP Settings for Common Providers
Always confirm on your provider’s help pages, but the standard patterns are: Gmail uses smtp.gmail.com on port 587 with STARTTLS and requires an app password. Outlook.com uses smtp.office365.com on port 587 with STARTTLS. Yahoo uses smtp.mail.yahoo.com on port 465 or 587 with an app password. For a work account, ask your IT team, because many organisations block basic sign-in from printers.
Step-by-Step: Set Up Scan to Email on the WF-4830
Step 1: Confirm the Network and Find Web Config
- On the printer, tap Settings, then General Settings, then Network Settings, and confirm the connection status shows connected.
- Note the IP address shown on that screen, for example 192.168.1.45.
- On your computer, open a browser and type that IP address into the address bar.
- If a security warning appears for the local page, choose Advanced and continue to the printer page. This is normal for a local device.
- Log in to Web Config as administrator if prompted. If you never changed the password, check the label or manual for your unit, and change it afterwards for security.
Step 2: Enter the Email Server Settings
- In Web Config, open the Network or Scan settings area and find Email Server, then Basic. Menu names vary slightly by firmware, but the email server section is the one you need.
- Select the authentication method your provider requires, usually SMTP AUTH.
- Enter the account ID, which is normally your full email address, and the account password or app password.
- Enter the sender email address. Use the same address as the account to avoid rejection by the server.
- Enter the SMTP server address and port number exactly as your provider states.
- Choose the secure connection type that matches the port: SSL/TLS or STARTTLS.
- Save the settings and, if offered, select the option to ignore or validate the certificate according to your provider guidance. Many home setups need certificate validation adjusted to connect successfully.
Epson’s own instructions in the official Epson support pages for WorkForce Pro printers follow this same Web Config method, and your WF-4830 network guide lists the exact menu names for your firmware version.
Step 3: Test the Server Connection
Do not skip this step. Run the connection test in Web Config. Success means the printer can reach the server and sign in. Failure means the server name, port, security type, or password is wrong — fix it and retest before adding contacts.
Step 4: Add Recipients to the Contacts List
- In Web Config, open Contacts and choose Add New.
- Enter a clear name, such as your own name or Accounts Office, so it is recognisable on the small printer screen.
- Set the type or destination to Email and enter the full recipient address carefully.
- Save the contact and repeat for each person you scan to regularly.
- Optionally register your most used contacts as favourites or presets on the printer for faster daily use.
Step 5: Send Your First Test Scan
- Place a single test page face down on the scanner glass, or in the automatic document feeder face up as marked.
- On the control panel, tap Scan, then Email.
- Select your test recipient from Contacts.
- Check the settings: PDF is best for documents, 200 or 300 dpi is clear without making the file huge, and colour or black and white as needed.
- Tap Start, wait for the sending confirmation, then check the recipient inbox, including the spam or junk folder for the first email.
Save those scan settings as a preset. Our related guide on how to scan a document on an Epson printer to a computer is useful to set up alongside email scanning, so staff have both options when the mail server is unavailable.
Choosing the Right Scan Settings for Email
Email providers limit attachments to around 20 to 25 MB, and large colour scans can exceed that quickly. For office documents, PDF at 300 dpi in greyscale keeps files small and sharp. Use colour only when needed, and confirm multi-page scans combine into one PDF.
Troubleshooting When Scan to Email Fails
Authentication or Password Errors
This is the most common failure. Generate a fresh app password in your email account security pages, enter it in Web Config, save, and run the connection test again. Microsoft’s guidance on using app passwords with apps that do not support two-step verification explains why this separate password is needed for devices like printers.
Connection or DNS Errors
Check the printer has internet access, DNS settings are automatic or correct, and no firewall or guest Wi-Fi rule blocks outgoing mail ports. Keep the printer on your main office network, not a guest network.
Email Scans But Never Arrives
Check spam folders first, then confirm the recipient address in Contacts character by character. Also confirm the sender address matches the signed-in account, because some servers reject mail when they differ.
File Too Large or Scan Stops Midway
Lower the resolution, switch to black and white, or split a thick document into smaller batches.
Common Mistakes and Useful Tips
- Typing long passwords on the printer screen: Use Web Config from a computer instead. It is faster and far less error-prone.
- Using your everyday password with Gmail or Outlook: It will keep failing. An app password is the intended method.
- Skipping the connection test: Testing the server before adding contacts tells you exactly which part is broken.
- Forgetting to update the password after a change: If you change your email password or revoke app passwords, update Web Config the same day.
- Leaving the admin password as default: Anyone on the network could change settings. Change it and store it safely.
- Scanning everything at maximum quality: Huge files fail or clog inboxes. Match resolution to the document type.
Conclusion
Setting up scan to email on the WF-4830 is mostly about getting the email server details right once, in Web Config, and proving them with the connection test. Add regular recipients as contacts, choose sensible PDF settings, and test on yourself first. After that, scanning straight to an inbox takes seconds, with no computer involved.
Frequently Asked Questions
Why does scan to email fail with an authentication error on Gmail?
Gmail does not allow most printers to sign in with your normal password when two-step verification is on. Create an app password in your Google account security settings, enter that 16-character password in Web Config as the email account password, save, and run the server connection test again.
Can I scan to email without a computer switched on?
Yes. Once Web Config setup is complete and the printer is connected to a network with internet access, the WF-4830 sends the email itself. You only need a computer for the initial setup, for changing server settings, or for adding and editing contacts more comfortably.
What file format should I choose for scanned email attachments?
PDF is the best choice for most documents because it keeps multi-page scans in one file, opens on every device, and stays relatively small. Use JPEG only for single photos or images. At 200 to 300 dpi, text remains sharp without creating an attachment too large to send.
How many recipients can I add on the WF-4830?
You can store a large contacts list on the printer and select recipients from the control panel each time. For regular workflows, save your most used addresses and use presets for common jobs. If you need to send one scan to several people, check whether your firmware allows selecting multiple contacts for one job.
Why do my scanned emails go to the spam folder?
First emails from a new sender setup are sometimes treated as suspicious, especially if the sender name is blank or the file name looks generic. Mark the first message as not spam, add the sender address to the recipient’s safe list, and use clear file names and a proper sender address in Web Config.
Leave a Reply