
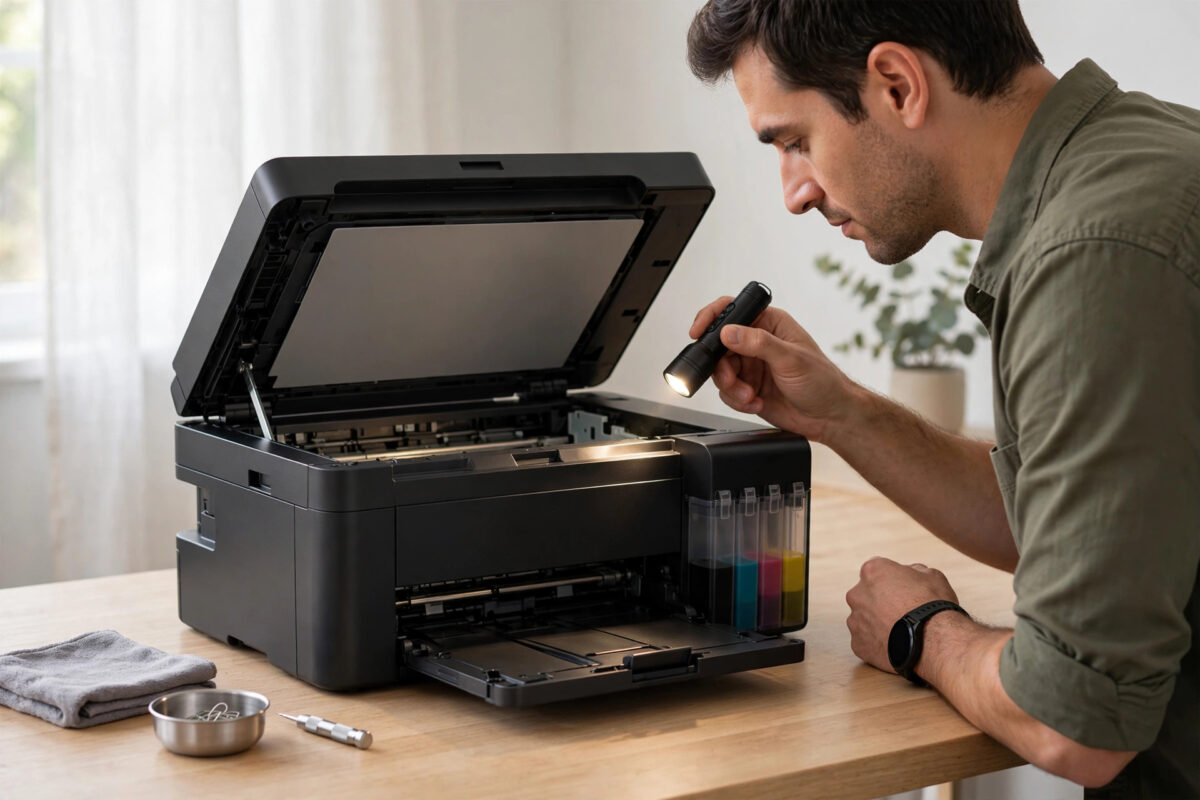
Epson error code 034004 tells you there is a paper jam and asks you to clear it. You open every cover, check every tray, and there is no paper anywhere. The printer still refuses to print, and restarting does not always help.
This error does not always mean a full sheet is stuck. On many Epson EcoTank and WorkForce models, 034004 is triggered when a paper sensor believes paper is present at the wrong time, or when a tiny scrap, dust, or a misaligned part blocks that sensor. The fix is a thorough check of the places the sensor watches, followed by a proper reset.
Quick Answer
Turn the printer off and check the entire paper path, including the rear cover and output area, for even a tiny torn scrap blocking the sensor. Clean dust from the path, reload paper correctly without overfilling, then unplug the printer for two minutes before restarting and running a test print.
What Error 034004 Actually Means
Error 034004 is a paper jam or paper feed error. Sensors expect paper to arrive and leave at specific moments during feeding. If a sensor is triggered too early, too late, or stays triggered when no paper should be there, the printer stops and reports a jam to protect itself.
That is why the error can appear with no visible jam. The sensor may be blocked by a scrap smaller than a fingernail, covered in paper dust, or confused by paper loaded incorrectly. It can also appear after a real jam was cleared, if one fragment was left behind. Think of 034004 as the printer saying the path does not look clear to its sensors, not proof that you will find a whole crumpled sheet.
Step 1: Power Down and Inspect the Full Path
Do not just open and close a cover and press OK. The error will return if the trigger is still there. Start with a complete inspection with the power off.
- Cancel any pending print jobs on your computer.
- Turn the printer off and unplug the power cable.
- Remove paper from all trays, cassettes, and the rear feed if your model has one.
- Open the main cover or scanner unit and inspect the full width of the path with a torch.
- Look at the tray entrance, the area around the print head path, and the exit rollers near the output tray.
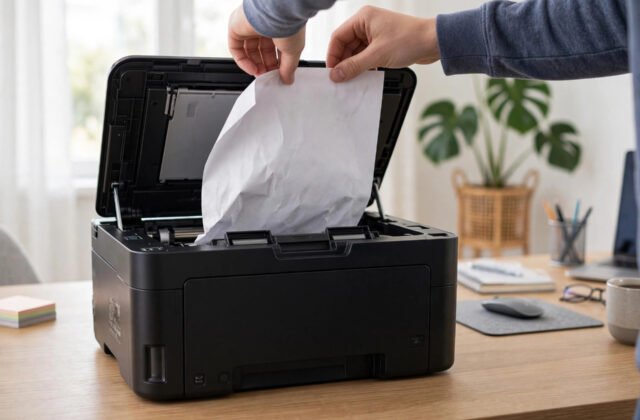
- Remove any paper, however small, by pulling gently in the natural direction of travel.
Check the far left and right edges of the path carefully. Torn corners hide at the edges. Also look for other obstructions such as a peeled label, a paper clip that fell in with a stack, or packaging material left from setup.
Step 2: Check the Rear Cover and Duplex Area
The most missed place is the back of the printer. Many models that show 034004 have a removable rear cover or duplex unit, and a scrap trapped there keeps the sensor triggered while the front looks clean.
- Release the rear cover or duplex unit using its tabs or buttons.
- Pull it out straight and inspect both the unit and the opening.
- Rotate small rollers gently by hand and check for paper wrapped around them.
- Remove all fragments and wipe away paper dust with a dry, lint-free cloth.
- Refit the unit firmly until it clicks on both sides.
A rear unit that is even slightly loose after a previous jam can cause repeated feed errors. If 034004 started immediately after you cleared a real jam, reseating this unit is one of the most valuable checks.
Step 3: Clean the Paper Path and Sensor Area
If there is truly no paper, dust is the next suspect. Paper fibres build up exactly where sensors watch the path, and a simple clean often clears a phantom jam.
With the printer unplugged, wipe accessible parts of the path and rollers with a soft, dry, lint-free cloth. For rollers that look dirty or shiny, use a cloth very slightly dampened with water, then let everything dry for 10 minutes. Short bursts of compressed air from a distance can lift dust from corners, but keep the printer upright and avoid blasting air at the print head.
Do not spray liquid inside the printer, use solvents on rollers, or touch the transparent encoder film and thin white cables. Look for a small plastic sensor flag in the path that moves when paper passes. If dust or a scrap holds it down, freeing it gently can resolve the error. Do not bend it.
Step 4: Reload Paper Correctly
Incorrect loading can trigger 034004 before paper reaches the sensor. Overfilled cassettes, tight guides, and mixed sizes all confuse feeding.
- Take a fresh, flat stack of plain paper. Fan it, tap it square, and discard bent or torn sheets.
- Load well below the maximum line. Try 10 to 15 sheets for the test.
- Set the guides so they touch the stack lightly without squeezing it.
- Reinsert the cassette slowly and firmly.
- On the printer screen, confirm the size and type match what you loaded, such as A4 plain paper.
- Make sure no paper is loaded in the rear feed at the same time unless you intend to use it.
If plain paper works but thick paper, envelopes, or labels trigger the error, that media may be unsupported, curled, or loaded in the wrong source. Our guide on fixing Epson paper feed problems and repeated misfeeds covers media limits and guide adjustment in more depth.
Step 5: Do a Full Power Reset
After checking and cleaning, the error state needs to be cleared properly. A quick off-and-on sometimes keeps the old error.
- With covers closed and the rear unit refitted, leave the printer unplugged for a full two minutes.
- Reconnect the cable directly to a wall socket.
- Turn the printer on and let it complete its full startup without opening any cover.
- If the error has cleared, print a status or nozzle check page from the Maintenance menu first.
- Only when that succeeds, print one page of your document.
This staged test confirms the sensor behaves correctly through a complete feed cycle before you return to normal printing.
Step 6: Isolate the Source if the Error Remains
If 034004 returns immediately on startup, the sensor is still triggered or may be faulty. If it returns only when feeding from one tray, the problem is local to that source.
- Startup test: Turn on with all trays empty. An instant error points to a blocked sensor or misfitted rear unit.
- Source test: Feed plain paper from a different tray or the rear feed. Success on one source isolates the fault.
- Copy test: Make a standalone copy. If copies fail the same way, the computer and driver are not involved.
- Firmware check: If the path is clear and the error is intermittent, check for an update via the official Epson support and drivers page.
If a sensor flag is broken, a roller is cracked, or the error persists after a full clean with all paper removed, it is likely a hardware fault needing service. Note the model and when the error appears, as that helps a technician. Model-specific guidance is also in the Epson frequently asked questions and error code support library.
Common Mistakes and Prevention Tips
- Only checking the front: The rear area hides the fragments that most often cause a phantom jam.
- Pressing OK repeatedly: Clearing the message without clearing the cause repeats the cycle.
- Overfilling after a jam: Test with a small, fresh stack first.
- Using damaged or damp paper: Curled sheets feed badly and shed fibres that block sensors.
- Forcing covers: A misfitted rear unit creates the error you are trying to fix. Refit until it clicks evenly.
- Ignoring dust: Gently clean the path whenever you clear a real jam.
Conclusion
Error 034004 with no visible jam means a sensor still thinks the path is blocked. Power down, inspect the full path including the rear unit, remove even the smallest scrap, clean away dust, reload a small stack of fresh paper, and do a full two-minute reset. Test with a built-in page before normal printing. If the error appears instantly on startup after all of that, the sensor or a related part likely needs professional attention.
Frequently Asked Questions
Why does error 034004 appear when there is no paper jam?
A tiny torn piece, dust on a sensor, a stuck sensor flag, or a loosely refitted rear cover can make the printer think paper is present. A full inspection of the front and rear path plus a clean usually reveals the trigger.
How long should I unplug my printer to reset 034004?
Leave it unplugged for a full two minutes after checking and cleaning the path. A very short restart often preserves the error. Let the printer complete its full startup after reconnecting power.
Can wrong paper settings cause error 034004?
Yes, indirectly. If tray settings do not match the loaded paper, or the tray is overfilled and guides are too tight, feeding fails and the printer reports a jam. Test with a small stack of plain paper set correctly on screen.
Does 034004 mean my sensor is broken?
Not usually. Most cases are a hidden scrap or dust. A broken sensor is more likely only if the error appears instantly on startup with all paper removed, after a full clean and correct refitting of all covers.
Should I update firmware for error 034004?
Update firmware after the physical checks, not before. If the path is clear and the error is intermittent across sources, an update from Epson support can help rule out a known feed detection issue for your model.

Leave a Reply