
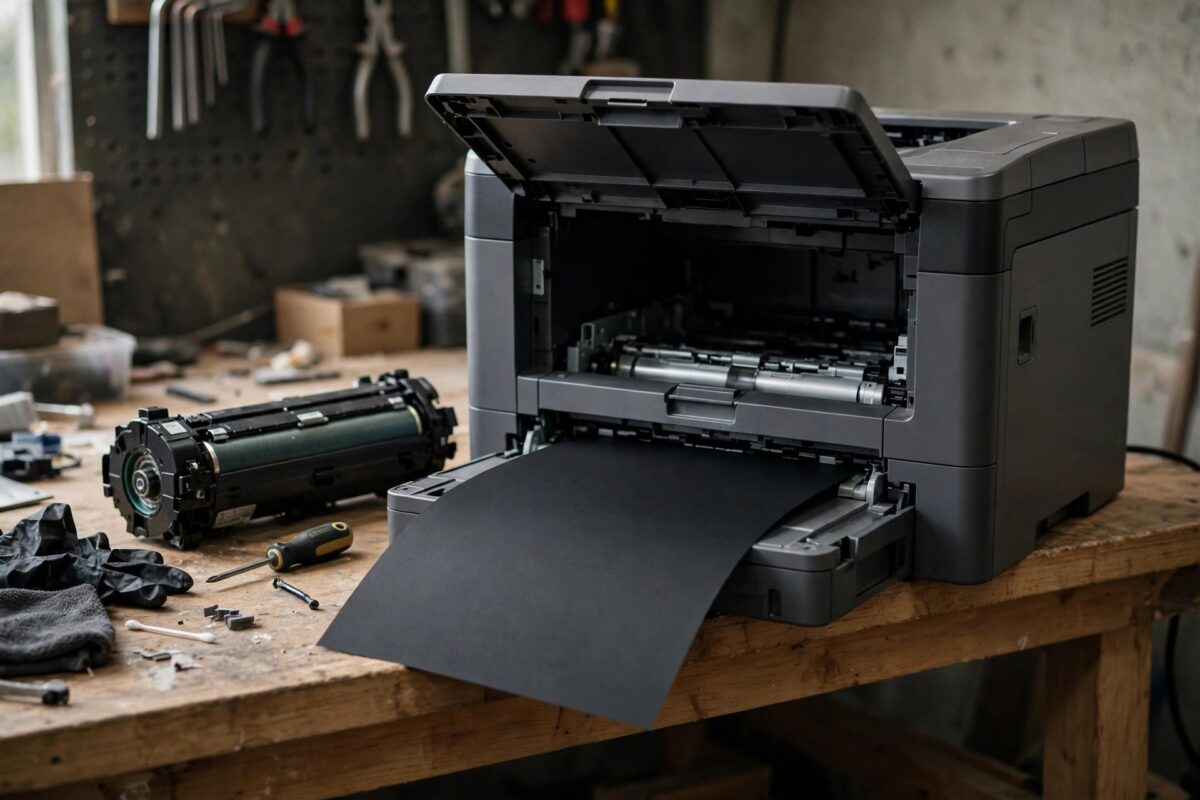
Replacing a drum unit should bring back clean, sharp pages. So it is alarming when the first prints after a drum replacement come out completely black from edge to edge. The paper is covered in toner, text cannot be read, and every page looks the same.
All-black pages after a drum change almost always point to an electrical or installation problem with the new drum, not to your document or software. Work through the checks below carefully before you print many more pages, because each black page wastes toner and can make the mess worse.
Quick Answer
Turn the printer off, remove the drum and toner assembly, and check that the toner is clicked into the new drum, the corona wire tab is back at its home mark, and no packing material or tape remains. Clean the drum contacts and reinstall the assembly firmly. If pages are still solid black, try the old drum or another toner to isolate whether the new drum itself is faulty or its charge wire is damaged.
How a Drum Problem Creates Black Pages
In a laser printer, the drum is charged electrically and then a laser removes charge only where white space should be. Toner sticks to the charged areas that form text and images. If the drum never receives the correct charge, or if the charge wire is broken or misplaced, toner can cover the whole surface. The result is a solid black page.
A new drum should charge evenly. If its corona wire is damaged, its contacts do not meet the printer contacts, or the drum is exposed to strong light for too long, charging fails across the entire page width.
Other Possible Causes to Rule Out
- The toner cartridge was damaged during the swap and is leaking toner.
- The new drum is a faulty or incompatible unit for your exact printer model.
- The printer’s high-voltage contacts inside the drum slot are bent or dirty.
- The drum counter reset was done, but the physical drum was not actually changed or was fitted incorrectly.
- A very dark density setting was changed at the same time as the drum, though this alone rarely causes fully solid black pages.
Step 1: Stop, Power Off, and Inspect Safely
- Cancel any remaining print jobs on the computer so the printer does not keep producing black pages.
- Turn the printer off and unplug it. Laser printers have high-voltage parts, so never reach deep inside while power is connected.
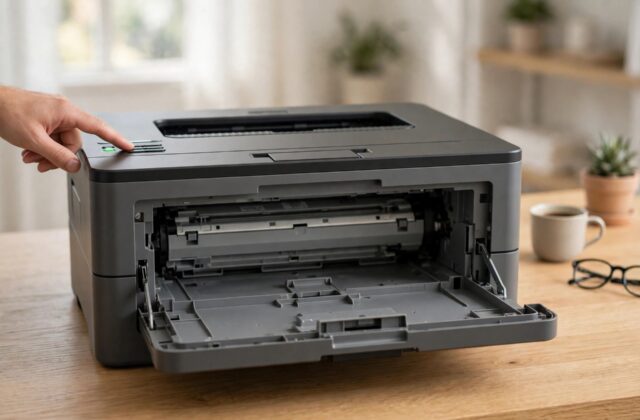
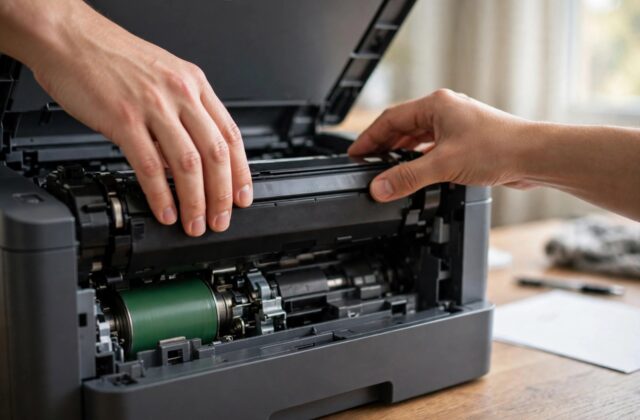
- Wait two minutes, then open the front cover and pull out the drum and toner assembly by its handle.
- Place the assembly on a clean sheet of paper to catch loose toner. Work away from bright sunlight or strong lamps.
- Press the green lock lever and separate the toner cartridge from the drum unit.
Look at the drum surface without touching it. A healthy drum is smooth and even in colour. Heavy black coating, scratches, or dull patches suggest toner build-up or damage.
Step 2: Check Installation Details That Are Easy to Miss
Packing Material and Protective Covers
New drum units ship with protective paper, foam, tape, or a plastic sheet over the drum surface. If any of this is left in place, the drum cannot charge or transfer correctly. Remove all packing exactly as shown in the drum’s instruction sheet and dispose of it so it cannot be refitted by mistake.
Corona Wire Tab Position
- Find the green or blue sliding tab on top of the drum unit.
- Slide it fully from left to right and back several times to clean the corona wire.
- Return the tab exactly to its home position so the small triangles line up.
- If the tab is left in the middle, the wire cleaner blocks the wire and pages can print dark or fully black.
Toner Seated and Locked
Place the toner back into the new drum and listen for a firm click. Shake the combined assembly very gently to check nothing rattles or moves. A toner that sits slightly high can leak toner across the drum and produce black pages that look like a drum fault.
Step 3: Clean Contacts and the Drum Slot
- With the printer still unplugged, wipe the metal contacts on the side of the drum unit with a dry, lint-free cloth.
- Wipe the matching spring contacts inside the printer slot in the same dry, gentle way.
- Check that no spring contact is bent flat or pushed sideways. Do not force a bent contact with a screwdriver; if it is clearly damaged, the printer needs service.
- Never use a household vacuum for toner dust and never blow toner deeper into the machine with compressed air.
- Reinstall the assembly firmly, close the cover, plug in, and turn the printer on.
Print a single internal test or settings page first, not a large document. If that page is normal, print one normal document page. If the test page is still solid black, stop and move to isolation tests rather than printing more.
The Brother support portal for drum and toner troubleshooting has model-specific diagrams showing the exact contact and tab positions for your printer, which are worth comparing side by side with your unit.
Step 4: Isolate the Fault — Drum, Toner, or Printer
Isolation testing saves money because it stops you replacing the wrong part twice.
- If you still have the old drum and it is safe to handle, fit the current toner into the old drum and print one test page. If the page is readable, even if faded or spotted, the new drum is faulty.
- If you have a spare known-good toner, fit it into the new drum and print one test page. If the page is normal, the original toner was leaking or damaged.
- If every combination prints solid black, the fault is likely inside the printer, such as a high-voltage power supply or a damaged internal contact.
- Note the results of each test, including which drum and toner were fitted. This record is essential if you claim a warranty replacement for the new drum.
Our detailed guide on diagnosing Brother print quality problems step by step can help you separate drum faults from toner and paper faults when the symptom is less clear-cut than a fully black page.
Mistakes and Tips to Remember
- Do not expose the drum to light: Keep the drum covered or inside the printer. Leaving it on a desk under bright light for an hour can permanently damage it.
- Do not touch the drum surface: Skin oils create permanent marks and can disturb charging. Handle the drum only by its frame and gears.
- Do not keep printing black pages: Each page dumps toner inside the machine and can contaminate rollers. Test with single pages only.
- Do not reset the drum counter again as a fix: The counter is only a page count. Resetting it cannot repair a damaged wire or contact.
- Check compatibility by full model number: Drum codes such as DR-2400, DR-730, or DR-2405 look similar but are not interchangeable across all models and regions.
- Keep the receipt and keep the old drum until testing is done: Suppliers will often ask you to return the faulty new drum, and the old drum is your best comparison part.
A practical tip is to take a phone photo of the old assembly before removing the toner. It shows tab position and toner orientation when you fit the new unit.
When the New Drum Is Defective
Some new drums arrive with a broken corona wire or transit damage that is not visible from outside. If the old drum prints readable pages and the new drum prints solid black with the same toner, the new drum is defective. Stop using it, return it to its box, and contact the seller with your test results. Use the official Brother contact page for warranty guidance if it is a genuine Brother unit.
Conclusion
Solid black pages right after a drum replacement are almost always caused by the new drum not charging correctly — a misplaced corona tab, leftover packing, dirty or damaged contacts, light damage, or a faulty drum itself. Power off, inspect carefully without touching the drum surface, clean the contacts, reseat everything, and isolate the fault with the old drum or a spare toner. That methodical approach finds the real cause without wasting toner or replacing good parts.
Frequently Asked Questions
Can a wrong print density setting cause fully black pages?
A high density setting can make pages look darker and bolder, but it does not normally produce a uniform solid black sheet with no visible text. A fully black page after a drum change should be treated as a drum, toner, or charging fault first.
Should I clean the new drum surface with a cloth?
No. Do not wipe the photosensitive drum surface with a cloth, tissue, or cleaner. You may gently clean only the corona wire using the built-in sliding tab and wipe the external metal contacts with a dry cloth.
Why did the first page look fine and the rest turn black?
Loose toner left from installation can clear on the first page and then a leaking toner or a shifting corona tab can take over. Stop printing, reseat the toner, check the tab position again, and run the drum and toner isolation tests.
Is it safe to put the old drum back in?
Yes, for a single test page it is safe if the old drum was stored covered and is not leaking or badly damaged. That one test is the fastest way to prove whether the new drum is the problem.
Will replacing the toner fix black pages caused by the drum?
Only if the toner itself is leaking or faulty. If the new drum is not charging, a new toner will also print black and will be wasted. Always isolate drum and toner separately before buying another part.
Leave a Reply