
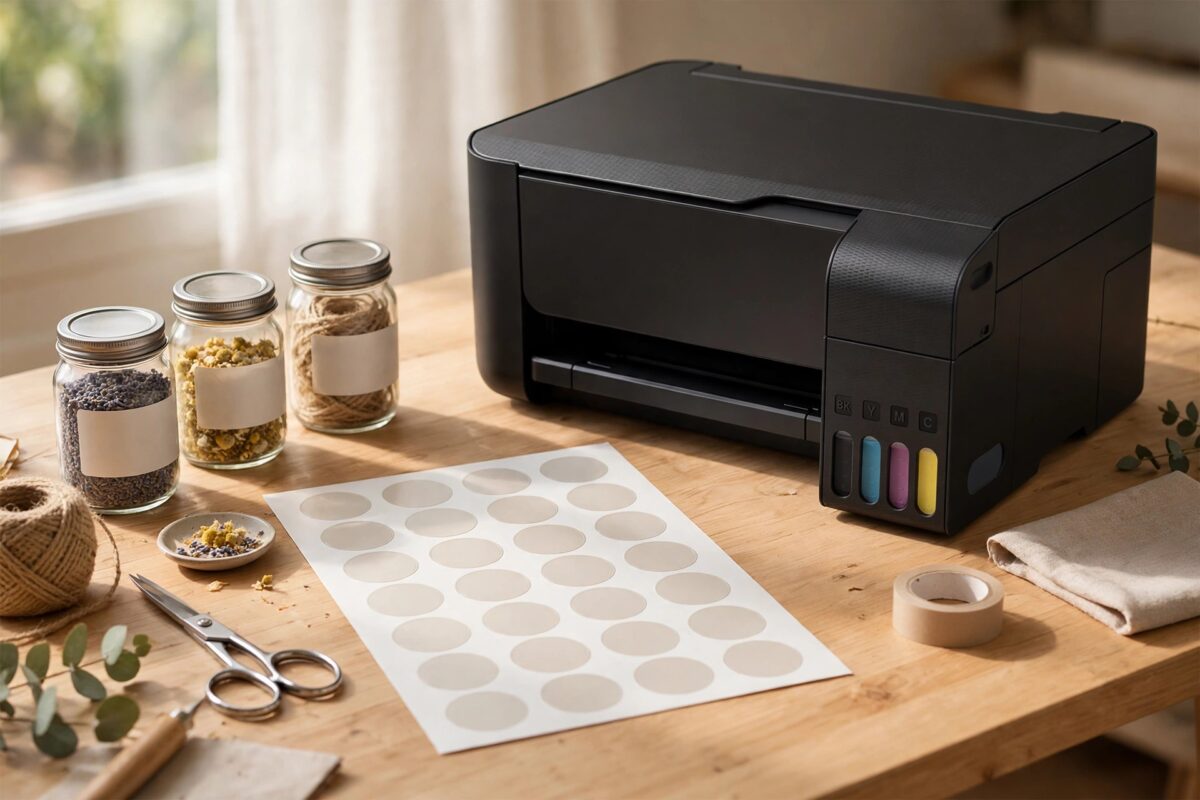
Labels should make jars, boxes, and envelopes look neat and professional. Instead, on many EcoTank printers they come out with ink that smears the moment you touch them. The design looks perfect on screen and ruined on the sheet, and a whole page of labels goes in the bin.
Smudging on labels is almost never a faulty printer. EcoTank printers use dye-based ink in most models, and dye ink needs the right surface and enough drying time. Choose label stock made for inkjet printers, set the media type correctly, and give the sheets a short rest after printing, and labels come out sharp and dry.
Quick Answer
To print labels on an Epson EcoTank without smudging, use matte or glossy label sheets made specifically for inkjet printers, never laser labels. Load one sheet at a time, set the driver media type to match the label finish, print at high quality, and let each sheet sit untouched for at least five to ten minutes before stacking or sticking. Most smudge problems disappear as soon as the label stock and the media setting match.
Why Ink Smudges on Labels
A plain paper sheet is full of tiny fibres that soak ink in. A label sheet is different. It has a smooth top coating, and that coating decides whether ink dries on the surface or pools on top of it. Inkjet label stock has a porous coating that grabs dye ink and locks it in. Laser label stock has a coating made for hot toner, and inkjet ink simply sits on it as a wet film.
That is why the same printer can produce perfect documents and terrible labels. The printer is fine. The surface is wrong. Add too much ink from an incorrect media setting, or handle the sheet too soon, and even the right labels can smear.
The four main causes of smudged labels
- Laser or copier labels used in an inkjet printer
- A media type setting that lays down more ink than the coating can absorb
- Touching, stacking, or applying labels before the ink has fully dried
- Cheap unbranded label stock with a weak or uneven coating
Choose the Right Label Stock
This is the single most important decision in the whole job. Look for the words inkjet on the packet, and match the finish to your project.
- Matte inkjet labels: the safest choice for EcoTank printers. The coating absorbs dye ink quickly, drying is fast, and text looks crisp. Best for address labels, product labels, and barcodes.
- Glossy inkjet labels: give brighter colours and a premium look, but dry more slowly and need the correct glossy setting to avoid pooling.
- Water-resistant inkjet labels: useful for jars, bottles, and bathroom products that meet moisture. They cost more but the ink is far less likely to run later.
- Clear inkjet labels: work well on light surfaces, but colours look softer and drying time is longer.
Avoid any sheet that only says laser, copier, or multi-purpose without mentioning inkjet. Also check the sheet size and layout code, because using the matching template saves a second common problem: designs drifting off the label edges. Epson publishes paper handling notes for its printers in the Epson support guidance on paper types and print quality, and those notes stress matching the media setting to the stock every time.
Set the Printer Driver Correctly
The media type setting controls how much ink the printer lays down and how slowly it prints. On plain paper settings, the printer assumes a thirsty surface. On the right label setting, it meters the ink for a coated surface, which is exactly what stops pooling and smearing.
Recommended settings for label printing
- Open the print dialog from your label software or document.
- Select your EcoTank model as the printer, then open printer properties or preferences.
- Set the media or paper type to match your labels: matte paper for matte labels, glossy photo paper for glossy labels.
- Set print quality to High. This slows the pass and lays ink more evenly than draft or standard modes.
- Confirm the paper size matches the label sheet, usually A4 or Letter.
- Turn off high-speed or bidirectional printing if your driver offers it, as slower printing gives ink a moment longer to settle.
- Print one test sheet first, before committing to a full batch.
If your software has its own label template, let the software control margins and alignment, and change quality settings in the driver only. Our guide to choosing the best Epson EcoTank print quality settings for every job explains what each driver option actually changes.
Load and Print Labels Step by Step
Label sheets are thicker and stiffer than plain paper, and their edges can lift as they pass through the printer. A careful loading routine prevents both jams and smeared prints.
- Fan the label sheets gently and check that no corners are peeling. Never print on a sheet with a lifted label, because it can wrap around a roller inside.
- Load one sheet at a time in the rear feed if your model has one, since the straighter path suits thicker stock. The cassette is fine for standard matte label sheets.
- Set the edge guides snugly against the sheet so it feeds straight.
- Send the print job and stay near the printer for the first sheet.
- As each sheet exits, lift it by the edges and lay it face up on a clean, flat surface.
- Do not stack printed sheets. Keep them separate until they have rested.
- Check the test sheet for smearing, alignment, and colour before printing the rest of the batch.
Never reuse a half-printed label sheet by putting it through again for the remaining labels. The heat and rollers of the first pass weaken the adhesive and curl the sheet, and second passes are a common cause of both jams and smeared, off-register printing.
Drying Time: The Step Most People Skip
Even perfect labels need a short rest. Dye ink on a coated surface dries in two stages: it feels dry quickly, but the coating keeps absorbing for several minutes. Handling the sheet in that window is what leaves fingerprints in the design.
- Give matte labels at least five minutes before stacking or sticking.
- Give glossy and clear labels ten to thirty minutes, especially in humid rooms.
- Keep printed sheets flat and separate, in a dust-free spot, while they dry.
- If you must produce labels quickly, print in small batches so each batch can rest while the next prints.
- For labels that will face water or handling, consider a light clear spray sealant made for printed labels once they are fully dry, and test it on one label first.
Troubleshooting Labels That Still Smudge
If you have the right stock and settings and still get smearing, work through this short list before blaming the printer.
- Smearing only on dark areas: heavy colour blocks hold the most ink. Reduce large solid backgrounds in the design, or switch quality from best back to high.
- Smearing on every sheet: double-check the packet wording. Some sheets sold as universal are really laser stock in disguise.
- Ink rubs off days later: the coating and ink are a poor match. Change brand, or move to water-resistant inkjet labels for handled items.
- Colours look washed out, not smudged: the media setting may be too light for the stock. Try the next richer paper type setting and test one sheet.
- Labels smudge only at the edges: you are likely touching the printed area while lifting sheets. Handle sheets by unprinted margins only until they rest.
If smudging also happens on plain paper documents, that is a different fault and worth checking separately using the official Epson support and troubleshooting resources for your exact model.
Mistakes to Avoid When Printing Labels
- Buying laser labels because they were cheaper or already in the cupboard
- Leaving the driver on plain paper while printing coated label stock
- Printing in draft mode to save time, which produces weak colour that still smears
- Stacking fresh sheets straight from the output tray
- Running a partly used label sheet through the printer a second time
- Applying labels to cold or damp jars and bottles, which stops the adhesive and ink settling properly
Conclusion
Clean, dry labels from an EcoTank come down to three things: inkjet label stock with a coating that can absorb dye ink, a media type setting that matches that stock, and a few patient minutes of drying time before you touch the sheets. Load one sheet at a time, print a single test sheet first, and let finished sheets rest flat and separate. Follow that routine and smudged labels become a rare exception instead of a wasted packet.
Frequently Asked Questions
Can I use laser labels in my EcoTank if I let them dry longer?
No. The coating on laser labels never absorbs dye ink properly, so the ink stays as a film that rubs off even hours later. Longer drying does not fix a surface that was never made for inkjet ink.
How long do EcoTank labels really take to dry?
Matte inkjet labels are usually safe to handle after about five minutes. Glossy and clear labels need ten to thirty minutes, and longer in humid weather. When in doubt, wait longer.
Which is better for no smudging, matte or glossy labels?
Matte labels are more forgiving. Their coating absorbs ink faster and hides minor handling marks. Glossy labels can look better for product packaging but need the right setting and more drying time.
Why do my labels smudge but my documents do not?
Plain paper absorbs ink into its fibres, while label coatings hold ink near the surface. The wrong stock or setting affects labels long before it affects ordinary documents.
Can I make printed labels waterproof?
Standard dye ink is never fully waterproof. Use water-resistant inkjet label stock for splash-prone items, and add a clear protective spray or laminate for labels that will be washed or refrigerated.
Leave a Reply