
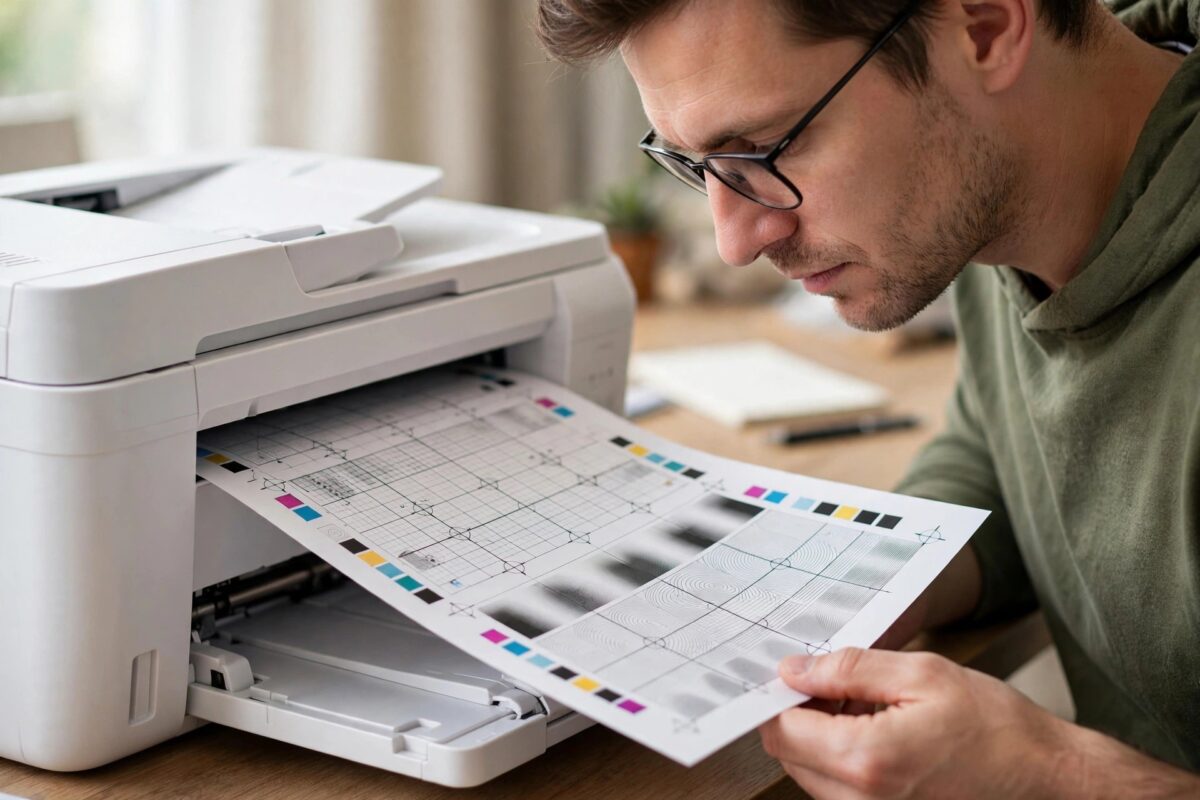
Blurry text that looks printed twice — every letter with a faint shadow copy beside it — is one of the most recognisable print defects on an HP DeskJet. It is called double printing or ghosting, and it happens when the printhead’s passes across the page no longer line up, or when the printer has lost track of exactly where the carriage is. The fix is usually not a new printhead: it is alignment, cleaning the encoder strip, and checking the cartridges are seated. This guide takes you through it in order.
Quick Answer
To fix blurry double printing on an HP DeskJet, run the automatic printhead alignment from the printer software or control panel (Setup, Printer Maintenance, Align Printhead), then print with the alignment page scanned if your model asks for it. If text is still doubled, clean the encoder strip gently, reseat the cartridges, and clean the printhead contacts. Alignment after every cartridge change prevents the problem returning.
What Causes Double Printing?
A DeskJet builds each line from several overlapping passes. Sharp text depends on those passes landing in exactly the right places. Double images appear when:
- The printheads are out of alignment — especially after a cartridge change, a bump, or moving the printer.
- The encoder strip is dirty — the printer misreads the carriage position, so passes land slightly off.
- A cartridge is not seated properly — a slightly tilted cartridge prints at an angle to the others.
- The printhead nozzles are partially blocked — ink lands unevenly, giving letters a fuzzy, doubled edge.
- Paper is too thick, curled, or moving during printing — less common, but it shifts the page between passes.
Step 1: Run the Alignment
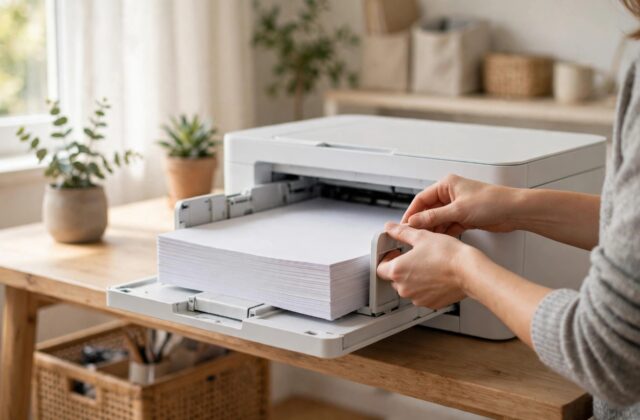
- Load plain A4 or Letter paper in the input tray — alignment patterns are designed for plain paper.
- On the printer’s control panel, open Setup, then Printer Maintenance, then Align Printhead (on models without a screen, open the HP software or HP Smart on your computer and find Printer Maintenance, Align).
- The printer prints an alignment page with rows of patterns.
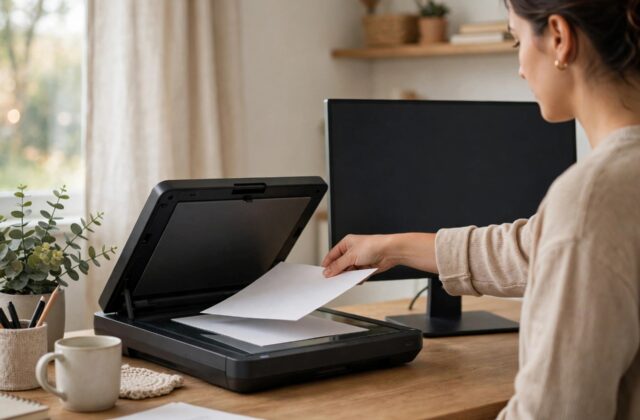
- If prompted, place the alignment page face-down on the scanner glass as the diagram on the page shows, and press Scan or OK. Models without a scanner complete the process automatically.
- Print a document with small text and check whether the shadow is gone.
HP recommends aligning after installing new cartridges — see its print quality and alignment guidance for DeskJet models — yet most people skip it, which is why this fault so often follows a cartridge change.
Step 2: Clean the Printheads
If alignment improves things but text still looks fuzzy, run the cleaning cycle from the same Printer Maintenance menu: Clean Printheads. It pushes ink through the nozzles to clear partial blockages. Run it once, print a quality diagnostic page, and only repeat if you see improvement — each cycle uses ink, and three cycles without change means the problem is mechanical, not a clog. For a heavily clogged head, our guide to cleaning printer heads safely covers manual methods that go further than the built-in cycle.
Step 3: Clean the Encoder Strip and Reseat Cartridges
- Turn the printer on, open the access door, and when the carriage stops in the middle, unplug the power cable.
- Find the clear plastic encoder strip running behind the carriage. Wipe it very gently along its length with a dry lint-free cloth (or one barely dampened with distilled water) to remove ink mist.
- Remove both cartridges, check their contacts are clean, and refit them firmly until they click — a cartridge sitting slightly high or tilted prints its colour offset from the rest.
- Wipe any ink build-up from the carriage rail area and remove paper dust.
- Reconnect power, let the printer initialise, run the alignment once more, and test.
Step 4: Check Paper and Settings
Use flat, standard-weight plain paper for testing — curled or very heavy media can shift mid-print and mimic misalignment. In the driver, confirm the paper type matches what is loaded, and try the Best quality setting for a test page: slower printing gives the carriage more precise passes, so if Best looks sharp while Normal doubles, alignment and encoder condition are confirmed as the battleground rather than the cartridges themselves.
Common Mistakes to Avoid
- Skipping the scan step of alignment — on models that require it, the alignment is not finished until the page is scanned; an unscanned page changes nothing.
- Running cleaning cycles endlessly — they waste ink and cannot fix a positioning problem.
- Cleaning the encoder strip roughly or with solvents — its fine markings are the printer’s ruler; damage them and the doubling becomes permanent until the strip is replaced.
- Testing on patterned or coloured paper — always judge alignment on plain white paper with small black text.
If Alignment Helps for a Day and Then Slips Again
Alignment that will not hold is telling you something physical is changing between prints. The usual suspects, in order: a cartridge that is not latching fully, so it shifts a fraction each time the carriage slams to a stop — remove it, check the latch and the cartridge’s contacts for damage, and refit it with a firm click. Next, the carriage itself: if the printer has been moved recently or sits on a wobbly surface, vibration works settings loose; put the printer on a solid, level desk and realign. Next, the encoder strip’s mounts — if the strip has slipped off one end hook or is riding at an angle, alignment measurements drift constantly; inspect both ends of the strip while you clean it. Finally, a genuinely worn printhead can produce alignment values that wander as its nozzles fail unevenly. If you have cleaned, reseated, checked the strip, and alignment still slips within days, price a replacement cartridge (on DeskJets the printhead is usually part of the cartridge) before assuming the printer itself is finished — on most DeskJet models, a fresh cartridge is a fresh printhead, and it settles the question definitively.
One final habit worth adopting: whenever you change a cartridge, run the alignment before you need the printer for anything important, not after a bad page has already frustrated you. It takes two minutes, uses a single sheet, and means the first document you actually care about comes out sharp. Most double-printing complaints are simply alignments that were never run after a cartridge swap weeks earlier.
Conclusion
Blurry double printing on a DeskJet is a positioning problem, and positioning problems are usually curable: run the alignment properly (including the scan step), clean the printheads once, then clean the encoder strip and reseat the cartridges. Do those in order and text should come out crisp again — no new printhead required in most cases.
Frequently Asked Questions
Why did double printing start right after I changed a cartridge?
Because a new cartridge sits in a microscopically different position from the old one. That is exactly what the alignment routine exists to correct — run it after every cartridge change.
Only black text is doubled; colours look fine. What does that mean?
The black cartridge’s alignment or seating is the issue. Reseat the black cartridge, then align. If it persists, clean the black cartridge’s contacts and the encoder strip.
Can double printing damage anything if I leave it?
It will not harm the printer, but documents look unprofessional and small text becomes hard to read. It is worth the ten minutes the fix takes.
The alignment page itself prints doubled. Is that normal?
Yes — the alignment page deliberately shows patterns before correction. What matters is the quality of a normal document after you complete (and scan) the alignment.
How often should I align the printheads?
After every cartridge change, after moving the printer, and whenever text quality degrades. It takes a couple of minutes and uses one sheet of paper.
Leave a Reply