
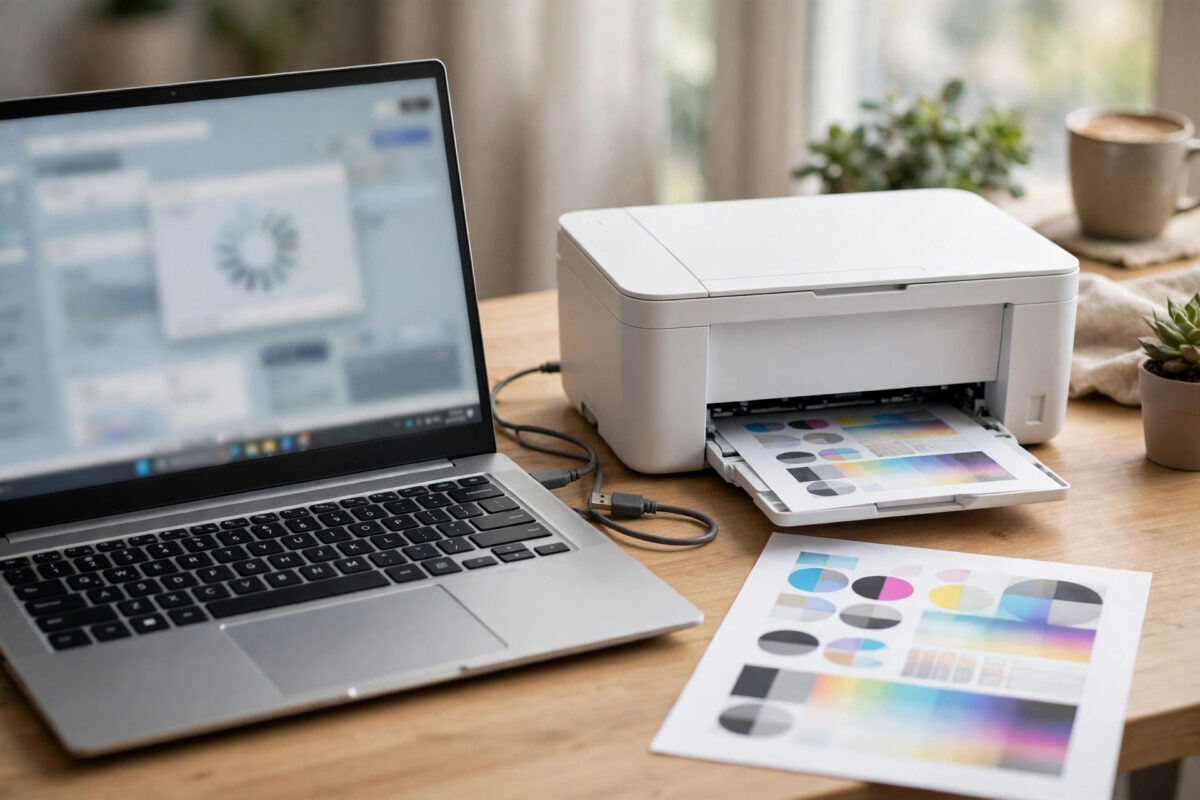
A clean install of Windows 11 feels fast and fresh, until you try to print and find your Canon printer missing, half-installed, or printing with the wrong features. Windows often adds a basic class driver on its own, which may print a plain page but leaves out scanning, ink levels, paper settings, and duplex options. The fix is to remove that basic setup properly and install Canon’s full driver package the right way.
This guide explains the clean method step by step: what to remove, what to download, when to plug the printer in, and how to confirm the full driver is working at the end.
Quick Answer
Remove the printer and its old driver from Windows Settings and Print Server Properties first, then restart your PC. Download the full driver and software package for your exact Canon model from Canon’s official support site, run the installer, and connect the printer only when the setup asks you to. Finish by setting the Canon driver as default and printing a test page.
Why a Clean Install Causes Driver Problems
When Windows 11 is installed fresh, it has no memory of your old printer setup. As soon as the printer appears on USB or Wi-Fi, Windows tries to help by installing a built-in basic driver. That driver is designed to work with many models, so it covers only the basics.
The problems start when you then install Canon’s package on top of it. Windows may keep using the basic driver, show two copies of the printer, or assign your print jobs to a copy that does not really exist. A clean removal first avoids all of that confusion, which is why the order of steps matters more than the download itself.
What You Need Before You Start
- Your exact Canon model name, printed on the front or top of the machine, for example PIXMA TR8620 or PIXMA G3270.
- A stable internet connection for the download, which can be 300 MB or more for full packages.
- The USB cable nearby if you use USB, or your Wi-Fi password if you use wireless.
- About twenty minutes, including one PC restart.
- Administrator access on the PC, since driver installs need it.
Write the model name down exactly. Canon makes many similar models, and the driver for one rarely fits another, even when the names differ by a single letter.
Step 1: Remove the Old Printer and Driver Completely
- Turn the Canon printer on and disconnect the USB cable if one is attached.
- On the PC, open Settings, then Bluetooth & devices, then Printers & scanners.
- Select every copy of your Canon printer in the list and choose Remove. Remove duplicates too, including entries marked as copies.
- Open the classic Control Panel, go to Devices and Printers, and check nothing Canon remains there either.
- Press the Windows key and R together, type printui /s, and press Enter to open Print Server Properties.
- Open the Drivers tab, select the Canon driver in the list, and choose Remove, then select the option to remove the driver and driver package.
- Restart the PC. This step clears files that Windows holds open while it is running.
If Windows says the driver is in use and cannot be removed, the restart usually fixes it. Remove any pending print jobs first by opening the print queue and cancelling all documents.
Step 2: Download the Correct Canon Package
Go to the official Canon support and drivers page and search for your exact model. Choose Windows 11 as the operating system if the site does not detect it automatically. Look for the full driver and software package, sometimes labelled as the MP Driver or the complete setup package, rather than a small single-function driver.
Avoid driver download sites that are not Canon. Many of them bundle extra software, charge fees, or offer outdated files. The correct package is always free from Canon. Save the file somewhere easy to find, such as your Downloads folder, and note its full name.
While you are on the page, also check for a firmware update for the printer itself. Firmware is separate from the Windows driver, and installing it later can fix bugs that a driver alone cannot.
Step 3: Run the Installer in the Right Order
- Right-click the downloaded file and choose Run as administrator.
- Follow the setup screens and accept the licence agreement.
- When asked for the connection type, choose USB or wireless to match how you actually use the printer.
- For USB: connect the cable only when the screen tells you to. The installer detects the printer and finishes the driver match itself.
- For Wi-Fi: make sure the printer is already joined to your home network, then let the installer find it. If it is not found, temporarily turn off the PC firewall prompt may appear; allow the Canon setup through it.
- Let the optional software install as well, such as the Canon scanning utility, if you plan to scan.
- Restart the PC once more when setup finishes, even if it does not ask.
Connecting the USB cable too early is the single most common mistake. If Windows grabs the printer before Canon’s installer does, you end up with the basic driver again and have to start over.
Step 4: Set the Canon Driver as Default
After the restart, open Settings, then Bluetooth & devices, then Printers & scanners. Turn off the option that lets Windows manage your default printer, then select your Canon and set it as default yourself. This stops Windows from switching your jobs to another device, such as a PDF printer, after updates.
Open Printer properties and look at the driver name. It should show the Canon model driver, not a generic class driver. Microsoft explains this process in its Microsoft Support guide to setting a default printer in Windows, which also covers what to do when the printer does not appear in the list.
If the printer shows up but later keeps dropping off the PC, that is a connection issue rather than a driver issue. In that case, work through our guide to fixing a printer that keeps showing offline after you finish the driver setup here.
Step 5: Test Printing and Scanning
- In Printer properties, choose Print Test Page and confirm it prints with clean text and colour.
- Print a real document from an app you use daily, such as Word or your browser, and check paper size and duplex options are present in the print dialog.
- Open the Canon scanning software and run a test scan. Saving the scan proves the full package, not just the print driver, is installed.
- Check ink or toner levels inside the Canon utility. Working ink levels are a good sign the two-way communication is healthy.
If the print dialog still lacks Canon options like paper type and quality settings, the app is probably still using the old printer copy. Close the app fully, reopen it, and pick the newly installed Canon entry.
Common Mistakes to Avoid
- Installing over the old driver: Skipping the removal step leaves duplicate printers and confusing defaults.
- Downloading for the wrong model: Similar names are not the same printer. Match every letter and number.
- Plugging USB in first: Let the installer ask for the cable, every time.
- Using third-party driver sites: They add junk software and old files. Canon’s site is the only safe source.
- Skipping the restart: Half-removed driver files cause the most stubborn install failures.
- Forgetting the scanner: The basic Windows driver cannot scan to the Canon app. Install the full package if you scan.
One more useful tip: after everything works, create a restore point in Windows. If a future update breaks the driver, you can roll back in minutes instead of repeating the full clean install.
If the Installer Still Fails
Run the Windows printer troubleshooter from Settings, then try the install again. Temporarily pause third-party antivirus during the setup only, as security tools sometimes block driver files, and turn it straight back on afterwards. Try a different USB port and cable for stubborn USB detection problems. If the Canon package reports an error code, write it down exactly, because that code points support staff to the failed step.
Conclusion
A clean Windows 11 install deserves a clean printer install to match. Remove every trace of the old Canon setup, restart, download the full official package for your exact model, and connect the printer only when the installer asks. Set it as default and test both printing and scanning. Follow that order and your Canon will come back with all its features, not just basic printing.
Frequently Asked Questions
Do I really need Canon’s driver if Windows already prints?
The Windows basic driver handles simple printing, but you lose scanning to the Canon app, ink level reporting, and many paper and quality settings. The full Canon package restores all the features your printer was sold with, so it is worth installing.
Where do I find my exact Canon model name?
It is printed on the front panel or a label on the top or back of the printer. It also appears on your original box and receipt. Use the full name, including letters such as PIXMA, MAXIFY, or imageCLASS, when searching the Canon site.
The installer cannot find my Wi-Fi printer. What now?
Confirm the printer and PC are on the same Wi-Fi network and band, then restart the router and printer. Print a network settings page from the printer’s menu to check its connection, and run the installer again once both devices are online.
Should I uninstall the old driver before or after downloading the new one?
Download first so you have the file ready, then remove the old printer and driver, restart, and run the installer. This order keeps your downtime short and stops Windows from reinstalling the basic driver while you wait for a download.
Will this fix a printer that shows as offline?
Sometimes, because a broken driver can make the printer look offline. If the printer still shows offline after a clean driver install and a good test page setup, the cause is more likely the network or cable, which needs separate checks.
Leave a Reply