
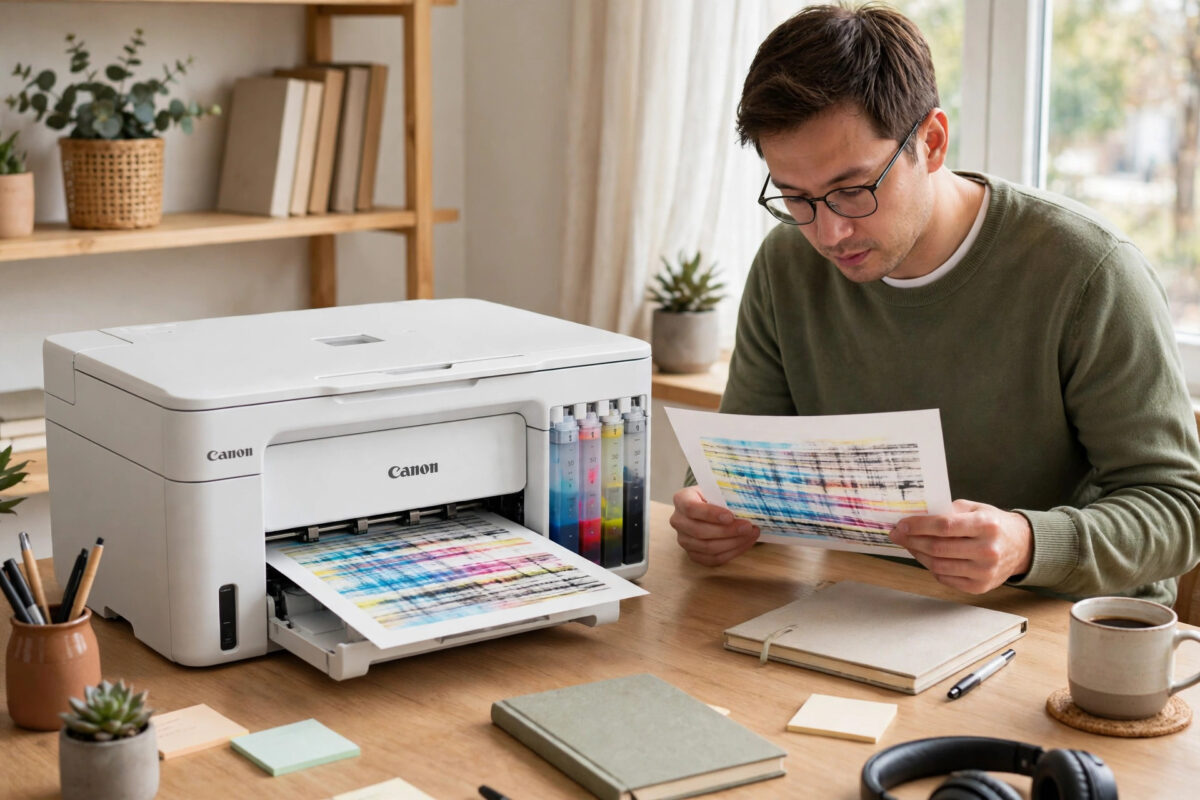
If you left your Canon MegaTank printer switched off for several months and now your photos look green, pink, or washed out, you are not alone. MegaTank models like the PIXMA G series are reliable, but they do not like long breaks. Ink sits still in the tubes and printhead, and when you finally print again, the colors are often wrong.
The good news is that this is usually not permanent. The ink has not gone bad — it has dried slightly at the nozzles, or air and settled pigment have blocked the flow. With a careful cleaning routine, you can normally bring the colors back.
Quick Answer
Your Canon MegaTank prints wrong colors after months without use because ink dries and clogs the tiny printhead nozzles, and pigment settles in the ink tubes. Run a nozzle check first, then run one or two standard cleaning cycles from the maintenance menu, and print several full-color test pages. If one color is still missing after that, run a deep cleaning or an ink flush only as a last step.
Why Colors Go Wrong After a Long Break
A MegaTank printer moves ink from large refill tanks through thin tubes into the printhead. When the printer is used every week, that flow stays fresh. When it sits unused, three things happen at the same time.
Ink Dries at the Nozzles
The printhead has hundreds of very small holes. A thin film of ink at each hole can dry when exposed to air for weeks. A partly blocked nozzle fires less ink than it should. If cyan is blocked, prints look too red. If magenta is blocked, prints look too green. If yellow is blocked, prints look too blue.
Pigment Settles in the Tubes
Black pigment ink is heavier than dye ink and can settle in the tubes. The first prints after a break may look faded until fresh ink pushes through, which is why the problem often improves as you print more color pages.
Air Gets Into the Ink Lines
Temperature changes can cause small air bubbles in the tubes, breaking the steady flow of ink. You may see banding, white lines, or a color that fades halfway down the page.
Step 1: Check Your Ink Levels and Paper First
Before you run any cleaning, rule out the simple causes. Cleaning uses ink, so there is no point starting it if a tank is almost empty.
- Look at the front windows of all four tanks. Each tank should be above the lower line. Top up any low color with the correct Canon GI-series bottle for your model.
- Check that you refilled the right color in the right tank in the past. A tank filled with the wrong color will keep printing wrong colors until it is emptied, which needs a service visit.
- Load plain A4 or Letter paper, not photo paper, for all test prints.
- Open the printer driver on your computer and confirm the paper type is set to Plain Paper and the color mode is not set to Grayscale or Monochrome.
- Print a simple test page from any app. Note which colors look wrong. This helps you read the nozzle check in the next step.
Step 2: Print a Nozzle Check Pattern
The nozzle check is the most important test. It prints a grid for each color and shows you exactly which nozzles are blocked. Do not skip it and go straight to deep cleaning.
- Make sure the printer is on and has plain paper loaded.
- On Windows, open Control Panel, go to Devices and Printers, right-click your Canon printer, and choose Printing Preferences or Printer Properties.
- Open the Maintenance tab and select Nozzle Check.
- On a Mac, open System Settings, go to Printers and Scanners, select your printer, open Options and Supplies, then Utility, and run the nozzle check from there.
- On models with a small screen, you can also find Nozzle Check under Setup, then Maintenance on the printer itself.
Look closely at the printed pattern. Each color block should be solid with no missing lines. Gaps, streaks, or a completely missing color confirm a clog. Canon explains this test in detail in the official Canon nozzle check guide for PIXMA printers, which is worth reading if your pattern looks unusual.
Step 3: Run a Standard Cleaning Cycle
If the nozzle check shows gaps, run the standard cleaning. This pushes a small amount of ink through the printhead to clear light clogs.
- From the same Maintenance tab or menu, select Cleaning.
- Choose All Colors if more than one color is affected. Choose a single color group only if the pattern shows just one bad color.
- Start the cleaning and wait until it finishes. Do not turn the printer off during the cycle.
- Print another nozzle check pattern.
- If the pattern is better but not perfect, run one more standard cleaning and check again.
Stop after two standard cleanings. Repeating it wastes ink and fills the maintenance cartridge faster. If two cycles do not fix it, wait at least six hours — dried ink often softens slowly after cleaning.
Step 4: Print Full-Color Pages to Push Fresh Ink Through
After cleaning, the tubes may still hold old, settled ink. Printing helps more than another cleaning here.
- Print a bright photo or a color test chart with large blocks of cyan, magenta, yellow, and black.
- Print five to ten pages, one after the other.
- Watch the colors improve page by page. Steady improvement means the flow is returning.
While you work through these steps, keep the printer connected and online. If the printer also drops off your network during testing, fix that separately using our guide to fixing a printer that keeps showing offline so your test prints are not interrupted.
Step 5: Use Deep Cleaning or Ink Flush Carefully
If one color is still missing after standard cleaning and color printing, you may need a stronger step. On MegaTank models this is called Deep Cleaning, and some models also offer an Ink Flush.
Deep Cleaning
- Confirm all tanks are at least half full. Deep cleaning uses much more ink than standard cleaning.
- Open the Maintenance tab and select Deep Cleaning.
- Run it once, then print a nozzle check.
- Wait several hours before you judge the result. Do not run it twice in a row.
Ink Flush
An ink flush pushes a large volume of ink through the whole system. It can clear a severe blockage after months of no use, but it also uses a lot of ink and fills the maintenance cartridge quickly. Use it only once, and only when a color is completely missing. Canon warns about ink use for this feature in the Canon support article on ink flush for MegaTank printers. After a flush, check the maintenance cartridge status in the driver. If it is nearly full, replace it before you print large jobs.
Common Mistakes That Make Colors Worse
- Running deep cleaning many times in a row. This floods the printhead, wastes ink, and can create new air bubbles. One careful cycle, then waiting, works better.
- Removing the printhead and washing it under a tap. Water and rough handling can damage the electrical contacts. Avoid home soaking tricks unless you accept the risk of killing the printhead.
- Using cheap refill ink of the wrong type. Mixing dye and pigment ink, or using very thick third-party ink, can cause lasting color shifts and clogs.
- Testing only with photos. A photo can hide which color is missing. Always judge progress with the nozzle check pattern first.
- Ignoring the paper and driver settings. Photo paper settings on plain paper, or a leftover grayscale setting, can look exactly like a clogged printhead.
How to Prevent Wrong Colors in the Future
Prevention is simple. Print something in color at least once every one to two weeks — a single bright test page is enough. Leave the printer plugged in so it can run its own maintenance, and keep it away from heaters and direct sunlight. If you must store it for months, run a nozzle check before storage and expect to clean again when you return.
Conclusion
Wrong colors after months without use are almost always caused by dried nozzles, settled pigment, or air in the ink lines, not by a dead printer. Start with ink levels and a nozzle check, use standard cleaning once or twice, then print full-color pages to restore the flow. Keep deep cleaning and ink flush as last steps, use them once, and give the printer time. With this patient order, most MegaTank printers return to normal colors without any parts or repairs.
Frequently Asked Questions
Can old ink in MegaTank tanks expire and cause wrong colors?
Ink that has sat for a few months is usually still fine. The problem is normally drying at the printhead, not the ink itself. For a normal break of three to six months, cleaning is the right first fix.
How many cleaning cycles are safe to run in one day?
Run up to two standard cleanings, then wait at least six hours. Run deep cleaning at most once in 24 hours. More cycles waste ink, fill the maintenance cartridge, and rarely clear a clog faster. Waiting lets softened ink clear on its own.
Why is only one color missing on my prints?
Each color has its own nozzles and ink line. One line can clog while the others stay fine. The nozzle check shows this clearly because only that color block will have gaps. Clean that color group first if your driver allows it.
Will printing in black only protect the color nozzles?
No. Black-only printing does not move color ink, so the color nozzles can still dry out. Print a small color page regularly even if your normal work is documents. This simple habit prevents most long-break color problems.
When should I contact Canon for a repair?
Contact Canon if a color stays completely missing after one deep cleaning or ink flush, if you see ink leaking, or if errors appear during cleaning. Also get help if the wrong ink was filled into a tank, because that needs proper draining.
Leave a Reply