
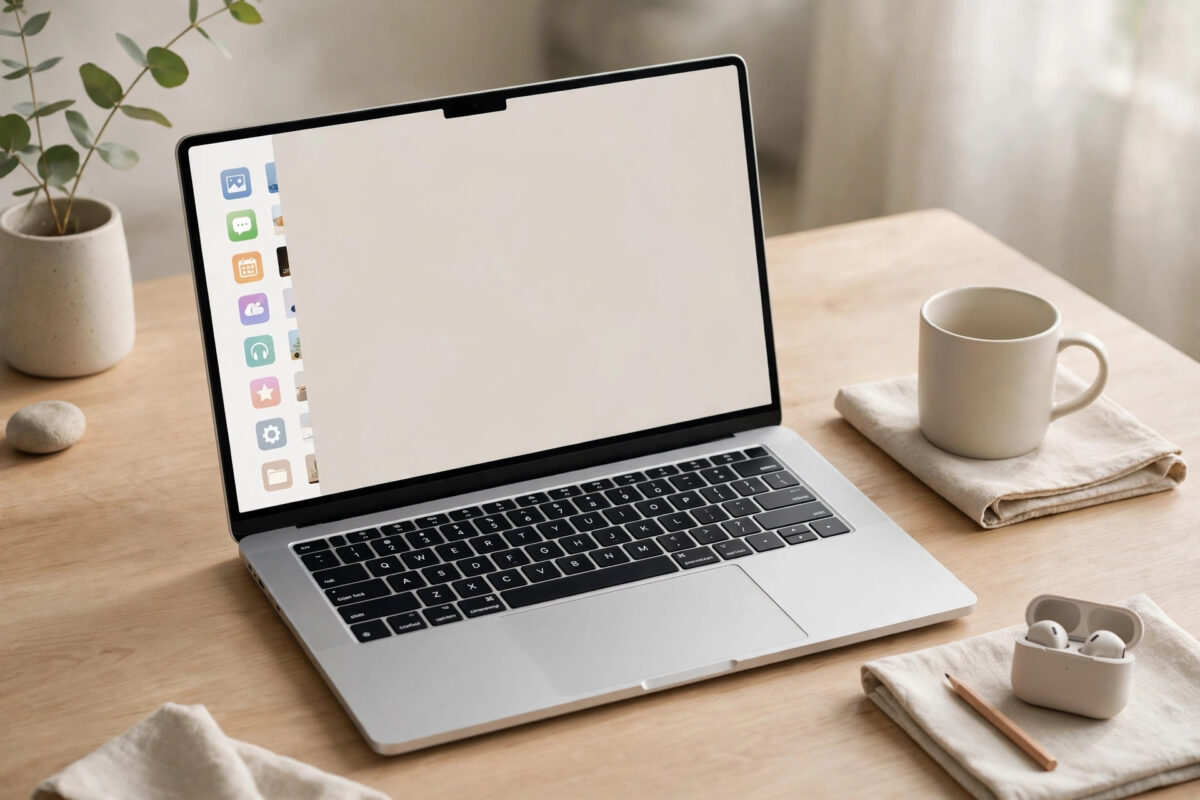
If your Mac desktop tends to dissolve into a pile of overlapping windows — documents behind browsers behind chat apps — Stage Manager offers a different way to work. Introduced in macOS Ventura, it sweeps everything except the app (or group of apps) you are using into a tidy shelf of thumbnails along the left edge of the screen. One click swaps your whole workspace. This guide explains how to turn Stage Manager on, how to group and arrange apps, the settings that make it feel right, and who tends to love it versus who should stick with classic windows and desktops.
Quick Answer
To use Stage Manager on a Mac, click the Control Centre icon in the menu bar and click “Stage Manager” to turn it on (or enable it in System Settings under Desktop & Dock). Your current app stays centre stage and other open apps become thumbnails on the left. Click a thumbnail to swap it into the centre, drag a thumbnail onto the stage to group apps together, and drag windows between the stage and the shelf to build groups for each task. Turn it off from the same Control Centre button whenever you want the classic desktop back.
Turning Stage Manager On and Off
- Click the Control Centre icon in the Mac menu bar.
- Click the Stage Manager button to switch it on. (If the button is missing, open System Settings, go to Control Centre, and set Stage Manager to show in the menu bar or Control Centre.)
- Your open windows reorganise instantly: the app you were using stays in the middle and the rest line up as thumbnails on the left.
- To turn it off, click the same Stage Manager button again — every window returns to a normal desktop arrangement; nothing closes.
You can also enable it in System Settings under Desktop & Dock, where its detailed options live. Nothing about Stage Manager affects your files or apps; it is purely a way of arranging windows, safe to try for an afternoon and abandon if it does not suit you. Apple introduces the feature in its support article on organising windows with Stage Manager, which includes the grouping gestures in motion.
Working With the Shelf: Swapping and Grouping
The left-hand strip is a shelf of your other workspaces. Clicking any thumbnail brings that app — or group — to the centre stage and sends the current one back to the shelf. The real power is in groups: drag a thumbnail from the shelf onto the stage to add that app to the current group, so the two apps share the stage together. Drag a window from the stage out to the left edge to push it into its own shelf spot. In this way you can build a group per job: browser plus notes for research, spreadsheet plus email for reports, chat plus calendar for planning. Groups remember their membership while Stage Manager stays on, so switching between projects becomes one click instead of a window hunt.
Stage Manager combines well with the classic tools rather than replacing them. You can still use Split View for two apps side by side inside the current stage, and separate desktops still exist behind it — many people use one desktop per broad area and Stage Manager to tidy each desktop.
Settings That Make Stage Manager Feel Right
Open System Settings, go to Desktop & Dock, and find the Stage Manager section:
- Recent Apps (show the shelf): Choose whether the thumbnail strip is always visible or hides until you move the pointer to the left edge. Hiding it reclaims screen width on small displays; showing it makes switching faster.
- Desktop items: Decide whether files and folders on your Desktop stay visible. Stage Manager can hide desktop clutter while it is active, which many people find calming; your files are one click away either way.
- Show windows from an application: Choose “One at a Time” to bring a single window forward, or “All at Once” to bring every window of an app together. All at Once feels closer to classic behaviour; One at a Time is the true Stage Manager style.
- Stage Manager on external displays: It works on each screen, so a second monitor gets its own stage and shelf.
Give these settings a day of real work before judging; Stage Manager feels strange for the first hour and natural by the second day for most people who stick with it.
Who Stage Manager Suits — and Who It Does Not
Stage Manager shines for people who work in task-shaped chunks: write, then research, then communicate, with a small set of apps per task. It is also excellent on a single laptop screen where space is precious, and for anyone distracted by visual clutter. It frustrates people who keep many windows of the same app spread out (its one-at-a-time default fights them until adjusted), people who constantly drag content between many apps, and multi-monitor power users with a practised manual layout. If you fall in the second camp, multiple desktops with Mission Control may serve you better — but the honest test is a day of use, not a first impression.
Common Mistakes to Avoid
- Judging it in five minutes. The shelf breaks years of window habits. A day of normal work is a fair trial.
- Leaving the shelf visible on a small screen. Set it to auto-hide if the strip eats too much of a 13-inch display.
- Not grouping deliberately. Stage Manager with random single-app stages is just slower window switching. Build groups by task.
- Thinking windows closed. Nothing closes when you switch stages or turn the feature off — everything is on the shelf or back on the desktop.
A One-Day Trial Plan
If you are curious but unconvinced, run a fair experiment. In the morning, turn Stage Manager on, set the shelf to auto-hide if your screen is small, and choose “All at Once” for application windows so the change feels gentle. Build three groups as work demands them: your main production app alone on its stage, your browser with a notes app for research, and mail with chat for communication. Every time you catch yourself hunting through overlapping windows, drag the offenders into their group instead. By the end of the day, count how often the shelf took you straight to the right window set versus how often you missed the old pile. Most converts report the same pattern: hour one feels odd, hour three feels organised, and by the next morning the classic desktop looks strangely chaotic in comparison.
Conclusion
Stage Manager replaces the pile-of-windows desktop with a calm stage and a shelf of one-click workspaces. Turn it on from Control Centre, group your apps by task, tune the shelf and window settings to your screen, and switching between projects becomes a single click. Try it for a full working day — it is the fairest way to find out whether it is your kind of order.
Frequently Asked Questions
Does Stage Manager work on all Macs?
It requires macOS Ventura or later. Any Mac that can run Ventura or newer supports it, on the built-in display and external monitors.
Can I use Stage Manager and multiple desktops together?
Yes. Each desktop (Space) gets its own stage and shelf, so the two systems combine rather than compete.
How do I add an app to the current stage?
Drag its thumbnail from the left shelf onto the centre stage. To remove one, drag its window toward the left edge or click another stage to swap away.
Why do my desktop files disappear with Stage Manager on?
A Stage Manager option hides desktop items while it is active. Turn “Desktop items” on in Desktop & Dock settings if you prefer them visible.
Is there a keyboard shortcut for Stage Manager?
There is no default shortcut to toggle it, but you can create one for the Control Centre action in Keyboard settings, or simply keep the button visible in the menu bar via Control Centre settings.
[…] room with mail and chat — and let each room hold only its own tools. Pairing this with Stage Manager on each desktop is possible too, though most people find one organising system per desktop is […]