
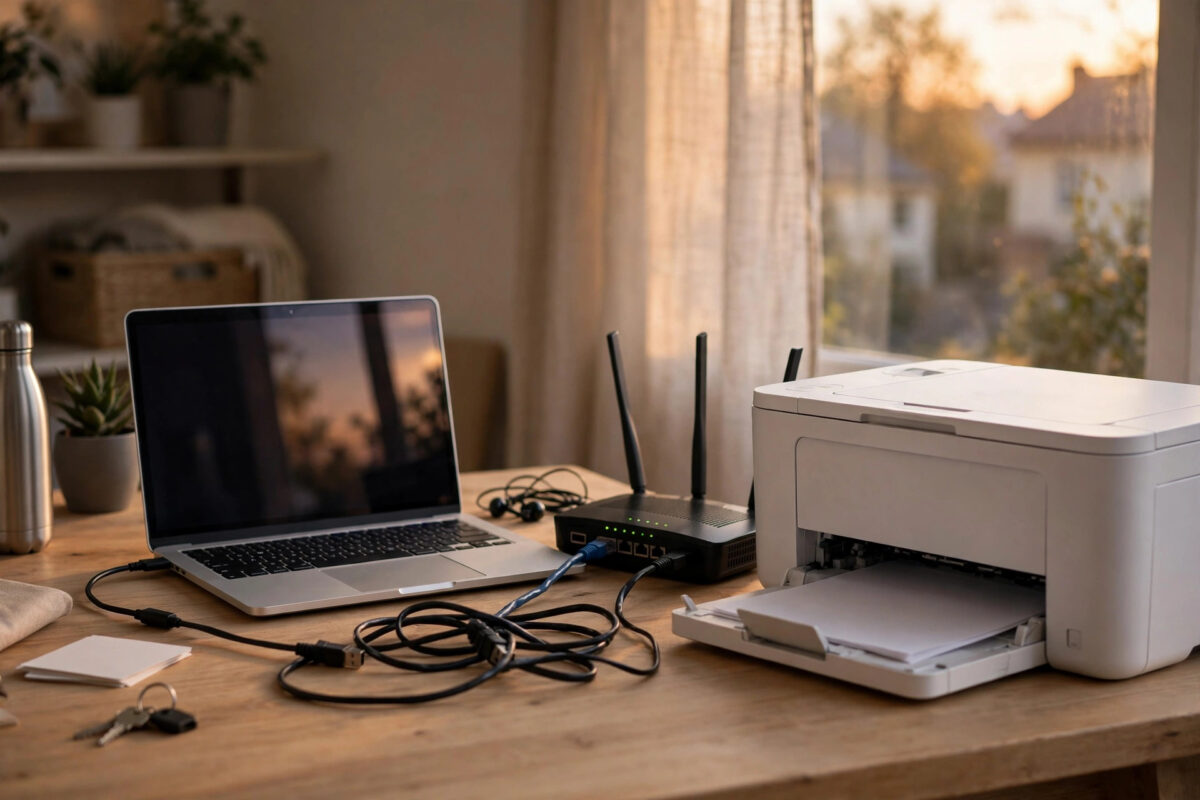
Your HP printer works perfectly one day and shows as offline the next, even though nobody touched it. In many homes and small offices, the hidden cause is simple: the router gave the printer a new IP address during the night, and your computer is still looking for it at the old address. The printer is not broken at all — it has just moved to a new network address without telling anyone.
Setting a static IP address fixes this . A static IP means the printer always keeps the same address on your network, so Windows, Mac, phones, and tablets can always find it. This guide explains how to choose a safe address, set it through the printer’s built-in web page, reserve it on your router, and test that everything still works afterwards.
Quick Answer
Print a network configuration page from your HP printer to find its current IP address, type that address into a web browser to open the printer’s Embedded Web Server, and under Network or Wireless settings change IPv4 from Automatic/DHCP to Manual/Static. Enter a fixed address outside your router’s DHCP range, keep the same subnet mask and gateway, save, and restart the printer. Also reserve the same address on your router if it supports DHCP reservation.
Why Printers Go Offline When Their IP Address Changes
Most home networks use DHCP: the router lends addresses such as 192.168.1.105 for a limited time. When the lease expires or the router restarts, that address may go to another device and the printer gets a new one, such as 192.168.1.112.
Your computer, however, often keeps the printer installed at the old address. Every print job then goes to a location where the printer no longer lives, and Windows or macOS reports the printer as offline. Reinstalling the printer fixes it for a week or a month, until the address changes again. A static IP breaks this cycle because the address never changes. For other causes of the same symptom, see our guide to fixing a printer that keeps showing offline, which covers driver, Wi-Fi, and queue problems alongside this network fix.
Before You Start: Find Your Network Details
You need three pieces of information before you change anything. Getting them first prevents the classic mistake of setting an address the printer cannot use to reach the network.
Print a network configuration page
- On most HP printers, open Setup on the control panel, then Reports or Network Settings, and choose Print Network Configuration Page.
- On DeskJet models without a full screen, press the Information button, or press the Wireless and Information buttons together, to print the network report.
- From the printed page, note the current IPv4 address, the subnet mask (usually 255.255.255.0), and the default gateway (usually the same as your router address, such as 192.168.1.1).
Find your router’s DHCP range
The DHCP range is the pool the router hands out automatically, for example 192.168.1.100 to 192.168.1.199. Your static address should sit outside this pool but inside the same network, so the router never lends it to another device. Check the range under LAN or DHCP settings on your router’s admin page. Safe choices are numbers below the pool, such as 192.168.1.50, or above it, such as 192.168.1.220.
Write down your plan
For example: gateway 192.168.1.1, subnet mask 255.255.255.0, printer static IP 192.168.1.220. Keep the first three parts identical to the gateway and change only the last number.
Method 1: Set a Static IP Using the Embedded Web Server
The Embedded Web Server, or EWS, is the printer’s own settings website. It works on almost every network HP printer and is the most reliable method.
- On a computer connected to the same network, open a web browser.
- Type the printer’s current IP address from your network page into the address bar and press Enter. Ignore any browser warning about the certificate and choose Advanced, then Proceed, if it appears — this is normal for a local printer page.
- If the page asks for a password, use the administrator password you set previously, or the PIN printed on the label inside the cartridge access door on newer models.
- Click the Network or Networking tab, then open Wireless (802.11) or Wired, depending on how the printer connects.
- Open IPv4 Configuration.
- Change the setting from Automatic IP or DHCP to Manual IP or Static.
- Enter your chosen static IP address, the subnet mask, and the default gateway exactly as planned. In the DNS fields, enter the gateway address, or leave the printer’s suggested DNS if it is already filled in.
- Click Apply or Save. The printer will drop off the network for up to a minute while it restarts its connection.
- Type the new static IP address into your browser and confirm the EWS opens. That proves the printer is reachable at its new address.
HP’s own walkthrough of this process is available on the HP guide to assigning a manual IP address, which includes screenshots for several printer families if your menus look slightly different.
Method 2: Reserve the Address on Your Router
DHCP reservation achieves the same result from the router’s side: the router always gives the printer the same address, while the printer itself stays on automatic. Doing both this and Method 1 with the same address is belt and braces, but if you do only one, reservation is often the easiest to undo later.
- Log in to your router admin page using the gateway address.
- Find DHCP settings, Address Reservation, or a list of connected devices. The wording varies by brand.
- Find your HP printer in the device list. Confirm it by matching the MAC address with the one printed on your network configuration page.
- Choose Reserve or Add, and assign your planned static address to the printer’s MAC address.
- Save the settings. Some routers restart at this point.
- Restart the printer so it requests its address again and receives the reserved one.
- Print a fresh network configuration page and confirm the IP matches your reservation.
Update Your Computers to Use the New Address
Changing the printer’s address is only half the job. Your computers may still hold the old address, so refresh the connection once after the change.
On Windows
- Open Settings, Bluetooth and Devices, Printers and Scanners.
- If the printer shows offline, remove it, then click Add Device and let Windows find the printer at its new address. Installing it fresh also gives it the correct new port.
- Alternatively, if you know your way around printer ports, open Printer Properties, Ports tab, and edit the Standard TCP/IP port to the new static address. Reinstalling is simpler and safer for most users.
- Print a test page.
On Mac, remove the printer in System Settings, Printers and Scanners, then add it again at the new address and print a test page. Repeat this once on each computer that prints. Phones using HP Smart or AirPrint usually rediscover the printer automatically by name, so they rarely need changes. If HP Smart still shows the old printer as offline, remove it in the app and add it again; the general steps are also summarised on the HP wireless printer support page.
After the change, restart the printer and router and print from a second device to confirm the fix.
Common Mistakes and Troubleshooting Tips
- Choosing an address inside the DHCP pool: The router may later lend your printer’s address to a phone, creating a conflict where both devices fail. Pick an address outside the pool.
- Typing the wrong gateway: If the gateway is wrong, the printer may print from some apps but fail to scan or update. Copy the gateway exactly from the original network page.
Conclusion
A static IP address stops your HP printer from vanishing off the network every time the router reshuffles addresses. Print a network configuration page, choose an address outside the DHCP pool, set it in the printer’s Embedded Web Server, reserve the same address on your router, and re-add the printer on each computer. Finish with restart tests on both the printer and the router. It takes about fifteen minutes once, and it removes one of the most common and most annoying causes of a printer showing offline for good.
Frequently Asked Questions
What IP address should I choose for my printer?
Pick an address on the same network as your router but outside its DHCP pool. For example, if your gateway is 192.168.1.1 and the DHCP pool runs from .100 to .199, choose something like 192.168.1.220 or 192.168.1.50. Keep the first three number groups the same as the gateway and change only the last one.
Is a static IP better than a DHCP reservation?
Both keep the printer at one address. A reservation is managed in one place — the router — and is easier to change if you replace the router. A static IP set on the printer survives router swaps but must be rechecked if the new router uses a different address range. Many users set the reservation only, or set both to the same address.
Will a static IP make my printer faster or improve print quality?
No. A static IP only affects how reliably devices find the printer. It does not change print speed or quality. Its benefit is stability: no more offline errors after router restarts, and scanning and HP Smart connections that keep working month after month.
I set a static IP and now nothing prints. What went wrong?
The most likely causes are a typo in the address or gateway, an address that conflicts with another device, or computers still pointing at the old address. Print a network configuration page to see the actual settings, compare them with your plan, and remove and re-add the printer on your computer. If needed, set IPv4 back to Automatic in the EWS and start again.
Do I need to set a static IP for a USB-connected printer?
No. Static IPs only matter for network connections over Wi-Fi or Ethernet. A USB printer talks directly to one computer through the cable, so it has no network address to change. If you later connect that printer to Wi-Fi for sharing, that is the time to set a fixed address.
Leave a Reply