
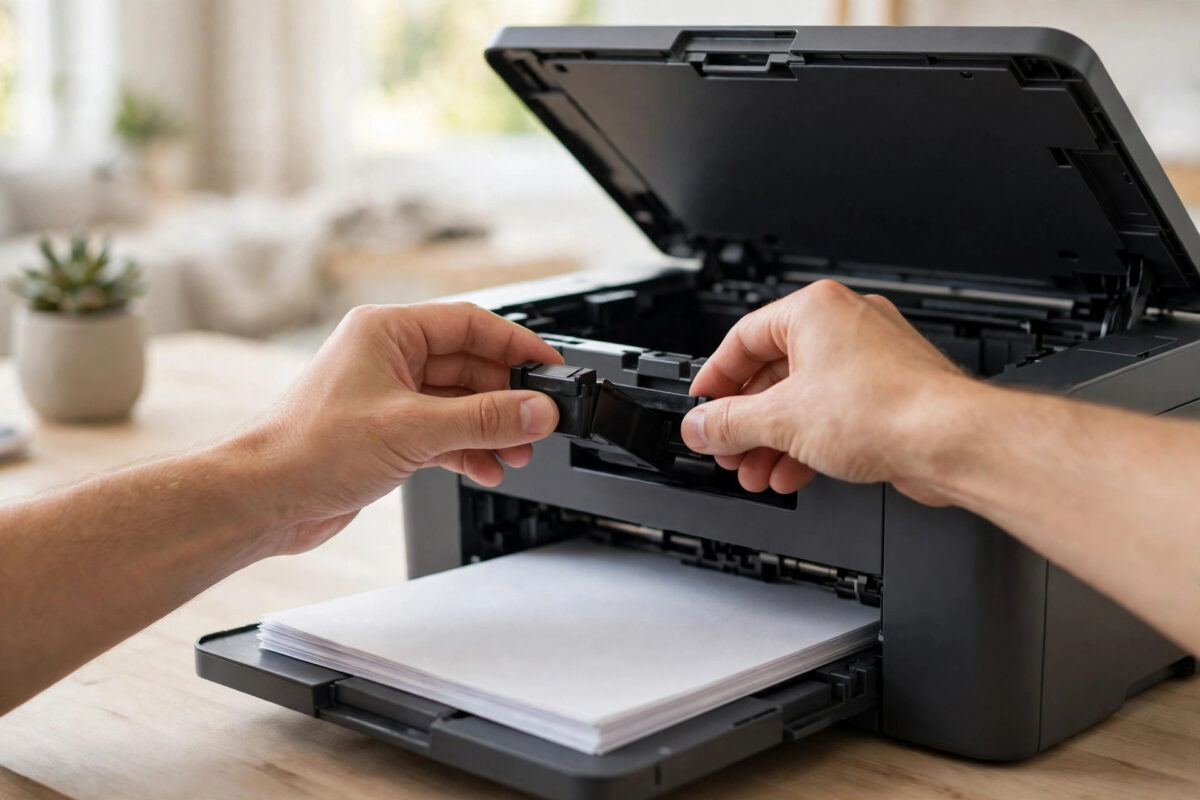
You change an empty cartridge, close the lid, send a document to print, and the printer happily feeds paper through — but every page comes out completely blank. It is one of the most frustrating printer problems because the printer sounds healthy, shows no error, and the cartridge is brand new.
The good news is that blank pages right after a cartridge change are rarely a sign of a dead printer. In most cases the cause is simple: protective tape left on the new cartridge, a cartridge that is not seated properly, blocked vents, or printhead nozzles that need cleaning after sitting with an empty cartridge. This guide explains each cause in order, from the fastest checks to the deeper cleaning steps.
Quick Answer
Turn the printer on, open the cartridge door, remove the new cartridge, and check that the orange or blue protective tape over the copper contacts and ink nozzle is fully removed. Reinstall it until it clicks, close the door, and run a printhead cleaning from HP Smart or the printer menu. If pages are still blank, clean the cartridge contacts, check the vent on top of the cartridge, and print a test page to confirm the fix.
Why a New Cartridge Can Print Blank Pages
Understanding what happens inside the printer helps you fix the problem faster. An inkjet cartridge delivers ink through tiny nozzles on the printhead. Anything that blocks those nozzles, blocks air from entering the cartridge, or breaks the electrical connection between the cartridge and the printer will stop ink reaching the paper — even though the printer moves and sounds normal.
- Protective tape still fitted: New cartridges ship with tape over the nozzle and contacts to stop leaks and drying. If even a small piece remains, no ink can flow.
- Blocked vent: Ink cartridges need air to enter as ink leaves. A vent covered by tape or a label creates a vacuum and ink stops flowing after a page or two — or never starts.
- Poor electrical contact: The printer reads the cartridge chip through small copper contacts. Dust, a fingerprint, or a cartridge that is not fully clicked in can break that connection.
- Dried or clogged printhead: If the old cartridge sat empty in the printer for days or weeks, ink inside the printhead can dry and form a clog that a fresh cartridge alone cannot clear.
Step 1: Check the New Cartridge Outside the Printer
Start here, because this step fixes the majority of cases and takes two minutes.
- Turn the printer on and open the cartridge access door. Wait until the carriage stops moving and is silent.
- Press down gently on the new cartridge and slide it out. Hold it by its sides and avoid touching the copper contacts or the nozzle plate.
- Look at the underside and back of the cartridge. Remove any remaining plastic tape, film, or orange clip. The copper contacts and the nozzle strip should be fully visible and clean.
- Check the top of the cartridge. Find the small vent hole, usually under the label near the top edge. Make sure it is not covered by leftover tape. For many HP cartridges, the top strip of the label should be peeled back exactly as shown on the cartridge packaging.
- Look for leaks, cracks, or a damaged chip. If the nozzle plate is scratched or the cartridge is leaking ink, do not reinstall it.
Step 2: Reinstall the Cartridge Correctly
- Slide the cartridge back into its matching colour-coded slot at a slight upward angle.
- Push firmly until you hear or feel a click. The cartridge should sit level with its neighbours and should not rock when you touch it lightly.
- Close the cartridge door and wait while the printer aligns or initialises the new cartridge. This can take one to two minutes.
- Print a test page. On the printer screen, go to Setup, Tools, or Printer Maintenance and choose Print Quality Report or Test Page. In HP Smart, open Printer Settings and look for Print Quality Tools.
If the test page shows colour blocks and text, your original problem is solved and you can print normally. If the test page is blank too, the problem is not your document or app, so continue with the cleaning steps below. You can also review general advice on the HP blank pages troubleshooting page for model-specific notes.
Step 3: Clean the Printhead
When a printer sits with an empty cartridge, the printhead is exposed to air and the remaining ink in the nozzles can thicken. A cleaning cycle pushes fresh ink through the nozzles to clear the blockage.
Clean from HP Smart
- Open HP Smart on your Windows PC, Mac, or phone and select your printer.
- Go to Printer Settings, then Advanced Settings or Print Quality Tools.
- Choose Clean Printhead or Clean Cartridges and follow the on-screen steps.
- Print the test page offered at the end of the cleaning.
Clean from the printer control panel
- On the printer screen, open Setup or the wrench icon.
- Choose Printer Maintenance or Tools.
- Select Clean Printhead and confirm.
- Wait for the cycle to finish completely before printing a test page.
If the test page improves but still has gaps, run one more cleaning cycle. Avoid running more than two or three cycles back to back, because each cycle uses ink and fills the waste ink area. If two cycles change nothing, leave the printer switched on for a few hours. Sometimes the fresh ink slowly softens the clog on its own, and a test page later in the day prints correctly.
Step 4: Clean the Cartridge Contacts
If the printer does not recognise the cartridge properly, it may run the print job without firing the nozzles. Cleaning the contacts restores the connection.
- Turn the printer on, remove the cartridge, then unplug the power cable while the printer is still on.
- Lightly dampen a lint-free cloth or coffee filter with distilled water. It should be damp, not wet.
- Gently wipe the copper contacts on the cartridge in one direction. Do the same for the matching contacts inside the carriage.
- Let everything dry for ten minutes.
- Reinstall the cartridge, plug the printer back in, turn it on, and print a test page.
Never use tap water with strong minerals, alcohol, or paper towels that leave fibres. Distilled water and a lint-free cloth are the safe combination recommended in most HP maintenance guides, including the HP printer support hub.
Step 5: Check Settings, Paper, and the Old Cartridge Test
If cleaning did not help, run these checks to narrow down whether the fault is the cartridge, the printhead, or the settings.
- Try the old cartridge again: If the old cartridge still has a little ink and prints even faint text, the printhead works and the new cartridge is faulty. Replace or return the new cartridge.
- Confirm the cartridge number: Compare the number on the box with the number listed inside your printer door. Similar models often use cartridges that fit physically but do not work correctly.
- Rule out connection issues: If jobs also go missing or the printer drops offline between attempts, work through our guide to fixing a printer that keeps showing offline so test pages are not lost in the queue.
Common Mistakes to Avoid
- Shaking the cartridge hard: A gentle rock is enough to settle ink. Hard shaking can leak ink inside the printer and damage the contacts.
- Touching the nozzle plate: Skin oil can block nozzles. Always hold cartridges by the plastic sides.
- Leaving the printer off for weeks with empty cartridges: This is how printheads clog. Replace empty cartridges promptly, and if you print rarely, print one colour test page every two weeks to keep ink moving.
- Running endless cleaning cycles: More than three cycles in a row wastes ink without fixing a hardware fault. Stop, let the printer rest, and test the old cartridge instead.
Conclusion
Blank pages after a cartridge change almost always come down to tape, seating, vents, contacts, or a clogged printhead. Remove the cartridge and inspect it first, reinstall it until it clicks, then run one or two printhead cleanings and print a quality report. Test with the old cartridge to prove whether the new one is faulty before buying another. Work through the steps in order and most printers are back to normal within fifteen minutes, without any repair bill.
Frequently Asked Questions
Why does my printer print blank pages but the ink levels show full?
The ink level reading comes from the cartridge chip, not from ink actually reaching the paper. Tape over the nozzle, a blocked vent, dirty contacts, or a clogged printhead can all stop ink flow while the chip correctly reports a full cartridge. Start with the tape and vent checks, then run a cleaning cycle.
Can a brand new cartridge be faulty?
Yes, it happens occasionally with both genuine and third-party cartridges. If the old cartridge prints something, even faintly, and the new one prints nothing after cleaning, the new cartridge is the problem. Keep the receipt and packaging and ask the seller for a replacement.
How many printhead cleaning cycles should I run?
Run one cycle, print a test page, and run a second only if you see improvement. If two or three cycles make no difference, stop to avoid wasting ink. Let the printer sit powered on for a few hours and try once more, then move on to contact cleaning or cartridge replacement.
My printer prints colour but not black after a cartridge change. What should I check?
Focus on the black cartridge only. Remove it, confirm the tape and vent are clear, clean its contacts, and reseat it until it clicks. Then run a cleaning cycle. If black is still missing while colours print, the black nozzles are clogged or that single cartridge is defective.
Will removing the protective tape void my warranty?
No. Removing the shipping tape is a required part of installing the cartridge, and the packaging shows exactly which strip to pull. Just avoid touching the copper contacts and nozzle plate while you do it, and never remove labels that the instructions tell you to keep.
Leave a Reply