
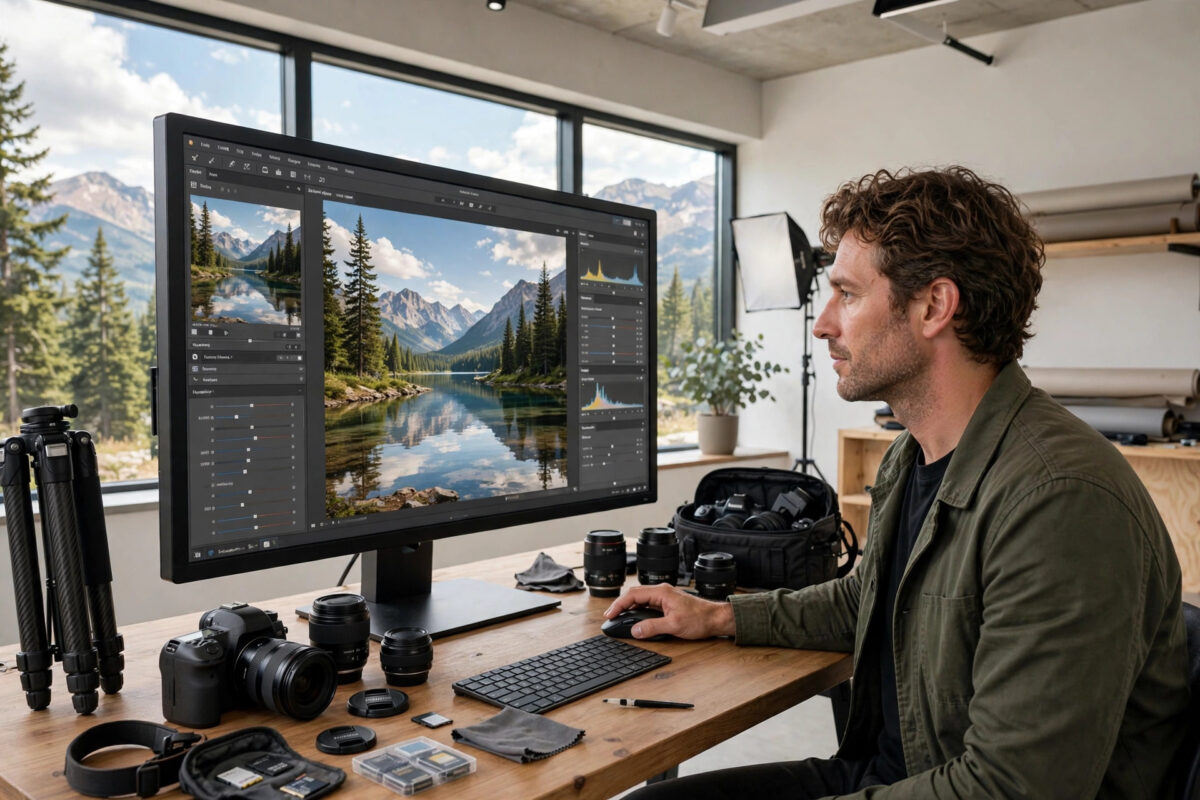
You have the perfect photo — but it is the wrong shape. The portrait shot needs to become a wide banner, the square product image must fill a story format, or the top of someone’s head is cut off by a fraction. Cropping loses more of the picture. An AI image extender solves this by inventing the missing surroundings: it analyses your photo and paints new background beyond the edges so naturally that viewers cannot tell where the original ended.
This guide explains how AI outpainting works, walks you through extending a photo step by step, and shares the tricks that make the extended areas blend in seamlessly.
Quick Answer
To expand a photo’s background with an AI image extender, upload the picture to a tool such as Canva’s Magic Expand, Adobe Photoshop’s Generative Expand, or a free online outpainter, choose a larger canvas size or aspect ratio, and let the AI generate the missing edges. Review the join carefully, regenerate if the new area looks odd, and download the finished image. Extending works best on photos with simple, predictable surroundings like skies, walls, grass and studio backgrounds.
What Is AI Image Extending (Outpainting)?
Extending — also called outpainting or uncropping — is the opposite of cropping. Instead of cutting parts away, the AI adds new pixels around your image. It studies the colours, lighting, textures and perspective at the edges of your photo, then continues those patterns outward: more sky above, more table below, more street to the side.
Common reasons to extend a photo include converting a portrait image into a landscape banner for a website header, fitting a square Instagram photo into a vertical story, recovering a badly framed shot, creating breathing room around a product for text, and turning a small image into a desktop wallpaper. What once required an expert with Photoshop’s clone stamp is now a two-minute job.
The Best Tools for Extending Images
Canva Magic Expand — easiest for most people
Inside Canva’s photo editor, Magic Expand lets you grab an image, choose a new size, and generate extended edges in one click. It is part of Canva’s Magic Studio, available on paid plans, and it is the smoothest option for social media and marketing graphics. Start from the Canva website and look for Magic Expand in the photo editing tools.
Adobe Photoshop Generative Expand — best quality and control
Photoshop’s Crop tool now includes Generative Expand: enlarge the canvas, and Firefly fills the new space. Because it sits inside a professional editor, you can combine it with every other retouching tool, making it the choice for photographers and designers who need the cleanest results.
Free online extenders — good for quick jobs
Several web tools offer free outpainting with daily limits, including services built on open image models. Quality varies and free tiers add queues or watermarks, but for a quick banner or story background they are perfectly serviceable. If you are experimenting, pair them with the tools in our list of free AI image generators that need no sign-up to build a complete free image workflow.
How to Extend a Photo Step by Step
- Start with the best copy of the photo. Use the highest-resolution version you have. Extending cannot invent detail that a tiny, compressed image has already lost.
- Upload and open the extender. In Canva, add the photo to a design, select it, and choose Edit Photo → Magic Expand. In Photoshop, select the Crop tool, drag the canvas bigger, and enable Generative Expand.
- Choose the target size. Pick the aspect ratio you actually need — 16:9 for banners and YouTube, 9:16 for stories and Reels, or a custom size. Avoid extending further than about double the original dimensions in one go.
- Add a prompt if the tool offers one. A short description helps: “continue the sandy beach and ocean”, “more of the same wooden desk”. Leave it blank if the surroundings are obvious.
- Generate and compare variations. Most tools produce two to four options. Zoom to 100% and inspect the seam where old meets new, looking for bent lines, repeated patterns or strange objects.
- Extend in stages for big changes. Need a much wider image? Extend a little, save, then extend again. Small steps blend far better than one giant leap.
- Finish and export. Apply any final colour tweaks so the whole image matches, then export in your needed format at the highest quality offered.
Tips for Invisible Seams
- Simple backgrounds extend best. Sky, sea, lawns, plain walls and blurred studio backdrops are almost foolproof. Crowds, text and complex architecture are where extenders struggle.
- Watch straight lines. Horizons, table edges, fences and buildings must continue perfectly straight. If a variation bends them, reject it and regenerate.
- Keep people away from the edges. Extenders invent scenery well but bodies badly. If a person touches the edge of the original photo, extended limbs can look very wrong.
- Match the light. If one variation’s new area looks brighter or warmer than the original, pick another or correct it with a slight overall filter at the end.
- Extend before adding text. Create your extra space first, then design — never extend an image that already has text or logos near the edges.
Where Extending Shines in Real Projects
A few everyday jobs show why this feature has become a favourite. Bloggers turn a portrait phone photo into a wide header image without reshooting. Real-estate sellers widen a cramped room shot slightly so listings feel more open — without misrepresenting the room itself. Parents rescue group photos where one person stood half outside the frame’s comfortable margin, gaining breathing space around the group. And print shops extend backgrounds to reach bleed areas for posters and book covers, a job that used to mean an hour of manual cloning. In every case the pattern is the same: the photo was already good, it just needed more world around it.
Common Mistakes to Avoid
- Extending too far in one step. Doubling is a practical limit per pass; going further produces obvious fantasy scenery.
- Not zooming in to check. Extended areas look fine as thumbnails and terrible at full size. Always inspect at 100%.
- Extending images with text or faces at the border. The AI will happily invent extra letters and extra fingers. Crop those elements well inside the frame first.
- Forgetting the licence. Extending a photo does not change who owns it. Only extend images you own or have the right to edit.
- Upscaling a bad extension. Fix blending problems first; upscaling only makes them bigger.
Conclusion
AI image extenders turn the frustrating “wrong shape” problem into a two-minute fix. Upload your photo, pick the size you need, generate a few variations, and choose the one where the seam disappears. Keep extensions modest, avoid people and text at the edges, and even free tools will give you banners, stories and wallpapers that look like they were shot that way from the start.
Frequently Asked Questions
Is image extending the same as upscaling?
No. Upscaling makes the same picture bigger and sharper. Extending (outpainting) makes the canvas bigger by inventing new content around the edges. The two are often used together: extend first, then upscale.
Can I extend a photo for free?
Yes, several online tools offer free outpainting with daily limits or watermarks. Canva’s Magic Expand and Photoshop’s Generative Expand are paid features but produce the most reliable results.
How far can I extend a photo before it looks fake?
As a rule of thumb, up to about double the width or height per pass looks convincing on simple backgrounds. For bigger changes, extend in stages and check the seams after each step.
Does extending work on portraits of people?
Yes, if the person is fully inside the original frame with space around them. The AI extends the background, hair and clothing edges usually blend well, but never let the tool invent parts of a face or hands.
Will an extended photo lose quality?
The original part keeps its quality; the generated part is as sharp as the tool’s model allows. On some free tools the new area is slightly softer, which is rarely noticeable on backgrounds like sky or blur.


Leave a Reply