
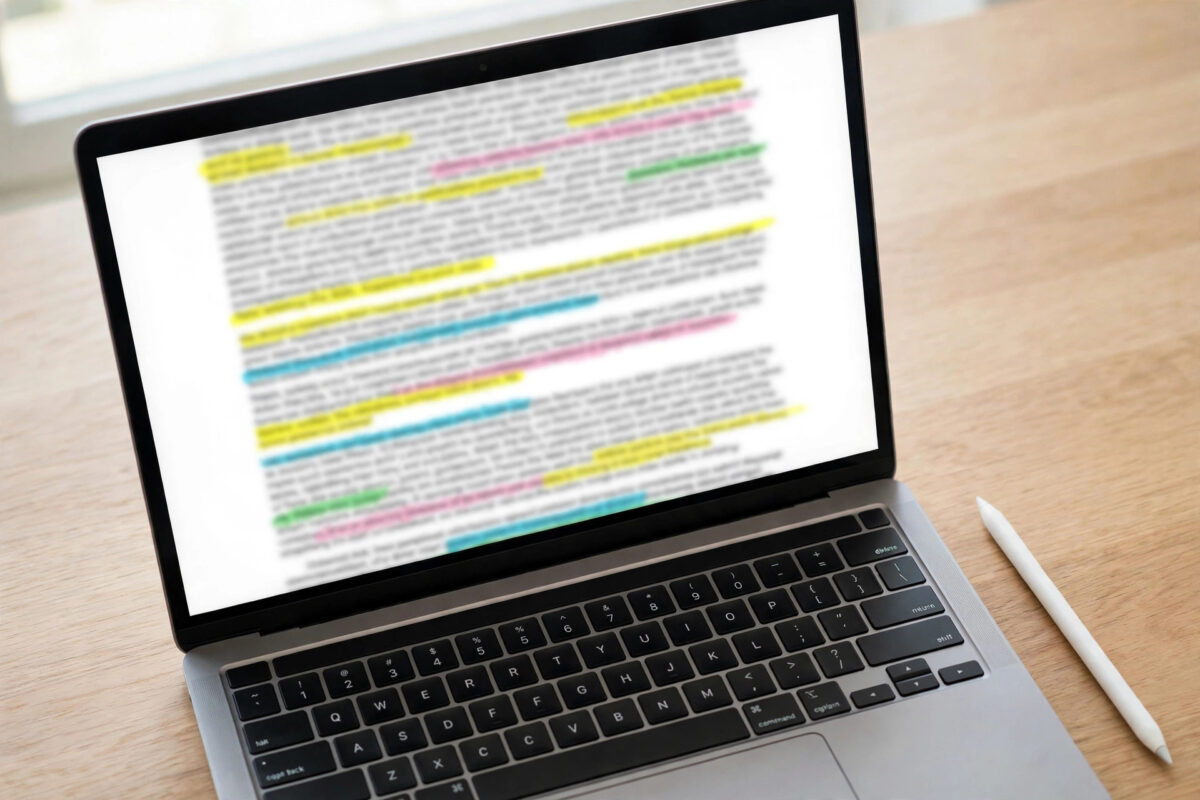
Many Mac owners assume they need expensive software to work on PDFs. In reality, the Preview app that ships free with every Mac can highlight text, add notes and shapes, fill in forms, rearrange and delete pages, merge documents, and even hide sensitive details. It cannot rewrite the printed text of a PDF the way a word processor can — no simple tool truly can — but for the marking-up jobs people actually do every day, Preview is more than enough. This guide walks through each feature step by step.
Quick Answer
Open the PDF in Preview and click the Markup button (pen icon) to reveal the annotation tools. From there you can highlight text, underline or strike through, add sticky notes, draw shapes and arrows, type text boxes, and sign forms. Use the sidebar’s thumbnail view to drag pages into a new order, delete pages, or drag pages between two open PDFs to merge them. Save or Export when finished to keep your changes.
Turn On the Markup Toolbar
Almost everything in this guide starts the same way:
- Double-click the PDF to open it in Preview (right-click and choose Open With, then Preview, if another app claims it).
- Click the Markup button in the toolbar — the pen-tip icon — or press Command + Shift + A.
- A row of tools appears: selection, sketch, shapes, text, sign, notes, and colour controls.
Annotations you add sit on top of the page as editable objects. You can click them later to move, restyle, or delete them before you save the final copy.
Highlight, Underline, and Strike Through Text
- Click the Highlight button (the marker icon) in the Markup toolbar, or choose Tools, then Annotate, then Highlight Text.
- Drag across the text you want to mark, exactly as you would select it for copying.
- Click the small arrow beside the Highlight button to switch the style to Underline or Strikethrough, and to change the colour.
- To remove a highlight, right-click the marked text and choose Remove Highlight.
Highlighting only works on real text. On a scanned PDF — which is really a photograph of a page — the text cannot be selected; use rectangles or the sketch pen to mark those areas instead.
Add Notes, Text Boxes, Shapes, and Arrows
Sticky notes
- Click the Note icon in the Markup toolbar (or press Command + Option + N in some versions).
- Click anywhere on the page to drop a small note icon, then type your comment in the box that appears.
- Readers see the icon and can click it to read your note; in the saved PDF the notes travel with the document.
Text boxes
- Click the Text button (T in a box) and a text box appears on the page.
- Type your text, then use the style button (the aA icon) to change the font, size, and colour so it matches or stands out from the document.
- Drag the box into position and drag its handles to resize it. This is also how you fill in forms that have no clickable fields.
Shapes and arrows
- Click the Shapes button and choose a rectangle, oval, line, or arrow.
- Drag on the page to place it, then adjust its colour, border thickness, and fill from the style controls.
- The Sketch tool (the squiggle icon) lets you draw freehand — draw a rough circle and Preview can snap it into a clean shape if the shape-recognition option is on.
Arrows plus short text boxes are the clearest way to give feedback on designs, documents, and screenshots. Apple’s guide to annotating PDFs in Preview on Apple Support lists every markup tool with examples.
Fill In and Sign Forms
Proper PDF forms have clickable fields: just click each field and type. For flat forms with blank lines but no fields, use text boxes positioned over each line. Signing uses your saved signature from the Sign tool — draw it once with the trackpad or camera, then place it wherever needed. If signing is your main task, our dedicated guide on signing a PDF on Mac with Preview walks through creating a natural-looking signature.
Rearrange, Delete, Rotate, and Merge Pages
The thumbnail sidebar turns Preview into a light document assembler:
- Choose View, then Thumbnails (or press Command + Option + 2) to show page thumbnails on the left.
- Reorder: drag a thumbnail up or down to move the page.
- Delete: click a thumbnail and press the Delete key. Select several pages with Command-click to remove them together.
- Rotate: select thumbnails and click the rotate button, or choose Tools, then Rotate Left/Right — useful for sideways scans.
- Merge PDFs: open a second PDF in its own window, show thumbnails in both, then drag thumbnails from one window into the other. Save the combined document with a new name.
- Extract pages: drag thumbnails out to the desktop to create a new PDF containing just those pages (on recent macOS versions you may need to drag into another Preview window instead).
Hide Sensitive Information
To blank out a private address or account number before sharing:
- Draw a filled rectangle over the text: choose the rectangle shape, set its fill to solid black and its border to none.
- Then Export the file (File, then Export) to flatten the annotation into the page.
A word of caution: on newer macOS versions Preview also offers a true Redact tool (Tools, then Redact) that removes the underlying text permanently. Prefer Redact when available, because a drawn shape over a live text layer can sometimes be peeled away by a determined reader of the un-flattened file. After exporting the flattened or redacted copy, open it and try selecting the hidden area — nothing should be copyable from underneath.
Common Mistakes and Helpful Tips
- Expecting to edit the original text. Preview annotates on top of a PDF; it cannot retype the document’s own words. For real content edits you need the source file or a full PDF editor.
- Saving over the only copy. Export your marked-up version under a new name so the clean original survives.
- Annotating a scanned PDF with text tools. Highlights fail on image-only scans — use shapes and text boxes, or run OCR in a scanning app first.
- Huge file sizes after adding images. Choose File, then Export, and pick the Reduce File Size Quartz filter when emailing large annotated PDFs.
- Losing annotations when sending. Always export or save before sending; annotations saved in Preview travel fine, but sending the file before saving loses your work.
Conclusion
Preview is a capable everyday PDF workshop: highlight and comment with the Markup toolbar, fill and sign forms, shuffle pages in the thumbnail sidebar, and merge documents by dragging pages between windows. It will not rewrite a PDF’s original text, but for reviewing, marking up, and assembling documents — the jobs most people actually face — it does everything needed, free and already installed.
Frequently Asked Questions
Can I change the actual words inside a PDF with Preview?
No. Preview adds annotations on top of the page but cannot edit the document’s built-in text. To change real content, edit the original file it was made from, or use a dedicated PDF editor.
Why can’t I highlight text in my PDF?
The PDF is probably a scanned image without a text layer. Use rectangle shapes or the sketch tool to mark areas instead, or run the scan through OCR software to create selectable text first.
How do I combine two PDFs into one file?
Open both PDFs, show thumbnails in each window, then drag page thumbnails from one document into the other at the position you want. Save the result with a new name.
Will my annotations show up for people on Windows?
Yes. Highlights, notes, shapes, and text boxes saved by Preview are standard PDF annotations that Adobe Reader and other Windows PDF apps display correctly.
How do I remove an annotation I added by mistake?
Click the annotation to select it, then press the Delete key. For highlights, right-click the highlighted text and choose Remove Highlight. Do this before exporting, since exporting flattens annotations into the page.
Leave a Reply