
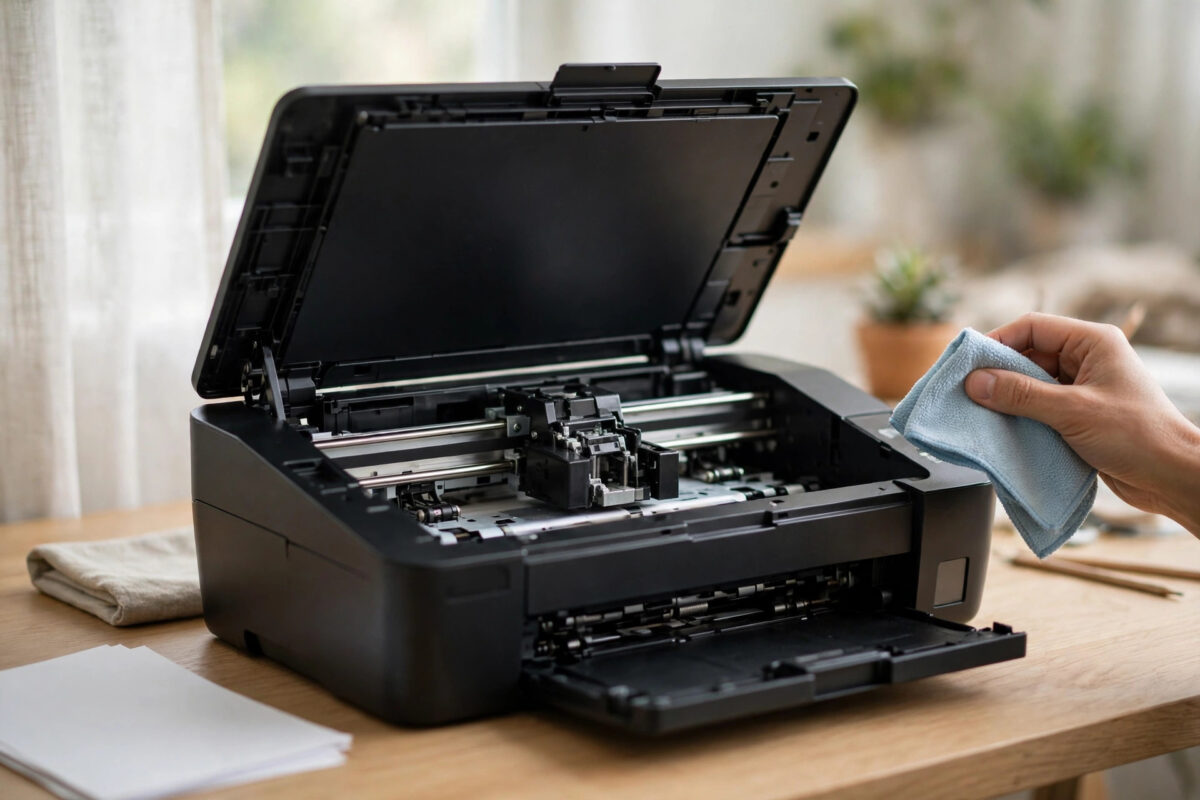
There are few printer sounds more worrying than a loud bang, a grinding noise, and then a complete stop. If your Epson printer suddenly shows error 0xF1 right after the printhead slams into the side of the machine, it is natural to think something has broken for good. In most cases, it has not. This error usually means the printer has lost track of where the printhead carriage is, or something is stopping it from moving smoothly along its rail.
The good news is that many causes are simple: torn paper, a dirty encoder strip, or a printer moved while switched on. This guide walks through safe checks in order, from a power reset to cleaning the parts that tell the printer where the carriage sits. Work slowly and never force anything.
Quick Answer
To fix Epson error 0xF1, turn the printer off, unplug it, and open the cover to check for jammed paper or debris under the printhead path. Clean the clear encoder strip gently with a dry lint-free cloth, make sure the carriage can slide smoothly, then plug the printer back in and restart it so it can find its home position again. If the error returns, clean and lightly check the carriage rail and test with all paper removed.
What Epson Error 0xF1 Actually Means
Error 0xF1 is a carriage or printhead movement error. Inside every Epson inkjet printer, the printhead sits on a carriage that moves left and right on a metal rail. A motor pulls it with a belt, and a thin clear plastic strip, called the encoder strip, runs behind the carriage. Tiny marks on that strip tell the printer exactly where the carriage is at any moment.
At start-up the printer moves the carriage, reads its position, and returns it to its home position. If it cannot read the position or the carriage hits something, it stops and shows 0xF1.
Hitting the side is a key clue. It often means the printer thought the carriage was somewhere else, so it kept driving it until it reached the physical end of the rail. That is why a dirty encoder strip is such a common cause. Ink mist builds up inside printers over time, and a thin film on the strip is enough to confuse the sensor.
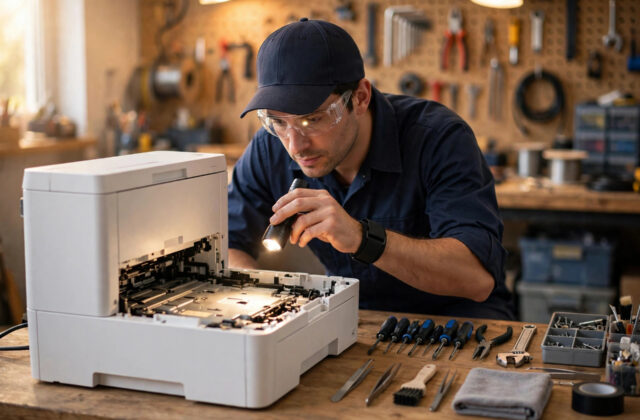
Use a dry lint-free cloth, a torch, and tweezers. Do not use tissues, which leave fibres, and never spray liquid directly inside the machine.
Step-by-Step Fix for Error 0xF1
Step 1: Do a Proper Power Reset
- Press the power button to turn the printer off.
- Unplug the power cable from the back of the printer and from the wall.
- Wait at least 60 seconds. This clears the temporary error state.
- Press the power button once while the printer is still unplugged to drain leftover charge.
- Plug the cable directly into a wall socket, not an extension lead, and turn the printer on.
- Listen as it starts. The carriage should move smoothly and settle without banging.
If the printer starts normally, print a nozzle check page from the maintenance menu. If the error returns straight away, move to the next step and do not keep restarting it, because repeated slamming can wear the belt.
Step 2: Check for Paper and Debris in the Carriage Path
- Turn the printer off and unplug it again. Never reach inside while it is powered.
- Open the scanner unit or top cover, following the hinges for your model.
- Shine a light along the full width of the carriage rail.
- Look for torn paper corners, labels that have peeled off, paper clips, or dried ink lumps.
- Remove anything you find with your fingers or tweezers, pulling gently in the direction the paper normally travels.
- Check the far left and far right ends of the rail, where scraps often hide.
Also remove all paper from the tray before testing, so the printer only has to reset the carriage.
Step 3: Move the Carriage by Hand, Gently
With the printer still unplugged, try to slide the carriage very slowly by hand. On many models it will be locked on the right side. If it does not move easily, do not force it. Some models release the lock when you unplug them while the carriage is away from its rest position, but the method varies, so check your model manual first.
If it moves, slide it slowly across. It should feel smooth. A gritty or sticky patch suggests dirt on the rail — clean that area with a dry cloth.
Step 4: Clean the Encoder Strip
This is the most important step for a printhead that hits the side.
- Find the thin, clear or smoky plastic strip that runs horizontally behind the carriage, just above the metal rail.
- Hold the strip steady with one hand so it does not bend or stretch.
- With the other hand, wipe along its length with a dry lint-free cloth. Pinch the cloth lightly around the strip and slide it across.
- Repeat two or three times, turning the cloth to a clean area each time.
- If you can see ink spots that will not move, use a cloth that is barely damp with clean water. Let the strip dry fully before you switch on.
Be careful: the strip is fragile and held by a small spring. Do not pull or twist it. If it is detached, scratched, or torn, the printer needs a repair.
For model-specific diagrams of the carriage area, check the official Epson support and manuals library for your exact printer model before you clean any internal part.
Step 5: Clean the Carriage Rail
- Wipe the metal rail with a dry cloth to remove dust and ink residue.
- Look for sticky patches where ink and dust have mixed together.
- Do not add household oil or spray lubricant. Most Epson rails need no extra lubrication, and the wrong product attracts more dust.
- Slide the carriage along the cleaned rail again to confirm the movement feels even.
Step 6: Restart and Test Without Paper
- Close the cover carefully.
- Plug the printer in and turn it on with no paper loaded.
- Watch and listen to the start-up movement. A healthy start is a smooth sweep and a quiet stop.
- If there is no error, load a few sheets of plain paper and print a test page.
- Run a nozzle check and a printhead alignment if your prints look shifted.
If your printer also struggles to pull paper in cleanly after this fix, our guide on how to fix Epson printer paper feed problems step by step covers the rollers and tray checks that often go with carriage errors.
Less Common Causes to Check
The Printer Was Moved or Knocked
If the error started after a move, the carriage may have shifted. In future, turn the printer off and let it settle before moving it flat with both hands.
Common Mistakes to Avoid
- Forcing the carriage: Pushing a locked carriage can break the lock, bend the rail, or damage the encoder strip.
- Using tissues or wet wipes: They leave fibres and chemicals inside the printer that make sticking worse.
- Spraying cleaner inside: Liquid can reach the sensor and circuit boards. Always put cleaner on the cloth, never in the machine.
- Restarting again and again: If you hear a bang each time, stop. Repeated impacts can turn a cleaning job into a parts replacement.
When to Stop and Get a Repair
Stop home fixes and contact Epson or a local repair service if the encoder strip is torn or detached, the belt is damaged, you hear a loud clicking from the motor on every start, or the error returns immediately after a careful clean with an empty paper path. Also seek help if you smell burning or see cracked plastic.
Conclusion
Epson error 0xF1 looks serious because the printhead hits the side, but the cause is often simple: the printer cannot tell where the carriage is, or something is in its way. A full power reset, a careful check for scraps, and a gentle clean of the encoder strip and rail fix a large share of cases at home. Take your time, never force the carriage, and test with no paper loaded first. If the error survives a proper clean, treat it as a hardware fault and get a professional opinion rather than risking more damage with repeated restarts.
Frequently Asked Questions
Can I keep printing if error 0xF1 only appears sometimes?
No, it is better to fix it now. An intermittent error usually means the encoder strip is getting dirtier or the carriage is starting to stick. Printing through it risks a harder impact that damages the belt or printhead, turning a simple clean into a costly repair.
Where is the encoder strip on my Epson printer?
It is the thin, clear plastic strip running horizontally behind the printhead carriage, slightly above the metal rail. It has very fine printed marks along it. Shine a light inside with the cover open and you will see it spanning the full width of the printer.
Will a factory reset fix error 0xF1?
Usually not. A factory reset changes settings, but 0xF1 is a movement or position problem. Dirt, debris, or a damaged part will still be there after a reset. Clean and check the carriage path first, and only reset settings if a support agent advises it for your model.
How much does a repair for 0xF1 usually cost?
Costs vary by model and country. A clean and inspection is the cheapest outcome, while a new encoder strip, belt, or carriage motor costs more in parts and labour. For an older low-cost printer, compare the repair quote with the price of a replacement before you decide.
Can thick paper cause error 0xF1?
Yes. Thick, curled, or poorly cut paper can jam or shed pieces into the carriage path, and peeling labels are a common hidden cause. Remove all media, check the full width of the path with a light, and test again with fresh plain paper.
Leave a Reply