
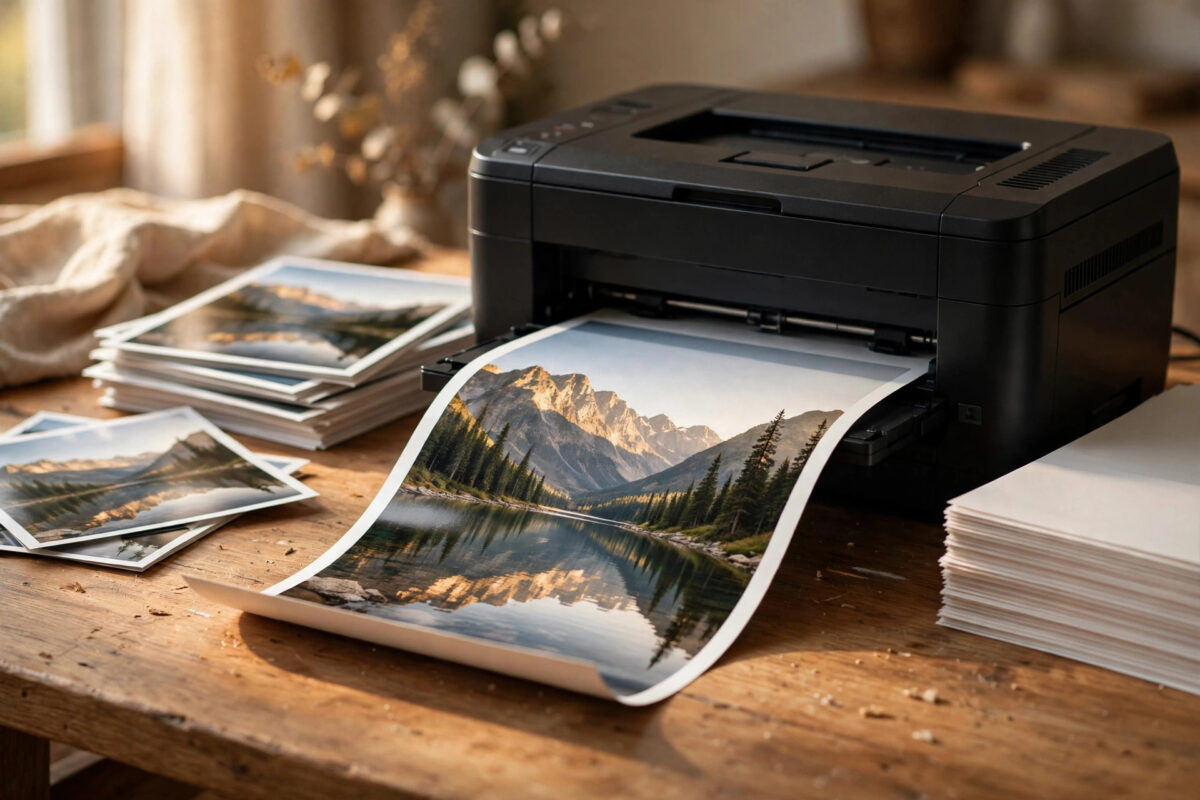
The Canon PIXMA TS9520 is one of the few home printers that can print borderless photos up to 11 by 17 inches, which makes it popular for posters, calendars, and large photo prints as well as everyday 4 by 6 snapshots. Yet many owners try borderless printing once, get a white edge on one side, a cropped head in a portrait, or ink on the platen, and give up. The printer is rarely at fault. Borderless printing only works when the paper, the paper source, the driver setting, and the image size all agree with each other.
Quick Answer
To print borderless photos correctly on the Canon PIXMA TS9520, load genuine photo paper in the rear tray, choose the exact paper size and photo paper type in the Canon driver, tick Borderless Printing, and set the amount of extension to a middle value. Make sure your image has enough resolution and a small margin of extra image around the subject, because borderless printing enlarges the image slightly so it covers the whole sheet. Print one test photo first and adjust the extension before printing a full set.
How Borderless Printing Works on the TS9520
A normal print leaves a white margin because the printer cannot print reliably right up to the exact edge of the paper while gripping it. Borderless printing solves this by enlarging your image a little so it slightly overflows the sheet on all sides. The small amount of ink that misses the paper lands on a special absorbent strip in the platen designed for exactly this job.
Paper Sizes and Sources That Support Borderless
On the TS9520, borderless works with common photo sizes such as 4 by 6, 5 by 7, 8 by 10, letter, and 11 by 17 inches, depending on the paper type selected. The rear tray is the right source for photo paper, because it handles thicker media on a straighter path. The front cassette is designed mainly for plain paper, and choosing it can remove the borderless option or feed photo paper poorly.
What You Need Before You Print
- Canon photo paper in good condition, flat and not curled, in the exact size you plan to select in the driver.
- Important detail kept away from the very edges of the image. Faces, text, and logos near the edge are at risk from the borderless enlargement.
- The full Canon driver installed, not only the basic driver your operating system added automatically. The basic driver often lacks the full borderless and extension controls.
If you need the full driver or the official manual for the TS9520, download them from the official Canon PIXMA TS9520 support page, which also lists the supported media for borderless printing on this model.
Step-by-Step: Borderless Printing From a Computer
- Load the photo paper in the rear tray. Open the rear tray cover and paper support, slide the guides out, and load the paper with the printable, glossier side facing up. Load one stack neatly, adjust the side guides so they touch the paper without bending it, and close the feed slot cover. When the paper information screen appears on the printer, register the correct size and set the type to a photo paper type that matches what you loaded.
- Open your photo and start the print dialogue. Use your photo application or the Canon software, and choose Print. Select the PIXMA TS9520 as the printer. If you see two versions of the printer, one marked as a basic or AirPrint driver, choose the Canon driver version so you get the full settings.
- Set the media type and paper size. On the Main or Quick Setup tab, set Media Type to your exact photo paper, for example Photo Paper Plus Glossy, and set Printer Paper Size to the exact size loaded. Set the paper source to Rear Tray if the driver asks. These three choices unlock the borderless option.
- Tick Borderless Printing. Select the Borderless Printing checkbox. The driver may show a confirmation that the image will be enlarged. Accept it. If the checkbox is greyed out, one of your earlier choices does not support borderless, usually the media type or the paper source, so go back and correct those rather than looking for a separate fault.
- Set the amount of extension. Open the Page Setup tab and find Amount of Extension. This slider controls how far the image is enlarged past the paper edges. Start in the middle. A higher extension guarantees no white edge but crops more of the image. A lower extension keeps more of the image but risks a thin white sliver if the paper sits slightly off line.
- Print one copy only. Set the copy count to one, print, and let the sheet dry fully before judging it. Check all four edges for white slivers, check the corners for cropping, and check the back for stray ink. Only when that single print is right should you print the full set with the same settings.
For repeat work, save the finished settings as a preset in the driver. Our guide to the best Canon PIXMA photo paper settings for sharper prints goes deeper on matching media types to paper brands when you are not using Canon paper.
Getting Colours and Sharpness Right at the Same Time
Borderless settings control edges, not quality, so set quality deliberately while you are in the driver. Choose High quality for photos, and let either the application or the driver manage colour, but not both at once. Double colour management is a common cause of dull or dark TS9520 prints that owners blame on the paper.
For 11 by 17 borderless prints, sharpness depends mostly on the file. A small phone image stretched to that size will look soft no matter what settings you choose. The printer will still print it borderless, edge to edge, and the softness will simply be larger. Use your largest original file for big prints and avoid screenshots or images saved from social media, which are usually heavily compressed.
Common Borderless Problems and Fixes
- A thin white edge on one side. The extension is too low or the paper guides are loose, letting the sheet sit slightly off centre. Snug the guides against the paper and raise the extension one step.
- The borderless option is missing. Check the media type, size, and source combination. Plain paper, the front cassette, and some art media do not support borderless on this model. Switch to a photo paper type and the rear tray.
- The print is dark or the colours look wrong. This is normally a media type mismatch or double colour management, not a borderless fault. Match the driver media type to the real paper and let only one piece of software manage colour.
Conclusion
Borderless printing on the PIXMA TS9520 works beautifully when four things agree: photo paper loaded correctly in the rear tray, the exact size and media type in the Canon driver, Borderless Printing ticked, and the amount of extension set to a sensible middle value. Most failed attempts break one of those four, and the driver preview usually shows you which one before you waste a sheet.
Frequently Asked Questions
Why is the borderless option greyed out on my TS9520?
Almost always because the current media type, paper size, or paper source does not support borderless printing. Set a photo paper type, choose a supported photo size, and use the rear tray. Also make sure you are using the full Canon driver, because simplified drivers installed automatically by the operating system may not offer the option at all.
What amount of extension should I use?
Start with the middle position. It removes white edges on correctly loaded paper while cropping only a small amount of the image. Raise it if you still see a white sliver after checking the paper guides, and lower it if too much of the subject is being cut off. Change it one step at a time and test with a single print.
Can I print borderless on plain paper or from the cassette?
Borderless printing on the TS9520 is designed for photo paper loaded in the rear tray. Plain paper and the front cassette are not supported for borderless on this model, because the paper handling and ink overspray are not controlled well enough for a clean result. Use the rear tray and a supported photo paper for borderless work.
Why does borderless printing cut off the edges of my photo?
Because the printer enlarges the image slightly so it overflows the paper on all sides, which is what removes the white border. Anything right at the edge of the file will be lost. Keep faces and important detail a little inside the frame, and crop the image to the paper aspect ratio yourself when the exact framing matters.
Can I print an 11 by 17 borderless photo on the TS9520?
Yes, that is one of this model’s headline features, provided you use a supported paper type in 11 by 17 size, load it in the rear tray, and select that size in the driver with borderless ticked. Use a high-resolution file, because a small image stretched to 11 by 17 will look soft even though the borders are correctly removed.
Leave a Reply