
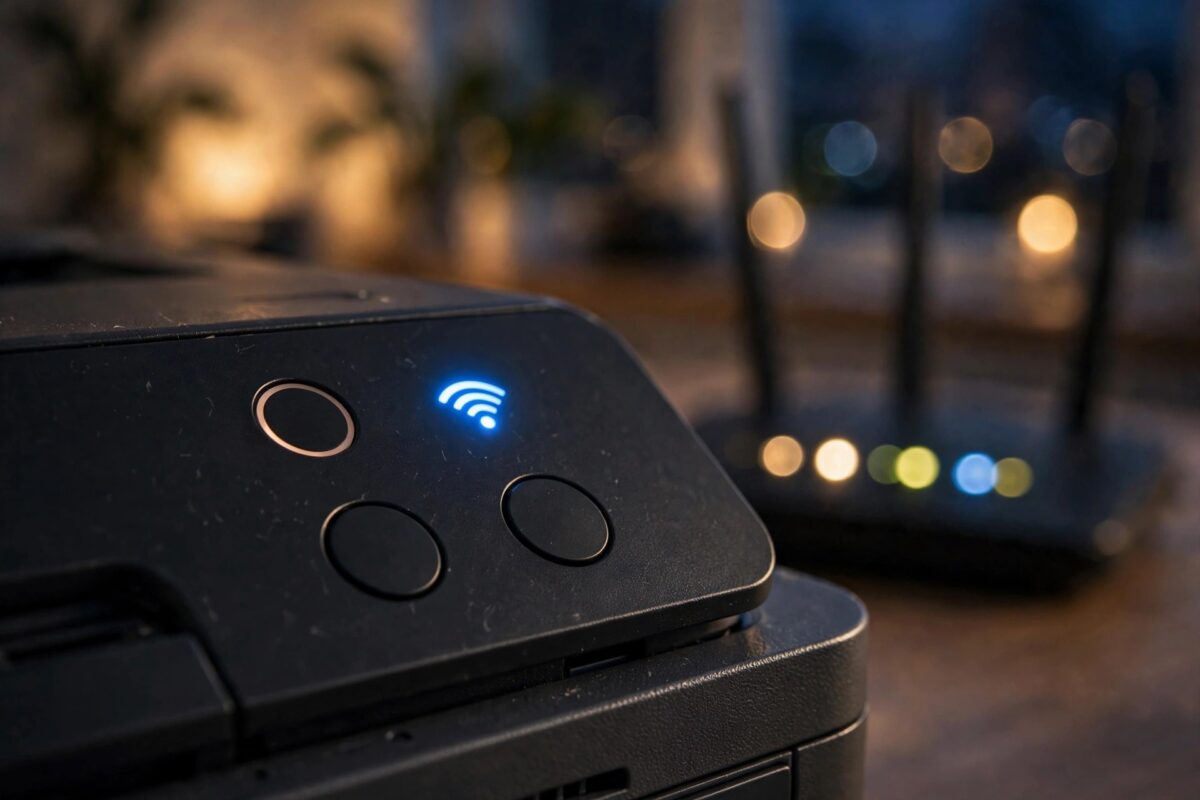
Your Epson printer powers on normally. The screen lights up, the print head does its start-up routine, and everything looks healthy, except for one small light that will not settle. The Wi-Fi light keeps blinking, the printer never appears on your network, and every print job from your phone or laptop fails.
A blinking Wi-Fi light is not a broken printer. It is the printer telling you it is trying to connect, or waiting to be set up, and cannot finish the job. Once you know what the blinking means and work through the connection steps in order, most printers are back online within fifteen minutes.
Quick Answer
A blinking Wi-Fi light on an Epson printer means it is searching for a network or stuck mid-connection, not fully connected. Fix it by restarting the printer and router, moving the printer closer to the router, and re-running Wi-Fi setup with the correct network name and password on a 2.4 GHz network. If the light still blinks, reset the printer’s network settings and set it up fresh, then reinstall or re-add the printer on your computer and phone.
What the Blinking Wi-Fi Light Means
Epson uses the Wi-Fi light as a simple status signal. A solid light means the printer is connected and ready. A light that is off means Wi-Fi is disabled or not set up. A blinking light sits in between: the radio is on, but the connection is not complete.
The printer may be blinking because it has never been connected in this home, because the router details changed, or because it lost the network and keeps retrying. Interpreting the light correctly saves time, because it tells you to work on the connection itself rather than on ink, paper, or the computer software. Epson’s own Epson support guides to wireless connection problems start from exactly this light behaviour.
Common reasons the light never goes solid
- The Wi-Fi password was typed incorrectly during setup
- The router name or password changed and the printer still holds the old details
- The printer is trying to join a 5 GHz network it does not support well
- The printer is too far from the router or blocked by thick walls and metal
- A new router was installed and the printer was never reconnected
- The router was restarted and the printer failed to rejoin on its own
- A setup attempt was interrupted halfway, leaving half-saved settings
- Too many devices or a router setting, such as MAC filtering, is blocking the printer
Step 1: Restart Everything in the Right Order
Before changing any settings, restart the whole chain. Routers hand out network addresses, and a confused router can leave a printer blinking forever even when its saved details are correct.
- Turn the printer off and unplug the router from power.
- Wait thirty seconds, then plug the router back in.
- Wait two full minutes for the router to finish starting and for internet to return on a phone.
- Turn the printer on and give it two or three minutes to try reconnecting by itself.
- Watch the Wi-Fi light. If it turns solid, print a test page and you are done.
- If it keeps blinking, move on to re-running the setup.
Step 2: Re-Run the Wi-Fi Setup on the Printer
If the restart did not settle the light, enter the network details again from the printer’s own screen. Have the exact network name and password written down before you start, because one wrong character is the most common cause of this whole problem.
- On the printer home screen, open Settings, then Network Settings, then Wi-Fi Setup.
- Choose the Wi-Fi Setup Wizard. The printer will scan and list nearby networks.
- Select your home network name from the list. If you see two similar names, pick the 2.4 GHz one, as explained below.
- Type the password slowly, watching each character. Passwords are case-sensitive, and the small screen makes mistakes easy.
- Confirm and let the printer connect. It may blink for up to a minute before turning solid.
- Print a network status sheet from the network settings menu to confirm the printer has an IP address.
If your router supports WPS, you can instead choose the push-button setup and press the WPS button on the router when the printer asks. Either route achieves the same connection. Our guide to connecting an Epson printer to Wi-Fi step by step walks through each connection method, including setup from a phone.
Step 3: Fix the 2.4 GHz and Signal Problems
Many Epson printers connect far more reliably to the 2.4 GHz band than to 5 GHz. The 2.4 GHz signal travels further through walls, which matters for a printer sitting in a study or bedroom far from the router. A printer aimed at a weak 5 GHz signal will blink, connect briefly, drop, and blink again.
- If your router shows both bands as separate networks, connect the printer to the 2.4 GHz name.
- If your router combines both bands under one name, the printer usually still works, but temporarily separating the bands in the router settings can help stubborn cases.
- Move the printer into the same room as the router for setup, even if you move it back later. A strong signal during setup prevents half-saved connections.
- Keep the printer away from large metal objects, filing cabinets, and microwave ovens, which all disturb wireless signals.
- Check the signal strength shown in the printer’s network status. A very low reading explains repeated dropouts.
Distance is easy to underestimate. A printer that worked for a year can start failing after furniture moves, a router is relocated, or a neighbour’s new network starts competing on the same channel.
Step 4: Reset Network Settings and Start Fresh
When the saved network details are tangled, clearing them is faster than fighting them. A network settings reset wipes only the connection information. It does not delete anything else on the printer.
- Open Settings on the printer, then find Restore Default Settings or Reset Network Settings, depending on your model.
- Choose the network reset option and confirm. The printer restarts with no saved Wi-Fi details.
- Run the Wi-Fi Setup Wizard again and enter the current network name and password.
- Wait for the light to turn solid, then print a network status sheet to confirm the new connection.
- On your computer, remove the old printer entry and add the printer again, so the computer points at the fresh connection.
- On phones, open the Epson printing app and let it find the printer on the network again.
If the light still blinks after a full reset and careful setup, test the printer on a different network if you can, such as a phone hotspot. A printer that connects to a hotspot but not to your router points the finger at a router setting rather than the printer. Router help and firmware downloads are available from the official Epson support and downloads centre.
Check the Computer and Phone Side
Sometimes the light has actually settled and printing still fails, which means the printer is online but your device is looking for it in the wrong place. This is common after a router change, because the printer receives a new IP address while the computer keeps an old one.
- Remove the printer from your computer’s printer list and add it again as a new device.
- Make sure the phone or computer is on the same home network as the printer, not on a guest network.
- Turn off any VPN on the device while you test, since a VPN can hide local printers.
- Print a simple test page before going back to the document that failed.
Mistakes and Tips to Remember
- Do not retype the password from memory: read it from the router label or your password record, character by character.
- Do not judge the light too quickly: blinking for up to a minute during setup is normal; blinking after five minutes is not.
- Do not set up from the far room: a weak signal during setup creates the very problem you are fixing.
- Do update the printer firmware once connected: wireless fixes are a regular part of firmware releases.
- Do note the printer’s IP address: writing it down makes later troubleshooting on the computer much faster.
Conclusion
A Wi-Fi light that keeps blinking means your Epson printer is trying but failing to complete its network connection. Restart the router and printer in the right order, re-enter the network name and password carefully, favour the 2.4 GHz band, and set up close to the router. If the blinking survives all of that, reset the network settings and build the connection fresh, then re-add the printer on your devices. A solid light and a network status sheet with a real IP address confirm the printer is truly back online.
Frequently Asked Questions
How long should the Wi-Fi light blink during setup?
Up to about a minute is normal while the printer negotiates with the router. Blinking that continues for several minutes after setup means the connection has failed and the details or signal need checking.
Why did my printer lose Wi-Fi after a new router was installed?
The printer still holds the old router’s name and password. It will keep searching for a network that no longer exists, so run the Wi-Fi setup again with the new router’s details.
Does my Epson printer support 5 GHz Wi-Fi?
Support varies by model, and even models that list 5 GHz often connect more reliably on 2.4 GHz, especially at a distance. If you have a choice, use 2.4 GHz for the printer.
Will resetting network settings delete my printer’s other settings?
No. A network settings reset removes only saved Wi-Fi and network information. Your print settings, ink levels, and other preferences stay as they are.
The light is solid but my laptop still cannot print. Why?
The printer is online, but the laptop is probably pointing at an old network address. Remove the printer from the laptop’s list and add it again so it finds the printer at its current address.
Leave a Reply