
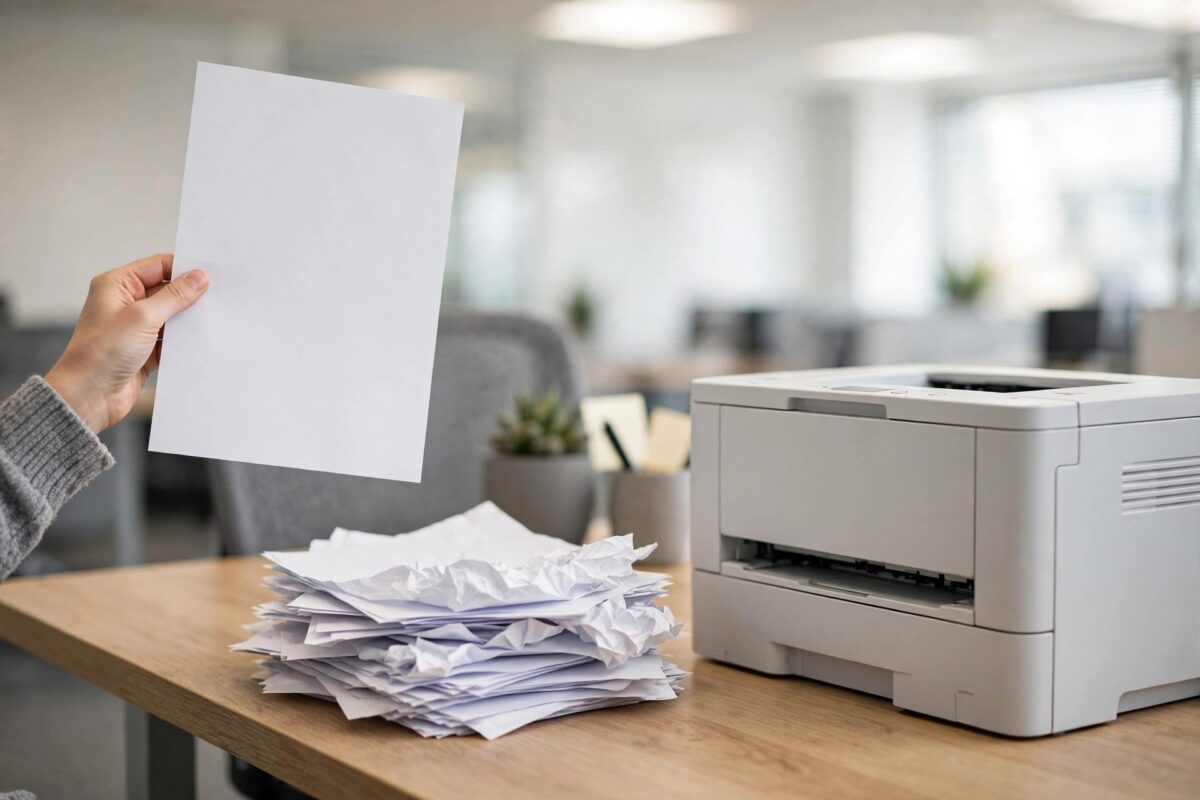
Every time you print a document, your HP printer follows it with an extra page — a status report, configuration sheet, or network summary you never asked for. It wastes paper and toner, slows you down, and usually started after a settings change, a new driver install, or a helpful colleague “fixing” something. The extra page is not a fault: the printer is doing exactly what some setting tells it to do. This guide finds that setting on the printer, in the driver, and in HP’s software, and switches it off.
Quick Answer
An HP printer that prints a status or report page after every document is usually producing a separator/banner page set in the driver, an automatic report enabled in the printer’s own settings, or a “print status” option in HP Smart or the print management software. Check the printer’s Reports settings and turn off automatic/demo page options, then in Windows Printer Properties remove any separator page, and disable status-sheet printing in the driver or HP software. Print a test document after each change.
First, Identify Which Page You Are Getting
The fix depends on which extra page appears, so look at it before changing anything:
- A page with your username, document name, date and time — that is a separator or banner page, set in the driver or by a print server.
- A printer configuration or network report — generated by the printer itself, from a report setting or because the printer thinks something changed.
- A “device status” or supplies page — often printed by printer management software or an HP utility after jobs.
- A demo page — some inkjets print an info sheet when a button combination is pressed or after cartridge changes, not after every job.
Step 1: Turn Off Automatic Reports on the Printer
- On the printer’s control panel, open Setup, then look for Reports or Tools.
- Check any option about printing reports automatically, printing a status page at startup or after jobs, or a “Print Info” / “Auto report” toggle — and switch it off.
- On LaserJet models managed by an embedded web page, type the printer’s IP into a browser, sign in, and review the Settings and Reports sections for automatic report options.
- Note: printing a report once from this menu is harmless — you are looking for an automatic setting, not the manual report buttons.
Step 2: Remove the Separator Page in Windows
- Open Settings, Devices, Printers & scanners, select your HP printer, Manage, Printer properties.
- On the Advanced tab, click Separator Page.
- If a file is listed there, clear it so the field is empty, then OK.
- Also on the Advanced tab, confirm “Print directly to the printer” versus spooling is not relevant here — leave spooling as it is.
- Print a short document and confirm no extra page follows.
Separator pages are often added deliberately in offices to split users’ jobs, and they survive driver reinstalls because they live in the printer’s properties — which is why home users are baffled to find one set. Microsoft documents the setting in its Windows printing support resources under printer properties.
Step 3: Check the Driver and HP Software Settings
- In the HP driver’s Printing Preferences, look through the Advanced and Finishing tabs for options like “Print document information”, “Status page”, or watermarks/overlays that add a page.
- In HP Smart and the full HP software, check printer settings for options to print a report after maintenance or jobs, and turn them off.
- If the printer is shared from another PC or a print server, check the separator page setting on that machine — clients inherit it.
- After an HP software update, revisit these settings; updates occasionally re-enable defaults.
Step 4: If the Page Only Appears After Cartridge Changes or Startup
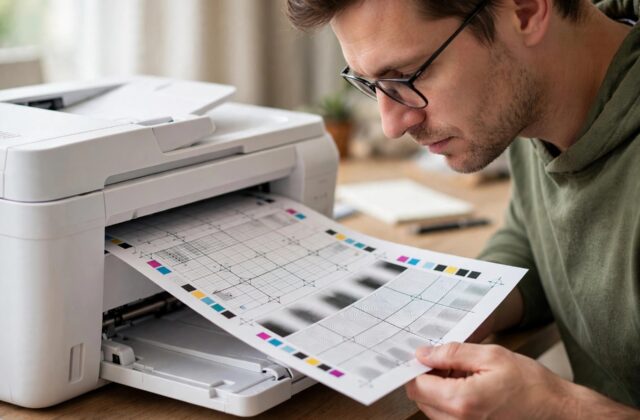
That pattern is different: many HP inkjets print an alignment or info page after a cartridge change (that one is needed — scan it if asked, and it stops). A printer that prints a report at every switch-on may have a stuck button or a “print reports on startup” setting in the same Reports menu from Step 1. If a specific error keeps triggering a report, fix the underlying warning — low ink, a network complaint — rather than just silencing the page. Our guide to stopping a printer printing extra pages covers the equivalent settings on other brands too.
Common Mistakes to Avoid
- Turning off all reports and then missing a real warning — the goal is to stop the automatic per-job page, not to silence genuine error messages.
- Only checking the printer, or only checking Windows — the setting can live in either place; the page type tells you where to look.
- Reinstalling the driver without checking the separator page — the reinstall keeps printer properties, so the extra page often survives.
- Assuming it is a virus or a fault — it is a setting. Something enabled it, and it can be disabled just as cleanly.
Checking for Software That Prints Reports on a Schedule
If the extra page turns out to be a supplies or status report and neither the printer’s own settings nor the Windows separator page explains it, look at the software layer. Printer management tools — including some editions of HP’s own utilities and third-party fleet tools installed in offices — can be configured to print a status sheet after a set number of jobs, at certain times, or whenever supplies cross a threshold. Open any HP or printer-related programs in your system tray and Start menu, and review their settings for report or notification printing options. Also check whether the report comes from the print server rather than your PC: if colleagues get the same extra page, the setting lives on the shared host, and changing your own PC will never stop it. One more subtle source is a leftover scheduled task created by an old driver installation; searching Task Scheduler for your printer’s name is a two-minute check that occasionally ends a months-long mystery.
Before you finish, print one more ordinary document and watch the whole job through. Some settings only take effect after the printer or the spooler restarts, and the only way to be sure the extra page is truly gone — rather than merely postponed — is to see a job complete with nothing following it out of the tray.
Conclusion
An extra status page after every print is your printer obeying a setting somewhere — a separator page in Windows, an automatic report on the printer, or a status option in HP’s software. Identify the page, switch off the matching setting, and test. Ten minutes of methodical checking saves a small forest of wasted reports.
Frequently Asked Questions
Why did this start after I installed the printer on a new PC?
The new PC’s driver installation may have created the printer with a separator page or with HP software defaults that include status printing. Check both places on the new machine.
The extra page has my computer name and the file name. What is it?
That is a separator/banner page set in Printer Properties, Advanced, Separator Page. Clear the file listed there and it stops immediately.
It prints a network configuration page every time I switch it on. Same fix?
Similar — look in the printer’s Reports settings for an option to print reports at startup, and check for a stuck Info button on models that print reports with a button press.
Will turning off reports affect Instant Ink or warranty?
No. Report printing is a convenience feature. Your printer still tracks supplies internally and reports errors on its screen.
The setting keeps coming back after I turn it off. Why?
If the printer is shared, an admin or the host PC may be reapplying it. Change it on the host/server. On a standalone printer, a software update may reset preferences — re-check after updates.
Leave a Reply