
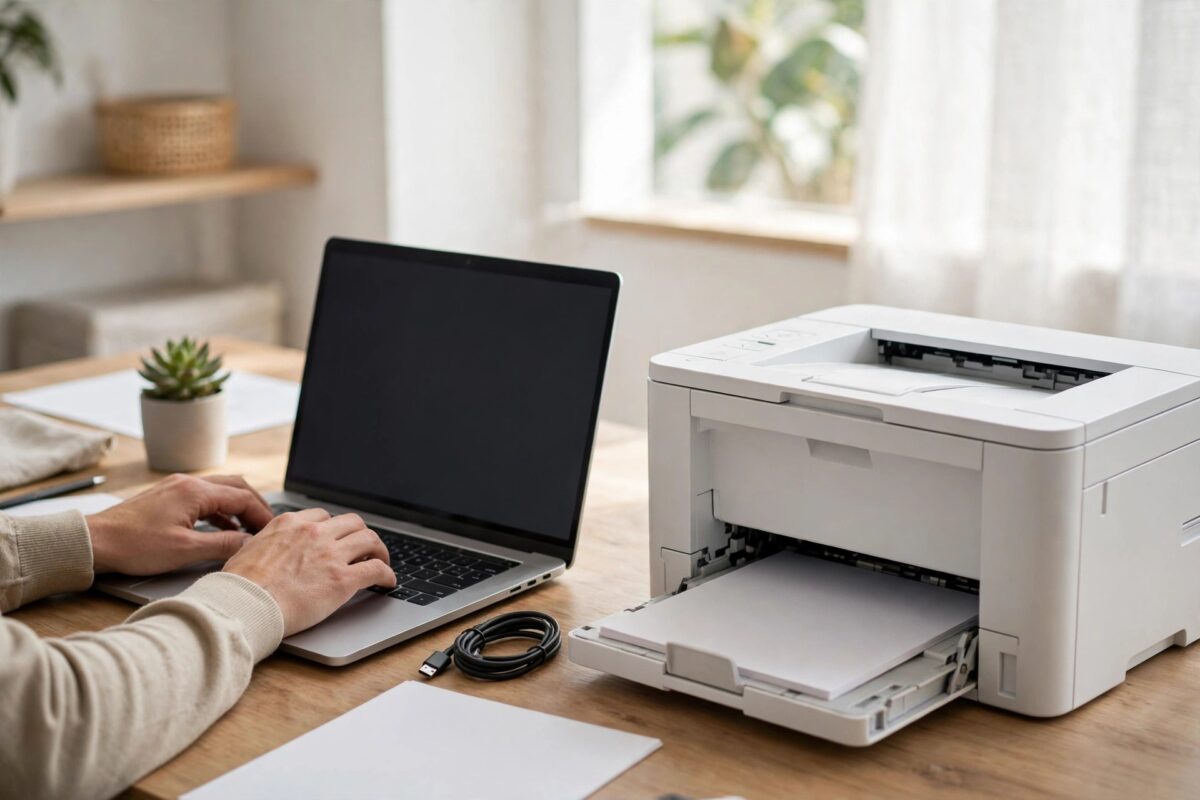
New laptop, trusty HP LaserJet, and a setup program that spins forever before announcing it cannot find your printer. This is one of the most common setup frustrations, and it is rarely the printer’s fault: automatic discovery relies on network conditions that often are not met — the printer asleep, the laptop on a different band, or discovery traffic blocked. The reliable route is to bypass discovery entirely and add the printer manually by its IP address, or fall back to USB for the initial setup. This guide covers both.
Quick Answer
When HP setup software cannot find your LaserJet on a new laptop, wake the printer and print its network configuration page to get its IP address. Then, in Windows Settings, add the printer manually using “Add a printer using an IP address” and that address, and install HP’s full driver. Make sure the laptop and printer are on the same network, and disable any VPN during setup. USB setup first, then switching to network, also works.
Why Auto-Discovery Fails
- The printer is asleep or off the network — discovery cannot find a printer that is not actively connected. A blinking Wi-Fi light or an old printer that lost its connection after a router change are classic cases.
- Different networks or bands: the laptop on a 5 GHz or guest network while the printer sits on 2.4 GHz. Most routers bridge bands, but guest networks deliberately isolate devices.
- A VPN or firewall on the new laptop — new machines often come with trial security software that blocks local discovery.
- Discovery protocols blocked by the router — some routers and mesh systems filter the multicast traffic HP’s installer uses.
- The printer was never on this network — if the printer is new-to-you or the router changed, the printer may still be looking for the old network.
Step 1: Get the Printer Online and Find Its IP Address
- Wake the printer and confirm it is connected to your Wi-Fi: the wireless light should be solid, or the display should show Ready with a signal.
- If it is not connected, join it to your network from its control panel: Setup, Network, Wireless Setup Wizard, choose your network name and enter the password.
- Print a Network Configuration Page (from the Reports menu, or hold the wireless/info button per your model). Note the IPv4 address — something like 192.168.1.45.
- On the laptop, open a browser and type that IP address. If the printer’s settings page opens, the laptop can reach the printer — the installer was the only problem.
Step 2: Add the Printer Manually in Windows
- Open Settings, Bluetooth & devices (or Devices), Printers & scanners, and click Add device.
- When it starts searching, choose the option “Add manually” / “The printer that I want isn’t listed”.
- Select “Add a printer using an IP address or hostname”, set Device type to TCP/IP Device, and enter the IP address from Step 1.
- When Windows asks for a driver, point it to HP’s driver (install the full driver package from HP’s official downloads first, or choose your model from the list if present).
- Name the printer, finish, and print a test page.
On a Mac, the equivalent is System Settings, Printers & Scanners, Add Printer, then the IP tab with your printer’s address and the HP driver selected.
Step 3: Stop the Address Changing Later
A manually added printer points at one IP address, so reserve that address in your router’s settings against the printer’s MAC address (shown on the network page you printed). Without a reservation, a router restart weeks later can hand the printer a new address and recreate the “printer disappeared” problem. This is the same foundation fix described in our guide to a printer that keeps showing offline.
Step 4: The USB Fallback
If the printer will not join the network at all from its panel — an older LaserJet without a screen can be awkward — connect it to the laptop with a USB cable, install the full HP software and let it detect the printer over USB, then use the software’s wireless configuration tool to push the Wi-Fi settings to the printer. Once it is on the network, unplug USB and add it as a network printer using Steps 2 and 3.
Common Mistakes to Avoid
- Retrying auto-discovery for an hour — if it fails twice, go manual. The IP route takes five minutes and always works when the printer is genuinely online.
- Setting up while the laptop is on a VPN — disconnect it; VPNs hide local devices by design.
- Using the printer’s old IP from a previous network — always print a fresh network page on the current network.
- Skipping the driver package and using only HP Smart’s basic driver — for LaserJets, the full driver gives you duplex, toner reporting, and all paper handling options.
- Connecting to a similarly named neighbour network — it happens more than anyone admits. Verify the network name on the printer’s network page matches yours.
Quick Checks When the Printer Is Found but Setup Still Fails
Sometimes the installer sees the printer, begins, and then fails partway — a different and more encouraging problem, because discovery is working and only the installation is stumbling. The common causes are a driver download corrupted mid-transfer (download it again, ideally on a wired connection), security software interrupting the install at the moment it writes drivers (install with the antivirus paused, then re-enable it), and Windows having a half-installed earlier attempt in the way (remove any trace of the printer in Printers & scanners and Print Server Properties, restart, and begin clean). Also make sure you are signed into the laptop with an administrator account — standard accounts can start the installer but fail silently at the driver stage. If the HP installer still refuses, the manual Add Printer route with the driver pre-installed from HP’s package achieves exactly the same end state; the fancy installer is a convenience, not a requirement, and the printer does not care which path put the driver there.
Once printing works, take two minutes to print or save the printer’s network configuration page and keep it with your records. The IP address, MAC address, and exact model number on that page are precisely what you will need when the next laptop, phone, or router arrives — and setup day will be considerably shorter for having them.
Conclusion
When HP’s setup software cannot find your LaserJet, stop fighting discovery: get the printer connected, read its IP address off a network configuration page, and add it manually with HP’s full driver. Reserve the address in your router so the setup survives long-term. Twenty minutes, no guesswork, and the new laptop prints like the old one did.
Frequently Asked Questions
The printer has no screen. How do I get its IP address?
Print the network configuration page with the button combination for your model (commonly holding the Wireless or Information button for a few seconds), or find the printer in your router’s connected-devices list.
HP Smart finds the printer but the full installer does not. Which should I use?
Either can complete setup; the full driver package gives more features for LaserJets. You can even set up via HP Smart first, then install the full driver over the top.
Why can my phone find the printer but my new laptop cannot?
Phones use different discovery methods and are not behind a VPN or trial firewall. Check the laptop’s security software and VPN first — that difference is the clue.
Do I need the printer’s drivers if Windows adds it automatically?
Windows’ built-in class driver prints basic documents but often lacks duplex defaults, toner levels, and paper-type handling. HP’s full driver is worth installing for a LaserJet.
The printer connects to Wi-Fi but drops off days later. Is setup wrong?
Not wrong, but incomplete: reserve the IP address (Step 3) and check the printer’s sleep settings. A printer that sleeps deeply and wakes to a new address looks exactly like a setup failure.
Leave a Reply