
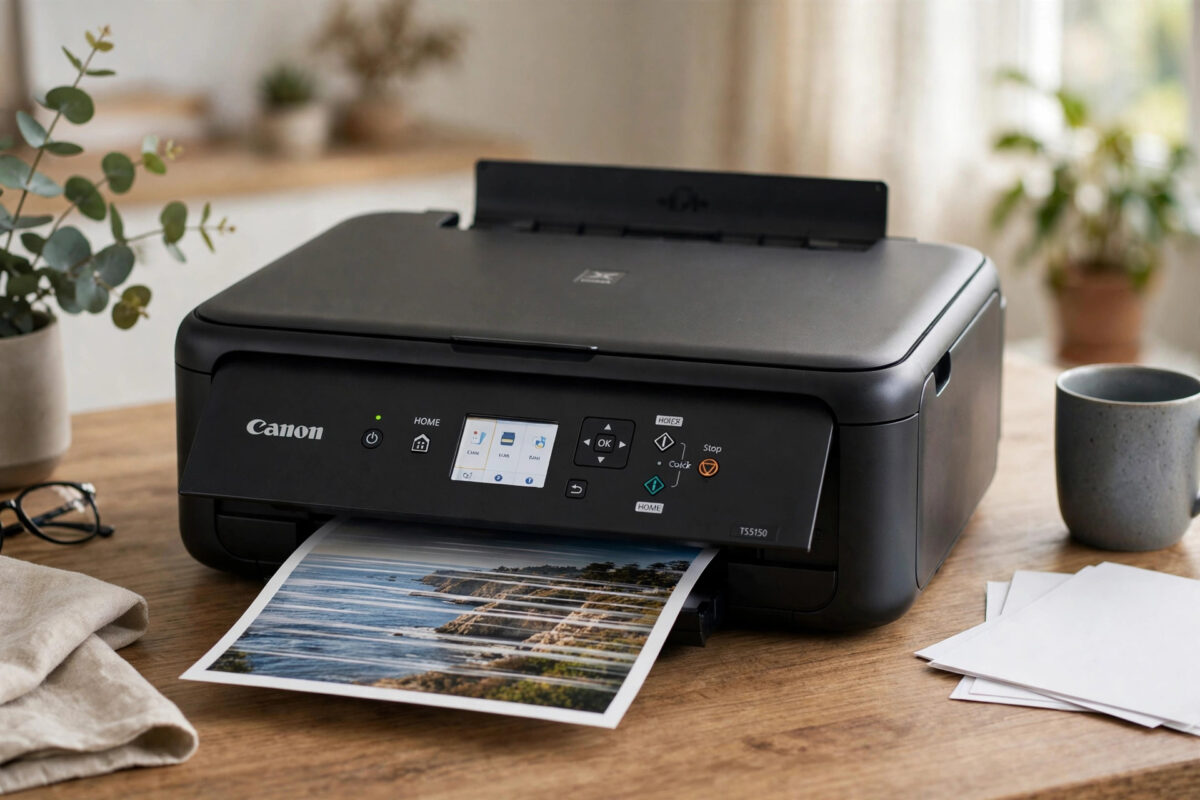
Horizontal white lines are one of the most annoying print quality faults. Your Canon PIXMA TS5150 prints a photo or a document, and across the page, at regular intervals, there are thin white bands where nothing printed at all. Text looks striped, photos look ruined, and the pattern repeats on every page.
This fault is often called banding. On the TS5150 it has a handful of common causes, and most of them are fixable at home: clogged nozzles, a print head that needs alignment, the wrong paper setting, low or poorly flowing ink, or a high-speed setting that the current job cannot handle well. The trick is to diagnose in the right order, so you do not waste ink on cleaning cycles when the real problem was a setting.
This guide walks you through a nozzle check first, then cleaning, alignment, paper and driver settings, and cartridge checks, with clear signs for each cause so you can match your page to the fix.
Quick Answer
Horizontal white lines on a Canon TS5150 are most often caused by clogged print head nozzles or a misaligned print head. Print a nozzle check pattern first: if colours show broken lines, run one cleaning cycle and check again, then run print head alignment. Also confirm the paper type setting matches the paper in the printer, turn off high-speed printing for important jobs, and replace any cartridge that stays weak after cleaning.
What the White Lines Are Telling You
The TS5150 uses FINE cartridges, one black and one tri-colour, with the print head built into each cartridge. As the carriage moves across the page, the head lays down a band of ink, the paper advances a small step, and the next band is printed. White lines appear when one of those bands is missing ink or the paper advance and the bands do not meet correctly.
Match the pattern to the cause
- Thin white lines at regular intervals in one colour only: Usually clogged nozzles in that colour.
- White lines across all colours and black at the same positions: More likely alignment, paper feed, or a paper setting problem.
- Lines on photos but not on plain text: Often the paper type setting, high-speed mode, or quiet, worn rollers struggling with thicker paper.
- Lines that get worse towards the bottom of the page: Can point to ink starvation as the cartridge empties or struggles to keep up.
- Lines only on copies and scans printed from the glass: Test a print from the computer as well, to separate a printing fault from a scanning fault.
Step 1: Print a Nozzle Check Pattern
Never guess with this fault. The nozzle check is the printer’s own report on whether every nozzle is firing.
- Load plain A4 paper in the rear tray.
- On the printer’s home screen, open Setup, then Maintenance.
- Select Nozzle Check and print the pattern.
- Study the pattern. The black grid should be complete with no missing segments, and each colour bar should be solid and even.
- Broken grid lines, missing colour sections, or streaky bars confirm clogged or weak nozzles. A perfect pattern with white lines on normal prints points away from clogs and towards alignment or settings.
Canon explains this same test in the TS5100 series online manual section on checking the nozzle pattern, and following that test first will save you a lot of wasted ink.
Step 2: Run One Cleaning Cycle, Then Check Again
- From Setup and Maintenance, select Cleaning, not Deep Cleaning.
- Wait until the cycle finishes completely. The printer will sound busy for a minute or two.
- Print another nozzle check pattern on a fresh sheet.
- Compare the two patterns side by side. Improvement, even partial, means you are on the right track.
- If the pattern is still badly broken, run one more standard cleaning. Only if two standard cleans fail should you run a single Deep Cleaning, which uses much more ink.
If the nozzle check becomes perfect, print your original document again. Many white line problems end here, especially on a printer that sat unused for a few weeks and dried out slightly. If you then find the computer cannot reach the printer at all, fix that separately with our guide to fixing a printer that keeps showing offline before repeating quality tests.
Step 3: Run Print Head Alignment
If the nozzle pattern is complete but white lines still appear at regular intervals, alignment is the next suspect. When the head is slightly out of alignment, successive bands do not join up cleanly and gaps show as lines.
- Load plain A4 paper as the manual directs for alignment.
- Open Setup, then Maintenance, and select Print Head Alignment.
- Choose automatic alignment and let the printer print and scan its alignment sheet internally, following the on-screen instructions for your firmware version.
- When it finishes, print your test document again on the same paper and settings as before.
If automatic alignment fails or quality is still poor, some driver versions allow manual alignment from the computer’s Canon utilities, where you pick the best looking patterns by number. Take your time with that step, because picking the pattern with the fewest lines genuinely matters.
Step 4: Check Paper Type, Quality, and Speed Settings
Settings cause more banding than many owners realise. The printer advances different papers by slightly different amounts and lays ink down differently for each type.
- In the print dialog on your computer, open Printer Properties or Preferences.
- Set the media type to the paper you actually loaded. Photo paper set as plain paper, or the reverse, is a classic cause of banding and smudging.
- Set print quality to High for the test page, even if you normally use Standard.
- Turn off High Speed printing if that option is shown. High speed prints in both carriage directions and can show lines on a slightly weak head.
- Print one test page and compare it with the earlier ones.
Step 5: Inspect and Replace Weak Cartridges
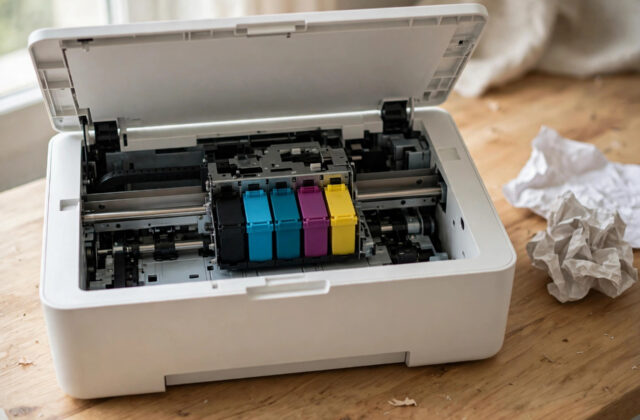
The TS5150’s cartridges contain the print head, so a worn cartridge means a worn head. That is bad for cost but good for repair, because a new cartridge gives you a new head.
- Check ink levels on the printer screen or in the Canon software, but treat the display as an estimate.
- Remove the cartridge linked to the weak colour. Hold it over plain paper and check for leaks, damage, and a clogged or scratched nozzle plate.
- Reseat the cartridge firmly and test once more, so a poor contact is ruled out.
- If one colour stays missing or streaky after cleaning and a rest period, fit a new cartridge for that colour, ideally a genuine Canon FINE cartridge, and print a nozzle check.
If a brand new genuine cartridge prints a perfect pattern instantly, your old cartridge had reached the end of its life. If a new cartridge shows the same gaps in the same places, contact Canon through the Canon UK support page, because the fault is then likely in the printer rather than the cartridge.
Common Mistakes to Avoid
- Running deep cleaning repeatedly: It drains small FINE cartridges fast and rarely beats patience plus one deep clean.
- Skipping the nozzle check: Without it you cannot tell a clog from an alignment or settings problem.
- Testing on different paper each time: Change one thing at a time or you will never know what fixed it.
- Leaving the paper type set wrong: Always match the driver setting to the loaded paper, especially for photos.
- Touching or wiping the nozzle plate hard: A gentle blot is the most it should ever get. Scrubbing ruins the head inside the cartridge.
- Using very old cartridges: A cartridge stored open or used far beyond its life will band no matter how much you clean it.
Conclusion
Horizontal white lines on the TS5150 follow a logical path to a fix. Start with a nozzle check, clean once and check again, give a dried cartridge time to recover, then run alignment and correct the paper type, quality, and speed settings. Test cartridges honestly, clean the rollers if pages slip, and change only one thing at a time so each test page tells you something. Most banding ends with cleaning or alignment. When a new genuine cartridge does not cure it, the printer itself needs Canon’s help.
Frequently Asked Questions
Why do the white lines appear at exactly regular intervals?
Regular spacing points to the printing process itself: each line matches one pass of the carriage or one paper advance step. Clogged nozzles leave the same gap on every pass, and misalignment leaves a gap where bands should join. Irregular lines, by contrast, more often mean slipping paper or a feed problem.
How many cleaning cycles should I run for white lines?
Run one standard cleaning, print a nozzle check, and repeat once only if you see clear improvement. Use deep cleaning once at most in a session. If the pattern still does not improve, leave the printer idle for several hours and test again before spending more ink.
Can the wrong paper setting really cause white lines?
Yes. The printer changes ink laydown and paper advance based on the selected media type. Photo paper printed with a plain paper setting, or plain paper with a photo setting, can band, smudge, or look faded. Matching the setting to the loaded paper is a free fix that many owners overlook.
Do I need a new cartridge if one colour has lines?
Only after cleaning, resting, and reseating have failed. On the TS5150 the print head is part of the cartridge, so a permanently clogged or worn colour is fixed by replacing that cartridge. If a new genuine cartridge shows identical gaps, the problem is in the printer and needs support.
Why do lines appear on photos but not on text documents?
Photos use all colours heavily, print more slowly, and show any banding clearly in skies and skin tones. A weak colour or high-speed printing may be invisible in black text yet obvious in a photo. Test photos with High quality, the correct photo paper setting, and high-speed mode turned off.
Leave a Reply