
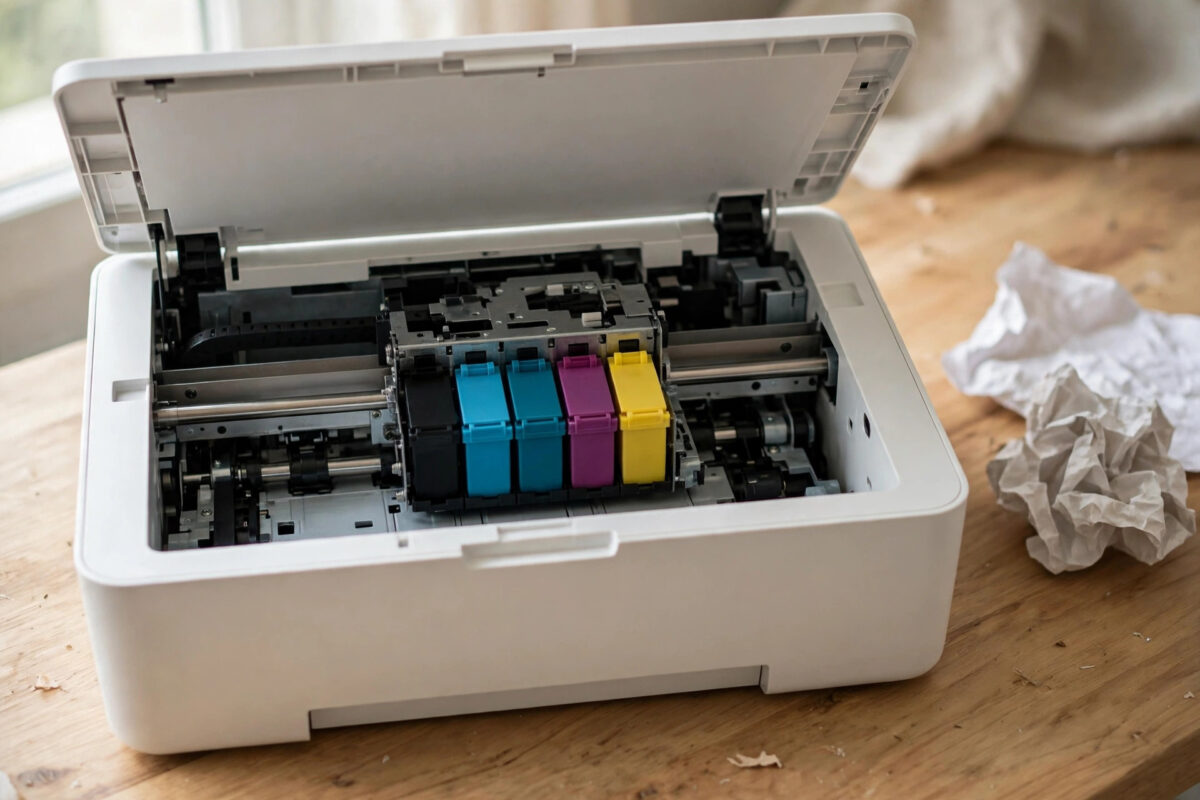
Error 5100 usually appears with a nasty grinding or clicking sound. Your Canon PIXMA starts up or begins a print job, the carriage tries to move across the printer, something stops it, and the printer gives up with error 5100 and flashing lights.
The good news is that 5100 is one of the more fixable Canon codes. Unlike an electrical print head failure, 5100 is a movement error. The printer expected the carriage, the part that carries the cartridges, to travel smoothly from one side to the other, and it did not. Often the cause is something simple and visible: a piece of paper, a foreign object, dried ink on the rail, or a dislodged encoder strip.
This guide shows you how to inspect the carriage path safely, clear real blockages, clean the parts that guide the carriage, and recognise the signs that a belt, motor, or sensor has failed and needs a technician.
Quick Answer
Error 5100 means the Canon PIXMA carriage cannot move freely or the printer cannot read its position correctly. Turn the printer off, unplug it, open the cover, and check the whole carriage path for jammed paper, objects, and ink build-up, then gently move the carriage by hand if it slides easily. Clean the clear encoder strip carefully with a dry cloth, restart the printer, and if 5100 returns with a clear path, the belt, encoder, or carriage motor likely needs service.
How the Carriage System Works
Error 5100 is raised when the motor works but the movement does not match what the sensor expects. That mismatch can happen because the carriage is physically blocked, because it sticks on a dirty rail, or because the encoder strip is dirty, loose, or damaged so the sensor reads it incorrectly.
Common Causes of Error 5100
- Paper jammed in the carriage path: A torn corner or a whole sheet can fold up under the carriage where you cannot see it at first glance.
- A foreign object: Paper clips, coins, hair grips, pen lids, and children’s small toys are classic finds inside home printers.
- Packing material left inside: On a new or recently moved printer, an overlooked piece of tape or protective foam can block travel.
- Dried ink and paper dust on the rail: Sticky build-up makes the carriage stick at one point, usually near the parking area on the right.
- A dirty or dislodged encoder strip: Ink mist coats the strip over time, and a hard knock can pop it off one of its hooks.
- Cartridges not seated properly: A cartridge sitting too high can catch on the frame as the carriage passes.
- A worn belt or failing motor: Less common, but on old printers the belt can stretch or crack and the motor can weaken.
Step 1: Power Down and Open the Printer Safely
- Cancel any print job on your computer so the printer is not sent the same job again at restart.
- Turn the printer off and unplug the power cable from the wall.
- Open the scanner unit or front cover fully, following the normal cartridge access method for your model.
- Use a torch and look along the full width of the carriage rail, from the parking area on one side to the far end on the other.
- Check below the rail as well. Paper often hides in the gap where the carriage parks.
Step 2: Clear Paper and Foreign Objects
- Remove the paper from the rear tray or cassette so nothing feeds during your checks.
- Pull out any visible jammed paper slowly, in the direction it would normally travel, using both hands evenly. Never yank paper backwards hard, because torn pieces left behind cause repeat errors.
- Turn the printer gently, if your model allows safe access from below or the back, and check the rear access area for scraps.
- Shake nothing and tip nothing sharply. Instead, look carefully with the torch at different angles, because small clear or white objects are easy to miss.
- Check the parking area on the right side closely. Crumpled paper and dried ink collect there and the carriage must enter that space at every start-up.
Step 3: Move the Carriage by Hand and Feel for Sticking Points
With the power still unplugged, this test tells you a lot.
- Place your fingers on the carriage itself, not on the cartridges or the belt, and slide it slowly to the left.
- Move it across the full width and back again, feeling for rough spots, sticky patches, or a hard stop.
- If it will not move at all, do not force it. Some models lock the carriage in the parked position when off. In that case skip this test and rely on visual checks and cleaning.
- If it moves but sticks at one point, look at the rail at exactly that point for dried ink, a paper scrap, or damage.
- Reseat every cartridge while the carriage is accessible. Press each one down and in until it clicks firmly.
Step 4: Clean and Check the Encoder Strip
The encoder strip is the thin, clear or slightly smoky plastic strip running behind the carriage rail, with very fine vertical lines printed on it. Handle it as if it were camera film.
- Find the strip and check that it is straight, taut, and attached at both ends. It should pass through the small sensor slot at the back of the carriage.
- If the strip has come off a hook at one end, refit it gently with clean, dry hands, following the path it naturally takes. Do not stretch it.
- If the strip is in place but looks cloudy with ink, wipe it very gently with a dry, soft, lint-free cloth, supporting it lightly from behind so it does not bend sharply.
- If ink remains, use a cloth that is only just damp with water, wipe once along the length, then dry it immediately with a second cloth.
- Check for scratches, kinks, and torn ends. A damaged strip cannot be repaired with tape and needs replacement.
Handle the encoder strip with care
Never use alcohol, window cleaner, or rough tissues on the strip, and never pull it sideways. Scratches and kinks create new position errors that cleaning cannot undo, so a gentle dry wipe is always the safest first attempt.
If the error clears but your computer then cannot reach the printer, follow our guide to fixing a printer that keeps showing offline to sort the connection separately.
Step 5: Restart and Test Properly
- Close the cover, load a few sheets of plain paper, and plug the printer back into a wall socket.
- Turn it on and let it complete its full start-up without opening the cover.
- Listen. The carriage should travel smoothly to both ends and park without grinding.
- Print a nozzle check pattern from the maintenance menu as the first test page.
- Then print a normal document of several pages and watch the first carriage passes closely.
When 5100 Means a Hardware Failure
For parts and internal tests, contact a repairer through the Canon UK support page for product help and repairs, quote error 5100, and list the checks you have already completed.
Common Mistakes to Avoid
- Forcing the carriage: If it resists strongly with the power off, stop. A locked parked carriage is normal on some models.
- Ripping jammed paper out: Torn scraps left under the rail are a leading cause of repeat 5100 errors.
- Cleaning the encoder strip roughly: Scratches and kinks create new position errors that cleaning cannot undo.
- Oiling the rail with random products: Thick or dirty lubricant causes sticking and attracts paper dust.
- Ignoring a cartridge that sits high: A poorly seated cartridge can physically catch the frame on every pass.
- Restarting with the same job queued: A corrupt job can resend instantly. Clear the queue before testing.
Conclusion
Error 5100 is the printer telling you the carriage journey went wrong. Methodical checks solve most cases: power off, inspect the full path with a torch, remove paper and objects gently, feel for sticking points, clean the rail, and treat the encoder strip with real care. Restart and test with a nozzle check first. If the path and strip are provably clean and correct yet 5100 keeps returning, stop repeating the same checks and get the belt, motor, and sensor tested by a repairer.
Frequently Asked Questions
Can a paper jam cause error 5100 even after I removed the paper?
Yes. A small torn piece left under the carriage or in the parking area can still block travel, and the error will return until it is found. Switch the printer off, use a torch, and inspect the full width of the path, especially the right side where the carriage parks and hides scraps.
What is the encoder strip and why does it matter for 5100?
It is the thin clear strip with fine markings that runs behind the carriage. A sensor reads it to track the carriage position. If it is dirty with ink mist, loose, or scratched, the printer loses track of position and raises 5100 even though nothing is physically blocking the carriage.
My carriage will not move at all by hand. Is it broken?
Not necessarily. Many PIXMA models lock the carriage in the parked position when the power is off, so it cannot be slid by hand. Do not force it. Do the visual, paper, and cleaning checks instead, then plug in and observe how it moves during a normal start-up.
Can a wrong or badly fitted cartridge cause 5100?
Yes. A cartridge that is not clicked in fully can sit too high and catch the frame, and a wrong cartridge can do the same. Remove each cartridge, check its label matches your model, and refit it firmly until it clicks before you suspect a motor or belt failure.
Leave a Reply