
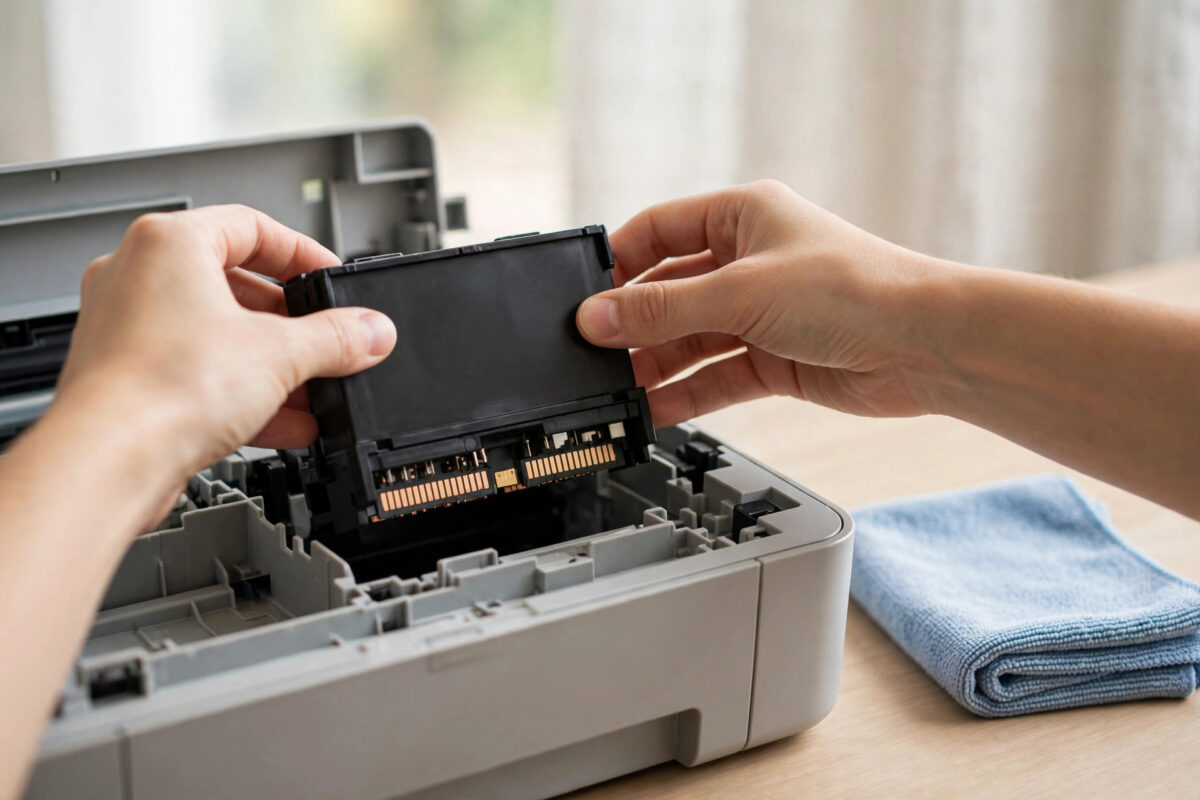
Error 1401 on a Canon printer is frustrating because the cartridge looks like it is installed correctly, yet the printer insists it cannot detect it. This error appears on many PIXMA models that use FINE cartridges, the combined ink and printhead cartridges that click into a cradle inside the printer.
The message usually says the FINE cartridge is not installed, or that a suitable cartridge cannot be recognized. Printing stops completely until the printer is happy with the cartridge. The good news is that dirty contacts or a slightly loose fit cause most cases, and those are quick to fix at home.
Quick Answer
Canon error 1401 means the printer cannot detect an installed FINE cartridge, usually because the cartridge is loose, its copper contacts are dirty, or the cartridge has failed. Turn the printer on, open the cover, remove the cartridge, gently clean its contacts with a dry lint-free cloth, and reinstall it until it clicks firmly. If the error stays, try the cartridge in the other slot check, restart the printer, and test with a different genuine cartridge.
What Error 1401 Actually Means
Your printer talks to each FINE cartridge through small copper contact points on the back of the cartridge. Through those contacts it reads the cartridge type, color, and status. If that communication fails, the printer cannot confirm the cartridge is present and safe to use, so it shows error 1401 and refuses to print.
On some models the same problem can appear as error 1403 or 1682, depending on whether the issue is detection or cartridge condition. The fixing steps are very similar. Always note which cartridge the message points to, black or color, because you may only need to work on one of them.
Common Causes of Error 1401
- Loose installation: the cartridge was not pushed fully into place, or the locking lever was not closed properly.
- Dirty contacts: ink mist, dust, or fingerprints on the copper points block the electrical signal.
- Protective tape left on: a new cartridge with its orange tape or cap partly left over the contacts will never be detected.
- Wrong cartridge: a cartridge made for a different region or model range may fit physically but fail detection.
- Refilled or faulty cartridge: a damaged chip or burned contact can make even a full cartridge unreadable.
- Dirty printer contacts: the matching contacts inside the cartridge holder can also collect ink and dust over time.
Step-by-Step Fix for Error 1401
Step 1: Restart the Printer Properly
- Leave the printer switched on. Do not just open the cover yet.
- Press the power button to turn it off normally.
- Unplug the power cable and wait a full 60 seconds.
- Plug it back in and turn it on. Wait until it finishes its start-up sounds.
- Check if the error is gone. A small number of detection errors clear after a clean restart.
Step 2: Remove and Inspect the FINE Cartridge
- Turn the printer on and open the front cover or top cover. The cartridge holder will move to the replacement position. Wait until it stops and is silent.
- Push down the locking lever for the cartridge named in the error, or press the cartridge gently as your manual describes, and lift the cartridge out.
- Hold it by its sides. Do not touch the copper contacts or the nozzle plate at the bottom.
- Check for leftover protective tape, dried ink, or visible damage on the contacts. Remove any tape fully.
- Check the label. Confirm the cartridge number matches the numbers listed inside your printer cover for black and color.
Step 3: Clean the Contacts the Safe Way
- Take a clean, dry, lint-free cloth or a coffee filter. It must be completely dry.
- Gently wipe the copper contacts on the back of the cartridge in one direction. Use very light pressure.
- With the cartridge still out, look at the matching contacts inside the holder. If you see ink or dust, wipe them gently with the same dry cloth. Never use water, alcohol, or a wet wipe inside the printer.
- Wait one minute so any moisture from the air is gone, then move to the reinstall step.
Canon gives similar contact care advice in the Canon support article on FINE cartridge detection errors. Follow the dry-cloth method only. Liquid cleaners are a common cause of worse detection problems.
Step 4: Reinstall the Cartridge Firmly
- Slide the cartridge into the correct slot at a slight angle, as shown in the diagram inside your printer. Black and color slots are not interchangeable.
- Push it in until it sits fully back, then lift or close the locking lever until you feel or hear a click.
- The cartridge should not wobble. If it feels loose, take it out and install it again.
- Close the cover and wait. The printer will run a short check.
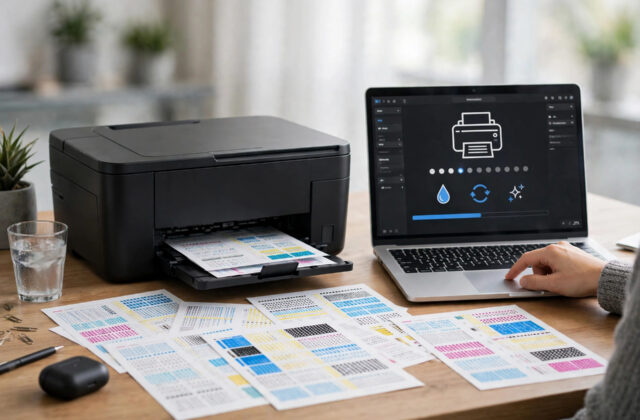
- If the error cleared, print a nozzle check or a simple test page to confirm both cartridges now work.
If you do this work while the printer is connected to a computer, keep the connection stable. A printer that drops offline at the same time can confuse your testing, so if needed, follow our guide to fixing a printer that keeps showing offline and then finish the cartridge test.
What to Try If 1401 Keeps Coming Back
Clean and Reinstall the Other Cartridge Too
Sometimes the error names one cartridge but the real problem is the other one shifting slightly when the holder moves. Remove both cartridges, clean both sets of contacts, and reinstall both firmly, one at a time.
Test With a Different Cartridge
This is the fastest way to learn the truth. Install a spare genuine Canon cartridge that you know works, even an empty one from the same model range. If the error disappears, your original cartridge has failed and needs replacing. If the error stays with a known good cartridge, the printer holder contacts or the printer itself may need service.
Check for Firmware or Driver Messages
Error 1401 is a hardware detection error, so a driver reinstall rarely fixes it. Still, check Canon support for your model in case a firmware note mentions cartridge recognition. Only update firmware when the printer has no error showing, never during error 1401 itself.
Mistakes and Tips to Remember
- Never touch the nozzles or contacts with bare fingers. Skin oil can cause the very detection problem you are trying to fix. Hold cartridges by the plastic sides.
- Do not use water, spray cleaner, or tissues. Tissues leave fibers on the contacts. Use only a dry lint-free cloth.
- Do not force the cartridge. If it does not slide in smoothly, it is in the wrong slot or at the wrong angle. Forcing it can bend the printer contacts.
- Be careful with cheap refills. Some refilled cartridges work well, but a faulty chip will trigger 1401 again and again. Keep one genuine spare for testing.
- Install cartridges with the printer on. The holder only moves to the replacement position when the printer is powered. Pulling cartridges out by force with the power off can damage the holder.
- Keep the inside clean. Every few months, with the printer off and unplugged after moving the holder correctly, check for paper dust near the holder area and remove loose dust with a dry cloth.
When It Is a Hardware Fault
If you have cleaned the contacts, reinstalled firmly, restarted, and tested with a different genuine cartridge, and error 1401 still points to the same slot, the fault is likely in the printer. The holder contact springs can wear, or the main board can fail to read cartridges. At that point, note your model number, cartridge numbers, and the exact error, and contact Canon. Canon lists model-specific help in the official Canon PIXMA support and manuals section, where you can confirm the correct cartridges for your printer before you spend money on replacements.
Conclusion
Error 1401 almost always comes down to communication between the printer and a FINE cartridge. A proper restart, a careful dry cleaning of the contacts, and a firm reinstall fix most cases in under ten minutes. If the error follows one cartridge wherever you test it, replace that cartridge. If it stays with every cartridge, the printer needs professional attention. Work through the steps in order and you will know which one it is.
Frequently Asked Questions
Does error 1401 mean my cartridge is empty?
No. An empty cartridge gives a low ink or ink empty warning, not 1401. Error 1401 means the printer cannot detect or communicate with the cartridge at all. A completely full cartridge can show 1401 if its contacts are dirty or its chip has failed.
Can I keep printing with only one cartridge when 1401 shows?
No. The printer stops all printing while a FINE cartridge cannot be detected, even if your document only needs the other color. You must fix the detection problem or replace the faulty cartridge before any printing, scanning to print, or copying will work again.
Why did 1401 appear right after I installed a new cartridge?
The most common reasons are leftover protective tape over the contacts, the cartridge not clicked fully into place, or a cartridge number that does not match your model or region. Remove it, check the tape and label, clean the contacts, and reinstall it firmly.
Is it safe to clean the contacts inside the printer?
Yes, if you do it gently with a dry lint-free cloth and only wipe the visible contact points in the holder. Never use liquid, never press hard, and never poke tools into the holder. If the inside contacts look bent or broken, stop and contact Canon instead.
Will resetting the printer clear error 1401 permanently?
A restart can clear a one-time detection glitch, but it does not fix dirty contacts, a loose fit, or a failed chip. If 1401 returns after every restart, do the cleaning and reinstall steps. A reset alone is not a lasting fix for a physical contact problem.
Leave a Reply