
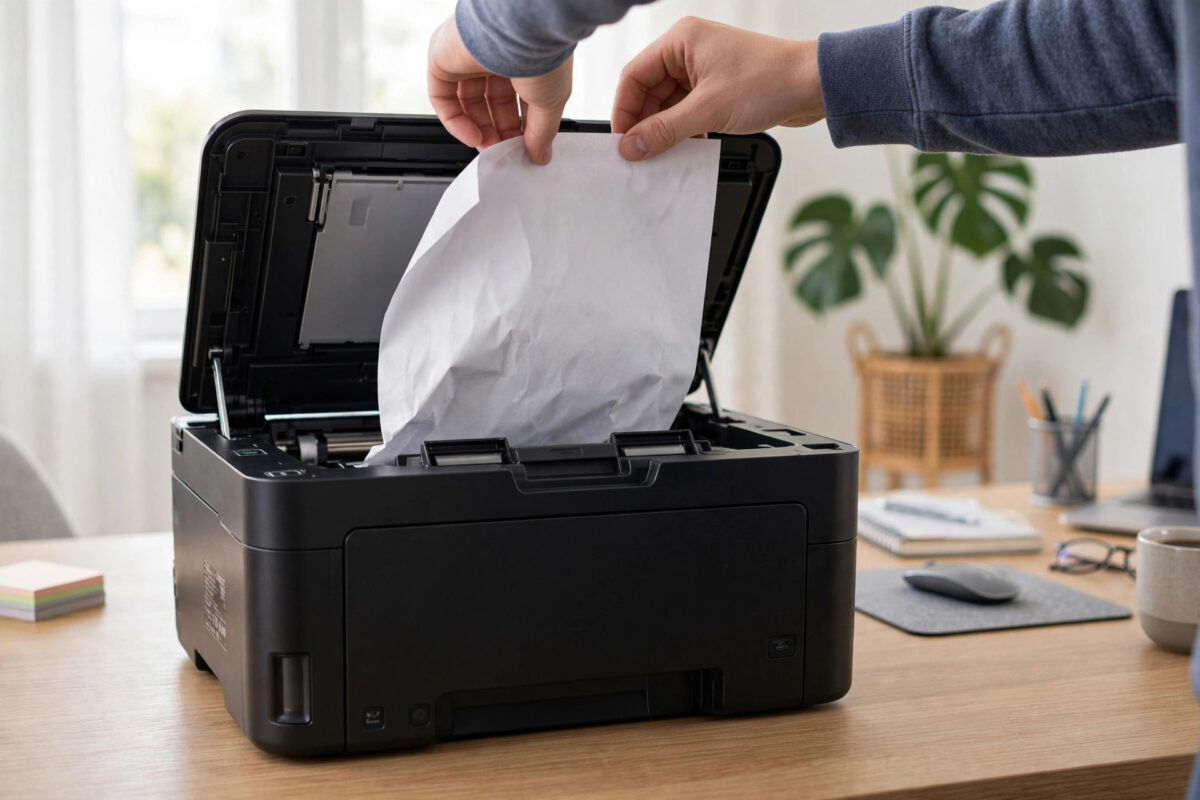
A paper jam in the rear feed slot of an Epson XP-8700 can look worse than it is. The sheet may be sticking out at the back, crumpled inside, or barely visible. Pulling hard at the wrong angle is what turns a simple jam into torn paper and a repeat error.
The rear feed on the XP-8700 is for thicker paper, envelopes, and special media, so it has a straighter path than the cassette. You need to clear it from the correct direction and check the hidden places where small torn pieces stay behind. This guide walks you through a safe, complete clearance.
Quick Answer
Turn the XP-8700 off, open the rear feed cover, and gently pull the jammed sheet straight out from the rear, in the opposite direction to feeding, using both hands. Then check inside from the top, remove the rear duplex unit to look for torn pieces, reload paper correctly, and run a test print.
Before You Start: Safety and Preparation
- Cancel the print job on your computer and on the printer screen.
- Turn the printer off and unplug the power cable so rollers cannot move while you work.
- Remove paper from the rear feed and output tray so you can see clearly.
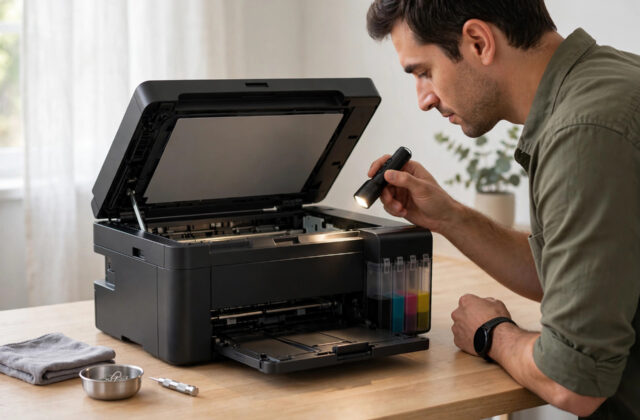
- Work in good light and keep a torch nearby. Small white scraps on white plastic are hard to spot.
- Never use scissors, sharp tweezers, or a knife inside the printer.
Note where the paper stopped. If most of the sheet is visible at the rear, clear it from the rear. If only the leading edge shows inside the top, check both areas.
Step 1: Clear the Rear Feed Slot
Start at the back of the printer, because that is where the jam occurred. The rear feed cover and support can hide a folded sheet.
- Open the rear feed cover fully and raise the paper support if it blocks your view.
- Look into the slot with a torch. Check whether the paper is flat, folded, or bunched up.
- If you can grip the sheet, hold it with both hands evenly across its width.
- Pull slowly and straight out, keeping the paper flat as it comes.
- Stop if you feel strong resistance. Forcing it will tear the sheet. Ease it very slightly or check from inside before pulling again.
Pulling evenly with two hands matters. Pulling from one corner twists the sheet, tears the corner off, and leaves the rest inside. If the paper tears, compare what came out with a full sheet size so you know how much is still missing.
Step 2: Check Inside From the Top
Even if you removed a full-looking sheet from the rear, check inside the printer. A second sheet sometimes follows the first, and torn edges lodge near the print head path.
- Open the printer cover or scanner unit carefully until it locks in the raised position.
- Look along the paper path from front to back. Do not touch the transparent film or white cable inside.
- Remove any visible paper by pulling gently in whichever direction offers least resistance.
- Check where paper exits toward the output tray. Crumpled leading edges often hide there.
- Close the cover slowly once the path looks clear.
If the print head blocks your view, do not pry it aside while the printer is unplugged. Plug in briefly and turn the printer on so the head moves during startup, then turn it off again when the path is accessible.
Step 3: Remove the Rear Duplex Unit
The XP-8700 has a rear section for double-sided printing. Fragments can hide behind or under this unit and cause another jam message even after the main sheet is gone.
- At the back, press the release points on the rear duplex unit or rear cover.
- Pull the unit straight out and set it on a clean, flat surface.
- Inspect the opening and the unit for torn paper, folded corners, and peeled labels.
- Remove all debris. Turn small rollers gently by hand to reveal a wrapped scrap.
- Reinstall the unit firmly until it clicks on both sides. A loose unit can cause feed errors itself.
The official steps for removing this unit are shown in the official Epson support and manual pages for the XP-8700. If a tab feels stiff, check that guidance rather than forcing plastic parts.
Step 4: Deal With Torn Paper Correctly
Torn paper is the main reason a jam error returns straight after clearing. Your goal is to account for the whole sheet.
Lay the removed pieces on a fresh sheet of the same size and piece them together like a puzzle. If a corner or strip is missing, it is still inside. Re-check the rear slot, the top path, and the duplex unit in that order. Rotate accessible rollers slowly to bring a hidden edge into view.
If you were printing labels or envelopes, also look for a peeled label or detached flap stuck to a roller. Adhesive pieces will keep causing jams until they are removed and the roller is wiped with a slightly damp, lint-free cloth.
Step 5: Reload the Rear Feed the Right Way
Many repeat jams happen during reloading, not printing. The rear feed takes only a small number of sheets, and for thick media it is meant for one sheet at a time.
- Confirm the media is supported for the rear feed and is not curled, damp, or damaged.
- Fan plain paper lightly, then load it printable side up as marked on the slot guides.
- Slide the edge guides to touch the paper without squeezing it.
- Insert the sheet until you feel light resistance and the printer registers it.
- On the printer screen and in the driver, set the correct size and type.
- Select Rear Feed as the source in print settings. Do not leave it on Auto for special media.
Our guide on fixing Epson printer paper feed problems and misfeeds explains guide settings and media limits if your printer misfeeds even without a jam.
Step 6: Restart and Test Properly
Reconnect power and turn the printer on. If the error has cleared, do not resend the original large job straight away.
- Print a nozzle check or status sheet from the Maintenance menu.
- Load plain paper in the main cassette and print a one-page test from there.
- Load one sheet in the rear feed and print the same test using the rear source.
- If both pass, resend your original document, starting with a single copy.
If the error returns with no paper visible, a sensor may be blocked by dust or a tiny scrap. Repeat the duplex unit check and remove loose dust gently. Further diagrams are available in the Epson product support library and frequently asked questions.
Common Mistakes That Make Rear Jams Worse
- Pulling paper through the front: For rear feed jams, remove it from the rear on a straight path.
- Yanking with one hand: Uneven force tears paper. Use both hands and pull slowly.
- Skipping the duplex unit: Hidden scraps behind it cause repeat jam messages.
- Reloading too many sheets: The rear feed is not a high-capacity tray, especially for thick media.
- Forgetting paper settings: Wrong type or source settings will misfeed even a clear printer.
- Printing full quantity immediately: Always run a one-page test first after any jam.
Conclusion
Clearing a rear feed jam on the XP-8700 is a step-by-step job: power off, pull the sheet evenly from the rear, inspect from the top, remove the duplex unit to find hidden pieces, and account for the full sheet before reloading. Load the rear feed lightly, set size, type, and source correctly, and test with a single page. Done in that order, you will clear the jam completely and avoid the error coming straight back.
Frequently Asked Questions
Should I pull jammed paper from the front or back on the XP-8700?
For a rear feed jam, remove it from the back, pulling straight out in the opposite direction to feeding, with both hands. Pulling it through the front forces it around a tighter path and increases tearing.
Why does my XP-8700 still show a paper jam after I removed the sheet?
A small torn piece is probably still inside, often behind the rear duplex unit or near the exit. Remove the duplex unit, inspect with a torch, and piece the removed paper against a full sheet to check nothing is missing.
How many sheets can I load in the rear feed?
Only a small number, and for thick paper, envelopes, and many special media, load one sheet at a time. Check the media guidance for your paper type and never force a thick stack into the slot.
Can I use tools to remove torn paper?
Avoid sharp metal tools, which can scratch rollers and sensors. Use your fingers in good light. If a piece is out of reach, rotate accessible rollers gently to bring it into view.
What if paper keeps jamming in the rear feed?
Check that the media is supported, flat, and loaded printable side up with guides touching lightly. Clean the feed rollers, test with fresh plain paper, and make sure source, size, and type all match the rear feed.
Leave a Reply