
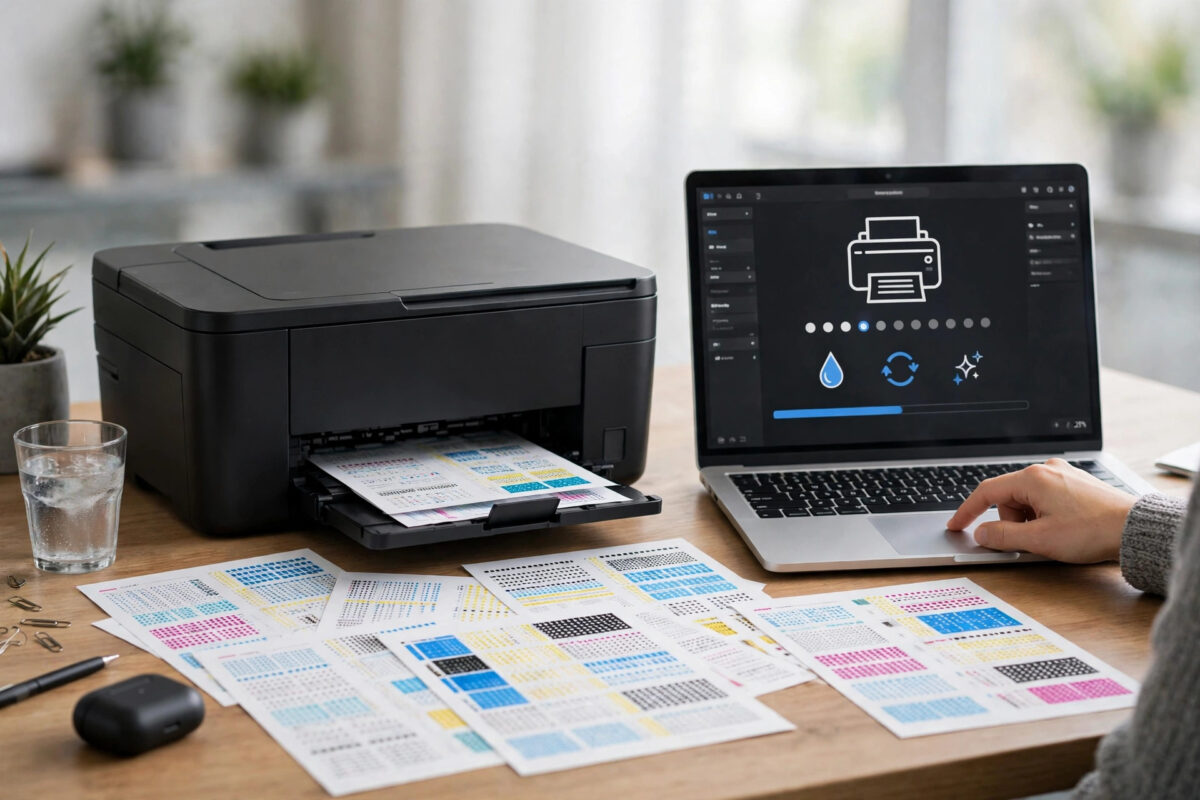
When a normal cleaning does not fix faded prints, streaks, or missing lines on your Canon PIXMA, the next step is a deep cleaning. Many people know the option exists but are not sure where it hides in the maintenance menu, or when it is safe to use it.
This guide walks you through the exact steps on Windows, on Mac, and on PIXMA models with a screen. It also explains what deep cleaning actually does, how much ink it uses, and what to check before and after so you do not waste ink or create a new problem.
Quick Answer
To run a printhead deep cleaning on a Canon PIXMA, open the printer driver, go to the Maintenance tab on Windows or the Utility section on Mac, select Deep Cleaning, choose the color group, and start it. Make sure all ink tanks or cartridges have enough ink first, because deep cleaning uses much more ink than a standard cleaning. Run it once, then print a nozzle check to judge the result.
Deep Cleaning vs Standard Cleaning: What Is the Difference?
Both routines push ink through the printhead to clear dried ink from the nozzles. The difference is strength and ink use.
Standard Cleaning
Standard cleaning is the light option. It uses a small amount of ink and takes about a minute. It clears fresh, light clogs, for example after the printer sat idle for a week or two. Always try this first, once or twice.
Deep Cleaning
Deep cleaning forces more ink through the nozzles with stronger pressure. It can clear older, harder clogs that standard cleaning cannot move. The trade-off is clear: it uses several times more ink, takes longer, and fills the waste ink absorber or maintenance cartridge faster. It is a second step, not a first step.
Before You Start: Four Quick Checks
- Check ink levels. Deep cleaning can fail or stop halfway if ink runs out. For tank models, look at the front windows. For cartridge models, check levels in the driver. Replace or refill anything that is low.
- Load plain paper. You will need several sheets of A4 or Letter paper for nozzle check prints before and after.
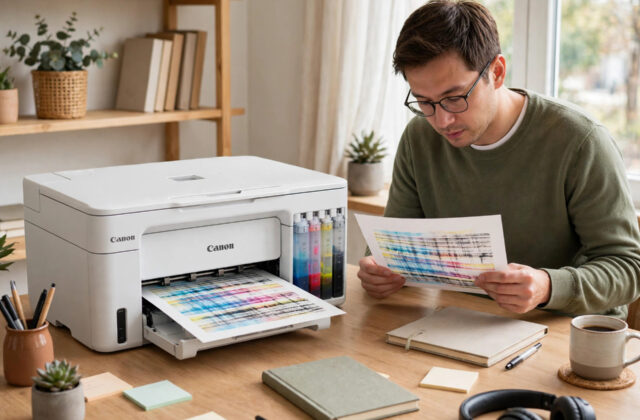
- Print a nozzle check first. This gives you a before picture. Without it, you cannot tell if deep cleaning helped.
- Connect the printer properly. Use a USB cable if your Wi-Fi is unstable. The printer must stay on and connected for the whole cycle.
If your PIXMA also keeps dropping off the network during maintenance, sort that out first with our guide to fixing a printer that keeps showing offline, because a lost connection can interrupt driver commands.
How to Run Deep Cleaning on Windows
These steps work for most PIXMA models on Windows 10 and Windows 11. Menu names vary slightly by model, but the path is the same.
- Turn the printer on and load plain paper.
- On your computer, open Settings, then Bluetooth and Devices, then Printers and Scanners. On older Windows versions, open Control Panel and then Devices and Printers.
- Select your Canon PIXMA printer and open Printing Preferences or Printer Properties.
- Click the Maintenance tab at the top of the driver window.
- Click Nozzle Check and print the pattern. Look for gaps or missing colors.
- Go back to the Maintenance tab and click Deep Cleaning.
- Choose the ink group. Select All Colors if several colors look bad. Select Black or Color only if the pattern shows a problem in just that group.
- Click Execute or Start. Confirm if the driver warns you about ink use.
- Wait until the power light stops flashing and the driver says the process is complete. Do not turn the printer off and do not print anything during the cycle.
- Print another nozzle check pattern and compare it with the first one.
Canon documents this same driver path in the official Canon deep cleaning instructions for PIXMA printers. If your driver looks slightly different, follow that page for your exact series.
How to Run Deep Cleaning on a Mac
- Turn the printer on and load plain paper.
- Open System Settings and go to Printers and Scanners.
- Select your Canon printer from the list.
- Open Options and Supplies, then click Utility, then Open Printer Utility.
- In the Canon IJ Printer Utility, choose Deep Cleaning from the menu.
- Select the color group you want to clean.
- Click Start and wait for the cycle to finish completely.
- Run a nozzle check from the same utility and inspect the pattern.
On some newer Mac setups, Canon uses AirPrint by default, which hides the full utility. If you do not see the maintenance options, remove the printer and add it again using the Canon IJ driver instead of AirPrint.
How to Run Deep Cleaning From the Printer Screen or Buttons
Models With an LCD Screen
- Press the Setup or Menu button on the printer.
- Open Maintenance or Device Settings, then Maintenance.
- Select Deep Cleaning and confirm.
- Wait until the printer returns to the home screen, then run a nozzle check from the same menu.
Models Without a Screen
Some entry PIXMA models use button patterns for maintenance. The exact pattern differs by model, so check your manual before guessing. In most cases, using the computer driver is easier and safer on these models, because the driver shows ink warnings and progress clearly.
What to Do After Deep Cleaning
What you do next matters as much as the cleaning itself.
- If the pattern is now perfect: print a normal color document or photo to confirm real-world quality, then stop. No more cleaning is needed.
- If the pattern is better but still has small gaps: wait at least six hours, then print a few color pages. Do not run deep cleaning again right away. Dried ink often keeps softening after the cycle.
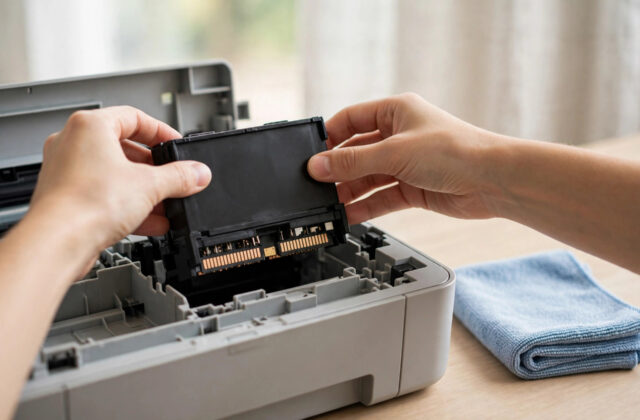
- If the pattern has not changed at all: do not repeat deep cleaning again and again. A clog that does not move at all may be a damaged printhead, an empty ink line, or an air blockage that needs a different fix.
- If a new error appears: note the error code on the screen and look it up before trying anything else.
Common Mistakes to Avoid
- Skipping standard cleaning. Deep cleaning first wastes ink. Most light clogs clear with one standard cycle.
- Running deep cleaning three or four times in a row. This is the most common mistake. It drains tanks, fills the waste system, and can overheat or flood the printhead.
- Turning the printer off mid-cycle. This can leave ink in the wrong place and trigger errors. Always let the cycle finish.
- Cleaning the wrong color group. Read the nozzle check carefully. Cleaning all colors when only black is clogged wastes color ink for no reason.
- Expecting instant perfection on very old clogs. A printer unused for a year may need cleaning, waiting, and test printing over a full day. Rushing rarely helps.
- Ignoring low ink warnings. A deep cleaning that runs out of ink halfway gives poor results and can pull air into the lines.
Helpful Tips for Better Results
Keep the room at a normal temperature. Very cold rooms make ink thicker and cleaning less effective. Use genuine Canon ink if you can, because its flow is matched to the printhead. After a successful deep cleaning, protect the result by printing a small color page every week or two. Regular light use is far cheaper in ink than repeated deep cleaning. Canon also covers routine printhead care in the Canon support guide to cleaning the printhead, which is a useful reference for your model.
Conclusion
Deep cleaning is a powerful maintenance tool when you use it in the right order: nozzle check first, standard cleaning next, and deep cleaning only if the problem remains. Run it once from the Maintenance tab or printer utility, check the new pattern, and then wait before judging the final result. Used this way, it clears most stubborn PIXMA clogs without wasting ink or harming the printer.
Frequently Asked Questions
How long does a Canon PIXMA deep cleaning take?
Most models finish in about two to three minutes, though some tank models take a little longer. The power light flashes during the process. Wait until it stays solid and the driver confirms completion before you print a nozzle check or turn the printer off.
How much ink does deep cleaning use?
It uses several times more ink than a standard cleaning, but the exact amount depends on the model and the color group you choose. That is why full tanks matter. On cartridge models, repeated deep cleaning can noticeably lower cartridge levels in a single day.
Can deep cleaning damage my printer?
One proper deep cleaning will not damage a healthy printer. Damage risk comes from repeating it many times in a short period, which floods the printhead and fills the waste ink system. Follow the one-cycle-then-wait rule and you stay well within safe limits.
Why is there no Deep Cleaning option in my menu?
You may be using a basic AirPrint or generic driver, which hides Canon maintenance tools. Install the full Canon MP or IJ driver for your exact model from Canon, restart your computer, and check the Maintenance tab or printer utility again. The option should appear.
What if deep cleaning does not fix the print quality?
If the nozzle pattern is unchanged after one deep cleaning and a waiting period, the issue may be an empty ink line, a failed printhead, or very old dried ink that needs a service-level ink flush on tank models. At that point, contact Canon support with your nozzle check prints and error codes ready.
Leave a Reply