
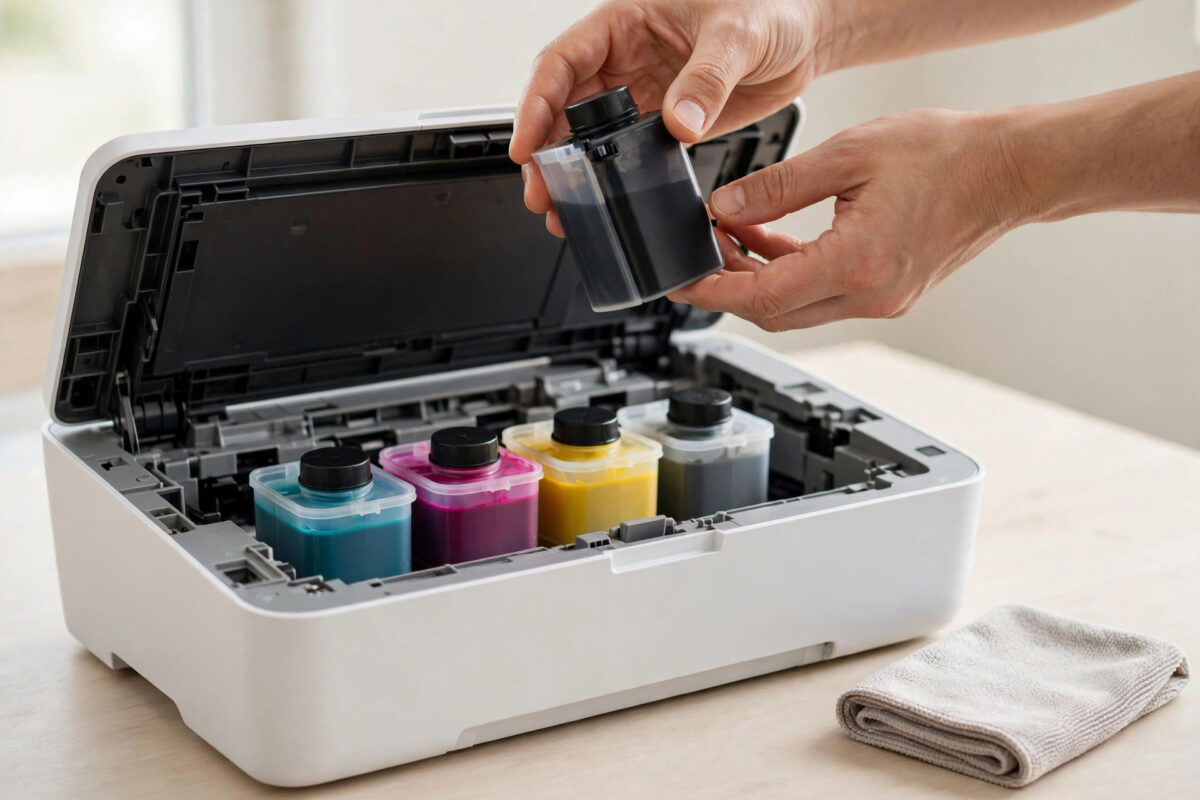
You refill your Canon ink tank, put it back, close the cover, and expect to print. Instead the printer shows that the ink tank is not recognized. The tank is full and it worked before the refill, so the error feels confusing and unfair.
This is very common on Canon PIXMA printers that use individual tanks with a small chip on the side. That chip tells the printer which color the tank is, where it belongs, and how much ink the printer thinks is left. After a refill, the chip and the real ink level no longer match, or the chip does not make good contact. In most cases the tank is not broken, and you can fix the error in a few minutes without buying a new one.
Quick Answer
Turn the printer off, remove the tank, clean the gold chip contacts gently with a dry lint-free cloth, and reinstall it in the exact color slot until it clicks. Close the cover firmly. If the printer then says the tank is empty, hold the Stop button for 5 to 8 seconds to disable ink level detection for that refilled tank, but only when you are sure the tank is physically full.
Why This Error Appears After a Refill
Each Canon tank has an electronic chip. When you insert a tank, the printer reads it in less than a second and makes three checks.
First, it checks color and model. A magenta tank in the cyan slot will be rejected, even if it fits. Second, it checks contact. If ink, dust, or a fingerprint covers the gold contacts, the printer cannot read the chip at all. Third, it checks the ink counter in its memory. Original tanks are counted down as you print. When the counter reaches empty, refilling the tank with ink does not reset that counter. The printer still believes the tank is empty or invalid.
Refilling alone is not the fault. Many refilled tanks work for months. The error appears when one of those checks fails: wrong slot, poor contact, or an empty counter that needs to be overridden. A fourth, less common cause is a damaged or very cheap compatible chip that cannot communicate correctly at all.
Fix 1: Reseat the Tank in the Correct Slot
Start with the simplest fix. A tank that is even slightly loose will not be recognized.
- Turn the printer on and open the cover. Wait for the carriage to move to the center and stop.
- Read the color labels above each slot carefully, for example BK, PGBK, C, M, and Y.
- Press the tab of the problem tank and lift it out.
- Compare the tank label and color code with the slot label. They must match exactly.
- Insert the tank at a slight angle, push down gently, and press until you hear or feel a click. It should sit level with the others.
- Close the cover firmly and wait 30 seconds while the printer reads all tanks again.
If you refilled more than one tank, reseat all of them one by one. Swapping cyan with photo blue, or black with photo black, is easy to do under poor light during a refill session.
Fix 2: Clean the Chip Contacts Properly
Ink is the number one enemy of chip contacts. A tiny drop on your fingers during refilling can transfer to the contacts without you noticing.
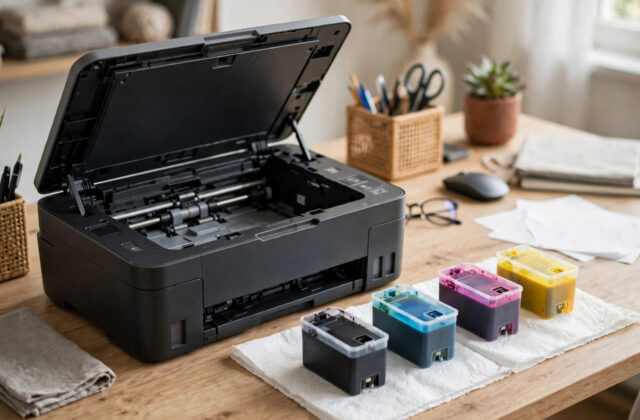
- Turn the printer off and remove the tank. Place it on a paper towel with the chip facing up.
- Look at the small gold contacts. They should be shiny. Ink, dull spots, or fingerprints mean they need cleaning.
- Wipe gently with a dry lint-free cloth or coffee filter, in one direction, two or three times. Do not scrub hard.
- If ink is dried on, dampen the cloth lightly with distilled water only, wipe once, then dry the contacts completely. Never use tissue that leaves fibers.
- Check the matching contacts inside the carriage too. With the printer off and unplugged, wipe them very gently with a dry cloth if you see ink. Do not push hard.
- Wait two minutes to be sure everything is dry, reinstall until it clicks, turn the printer on, and test.
After cleaning, hold the tank only by its plastic sides. Skin oil from bare fingers is enough to cause the same error again.
Fix 3: Disable Ink Level Detection for a Refilled Tank
If the tank is now recognized but the printer blocks printing because it still thinks the tank is empty, the counter is the problem. Canon allows you to keep using a refilled tank by disabling level detection for that tank.
- Make sure the tank is installed correctly and the cover is closed.
- When the low ink or empty message appears, find the Stop button, marked with a red triangle in a circle.
- Press and hold Stop for at least 5 seconds, up to 8 seconds on some models, then release it.
- The printer should clear the blocking message and allow printing. On some models you must do this once for each refilled color.
- Print a test page and check quality.
The official Canon support page for ink level errors explains this same Stop button method for tanks that have been refilled. It is an approved workaround, not a hack.
Warning: once detection is off, the printer will not warn you accurately when the tank truly runs out. Check the ink visually from time to time. Printing for long on a truly empty tank can overheat and damage the print head, so only disable detection when the tank is genuinely full.
Fix 4: Power Reset and Final Checks
- Turn the printer off, unplug it from the wall, and wait 60 seconds.
- Remove all tanks and check each chip for cracks or missing contacts.
- Plug in and turn on with no tanks installed, wait for the missing tank message, then install tanks one by one in the correct order.
- If only one tank always fails, try a known-good original tank in that slot. If the good tank works, the refilled tank’s chip has failed.
- If every tank fails, the carriage contacts or print head may be faulty. Note any support code and stop trying random tanks.
Sometimes the printer itself says Ready while your computer still shows the old error. In that case, clear the print queue and follow our guide to fixing a printer that keeps showing offline to clear stuck status messages on the computer.
Notes for MegaTank and Two-Cartridge Models
MegaTank models with built-in refillable tanks do not use removable chip tanks in the same way. A similar message on a MegaTank usually points to a maintenance cartridge, print head, or sensor, not a refill bottle. Do not use the Stop hold method unless your exact model’s manual says to.
Two-cartridge PIXMA models have contacts on each cartridge. Clean them even more gently and never touch the nozzle plate.
Common Mistakes to Avoid
- Forcing the tank: If it does not click in easily, it is probably in the wrong slot. Forcing it can break the tab or chip.
- Cleaning with wet tissue: Wet fibers stick to contacts and make reading worse. Use a dry lint-free cloth and ensure contacts are fully dry.
- Holding Stop for every error: The hold only helps with ink level detection. It will not fix a dirty chip, wrong slot, or damaged tank.
- Moving chips between tanks: Some refill kits suggest swapping chips. If alignment is off by even a little, the printer will never read it. Keep the original chip with its original tank when possible.
- Printing on empty: After disabling detection, you are responsible for checking ink. Running dry costs far more in print head damage than a tank costs.
When to Replace the Tank
Replace the tank if the chip is visibly cracked, if cleaning and reseating fail after two careful tries, if the same tank fails while others work in the same slot, or if a color stays missing after a proper head cleaning. At that point more time will not save it. Before buying, check Canon PIXMA support for your exact printer model so you order the correct tank code for your region.
Conclusion
A Canon printer that says the ink tank is not recognized after refilling is usually reporting a chip problem, not a broken printer. Reseat the tank in the correct slot until it clicks, clean the gold contacts gently and keep them dry, and use the Stop hold to disable level detection only when the tank is truly full. Work through the steps in order, one tank at a time, and most refilled tanks will print again without a costly replacement.
Frequently Asked Questions
Why does my printer not recognize a tank that is completely full?
The printer does not measure real ink directly. It relies on the chip and a stored counter, and that counter still says empty after a refill. Clean the chip, reseat the tank correctly, and disable level detection with the Stop button to clear the block.
Is it safe to disable ink level detection?
Yes, if the tank is genuinely full. Canon documents this method. The only risk is continuing to print later when the tank becomes truly empty, which can damage the print head. Check levels visually after disabling detection.
Can a dirty chip really cause this error?
Yes, very often. A tiny amount of ink or skin oil stops the printer reading the chip at all. A gentle wipe with a dry lint-free cloth, handling the tank by its sides, fixes many cases in under a minute.
What if only one color is not recognized?
That points to that single tank. Check its slot, clean its chip, and try again. If it still fails while a good tank works in the same slot, that tank’s chip is likely damaged and it should be replaced.
Will refilled tanks void my Canon warranty?
Using refilled tanks does not automatically void the whole warranty in many regions, but damage caused by leaking or poor-quality ink may not be covered. Stop using any tank that leaks or causes repeated errors.
Leave a Reply