
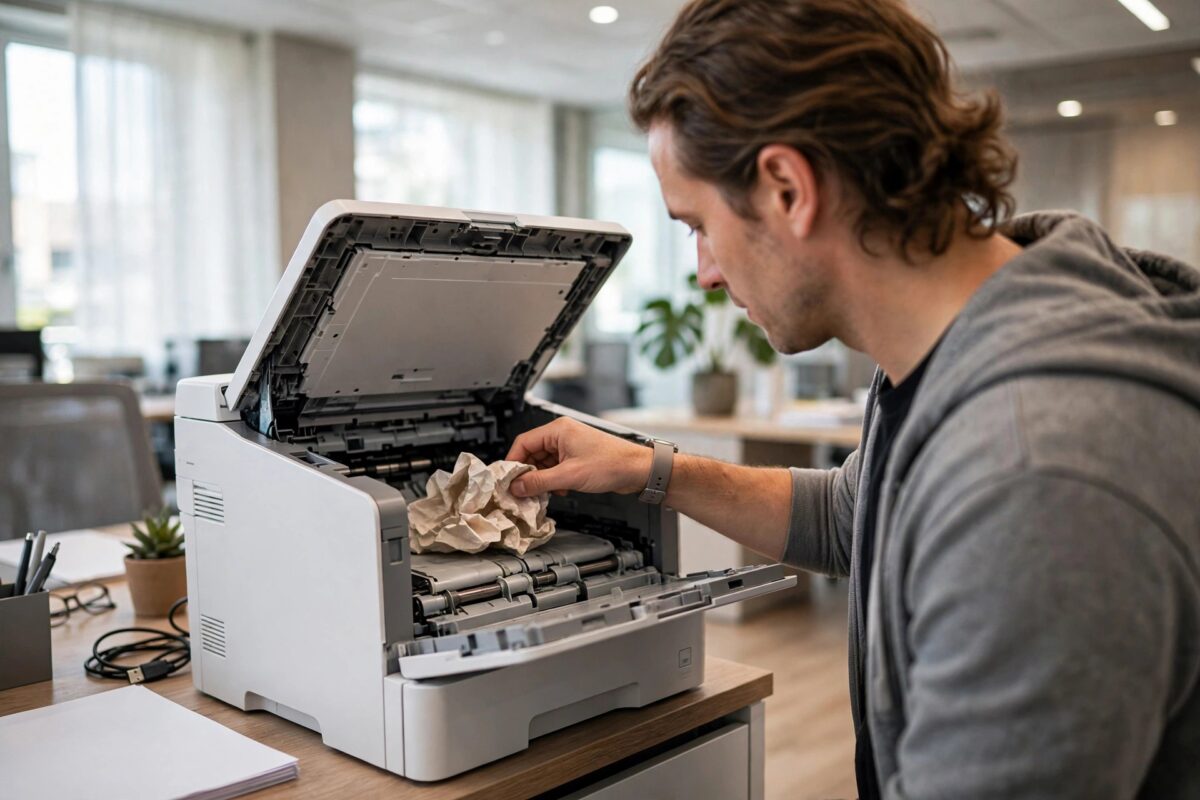
A paper jam on the HP LaserJet Pro MFP M428fdw always seems to happen in the middle of an urgent print run. The printer stops, the screen tells you where it thinks the jam is, and the stuck sheet is usually nowhere near as visible as you would hope. Clearing it properly matters: a torn scrap left behind, or a sensor knocked out of place by a hard yank, turns a two-minute job into a recurring fault. This step-by-step guide covers every jam location on the M428fdw, in the order you should check them.
Quick Answer
To clear a jam on the M428fdw, cancel the job, switch the printer off, and check in this order: the output bin, Tray 2 and the rear door, the toner cartridge area, Tray 1, and the document feeder. Always pull paper slowly in the direction of travel with both hands, never backwards or at an angle. After clearing, inspect for torn pieces, reload the paper neatly, and print a test page.
Before You Start: Safety and Setup
- LaserJet fusers run hot. If the printer has just been printing, let it cool for a few minutes before reaching near the rear of the cartridge area.
- Turn the printer off and unplug it before opening the rear door area — this protects both you and the sensors.
- Work in good light with a torch handy; torn corners hide in dark corners of the paper path.
- Keep the removed toner cartridge on a clean sheet of paper and out of bright light.
Location 1: Output Bin and Cartridge Area
- Look in the output bin first — a sheet that almost made it often crumples there. Pull it out gently, in the direction it was travelling.
- Open the front door and lift out the toner cartridge by its handle.
- Check the area under the cartridge for a sheet stalled on its way to the fuser.
- Grip the sheet with both hands, evenly spaced, and pull slowly and steadily towards you.
- If the sheet resists, stop. Rock it very slightly side to side rather than pulling harder.
- Check the cartridge itself for paper wrapped around the drum area, then set it aside safely.
Location 2: Tray 2 and the Rear Door
- Pull Tray 2 completely out of the printer.
- Remove any jammed or damaged sheets from the tray and check the cavity above it for a sheet hanging down.
- Move to the back of the printer and open the rear door.
- Look along the exposed paper path — this is where sheets that jam in the fuser usually sit.
- Pull any paper out slowly in the direction of travel. Never force paper backwards through the fuser rollers.
- Press down the green fuser release levers if your paper is stuck fast in the fuser; this relaxes the rollers so the sheet slides out. Remember to lift the levers back afterwards.
HP’s jam-clearing document for the M428 series shows the same locations with diagrams if you want a visual reference alongside these steps.
Location 3: Tray 1 and the Document Feeder
- For Tray 1 (the front priority feed slot), remove the loaded paper and look into the slot with a torch for a sheet pulled partway in.
- Pull it out slowly and evenly.
- For a jam in the automatic document feeder, lift the ADF cover on top of the scanner.
- Remove the stuck original by pulling it gently in the direction it feeds.
- Also lift the main scanner lid and check the ADF pickup area underneath for small torn pieces.
After Clearing: Reload and Test
- Fan the paper stack, square it up, and reload it without overfilling the tray — stay below the fill line.
- Slide the paper guides snugly against the stack; loose guides are a top cause of repeat jams and skew.
- Throw away any bent, curled, or damp sheets rather than putting them back in the tray.
- Refit the toner cartridge, close all doors firmly, and reconnect power.
- Print a configuration page from the menu. If it feeds cleanly, the jam is fully cleared.
If the printer reports a jam with no paper anywhere inside, a sensor flag may be stuck or a scrap is hiding in the path — our broader guide to fixing printer paper jams covers phantom jam errors and roller cleaning.
Common Mistakes to Avoid
- Yanking paper out hard — this tears sheets and can snap the thin plastic sensor flags, creating a permanent “jam” fault.
- Pulling paper backwards through the fuser — always follow the paper’s direction of travel.
- Skipping the rear door — the most stubborn jams hide behind it, invisible from the front.
- Reloading damaged paper — one curled sheet from the jam will jam again within pages.
- Using metal tools to fish for paper — tweezers and screwdrivers scratch drums and rollers. Use your fingers or plastic tools only.
Why This Printer Keeps Jamming in the Same Place
A single jam is bad luck; repeated jams at the same location are a message. If sheets consistently stall at the tray, the pickup roller is worn or coated in paper dust — clean it with a lint-free cloth dampened with distilled water, and if it feels smooth and shiny rather than grippy, replace it. If jams happen in the fuser area, check that the paper weight setting matches the media: running heavy stock on a plain-paper setting under-heats the sheet and causes exactly these stalls. Duplex jams point at the re-feed path — look for a curled sheet edge or debris behind the rear door. Also count your paper: a tray loaded past its fill line, or a stack of mixed sizes left by different users, jams far more often than the printer’s mechanics do. Finally, listen to the printer. A new squeak, grind, or clicking that arrived with the jamming usually means a gear or roller is genuinely failing, and continuing to force prints through it will make the eventual repair bigger.
Finally, keep a small stock of known-good paper near this printer if it serves several people. A surprising share of recurring jam callouts end with someone discovering that the tray was refilled from a damp, opened ream kept under a desk. Good paper, loaded below the line with the guides snug, prevents more jams than any mechanical adjustment you can make.
Conclusion
Clearing a jam on the M428fdw is methodical work: output bin, cartridge area, Tray 2, rear door, Tray 1, and the ADF — checked in order, with slow, even pulls in the direction of travel. Reload with clean, well-aligned paper and test with a configuration page. If jams keep happening in the same spot with good paper, worn pickup rollers are the next thing to inspect.
Frequently Asked Questions
The printer still says “paper jam” but I cannot find any paper. What now?
Look for a torn corner deep in the path with a torch, especially near the fuser and under the cartridge. Also check that all doors are fully closed — an unlatched rear door triggers the same message.
Why does my M428fdw jam only on duplex prints?
The duplex path re-feeds the sheet, so slightly curled or heavy paper that survives one pass fails the second. Use fresh, standard-weight paper and check the duplex area behind the rear door for debris.
Can I use compressed air to blow scraps out?
Gentle puffs are fine, but strong blasts can push scraps deeper and coat sensors in toner dust. Picking pieces out by hand is safer.
How often should the pickup rollers be cleaned?
If jams or misfeeds become frequent, clean the Tray 2 pickup roller with a lint-free cloth dampened with distilled water. Rollers that stay slippery after cleaning need replacing.
Does paper quality really matter that much?
Yes. Damp, recycled, or very lightweight paper is behind a large share of “mystery” jams. Store paper flat in its wrapper and try a fresh ream before suspecting the printer.

Leave a Reply