
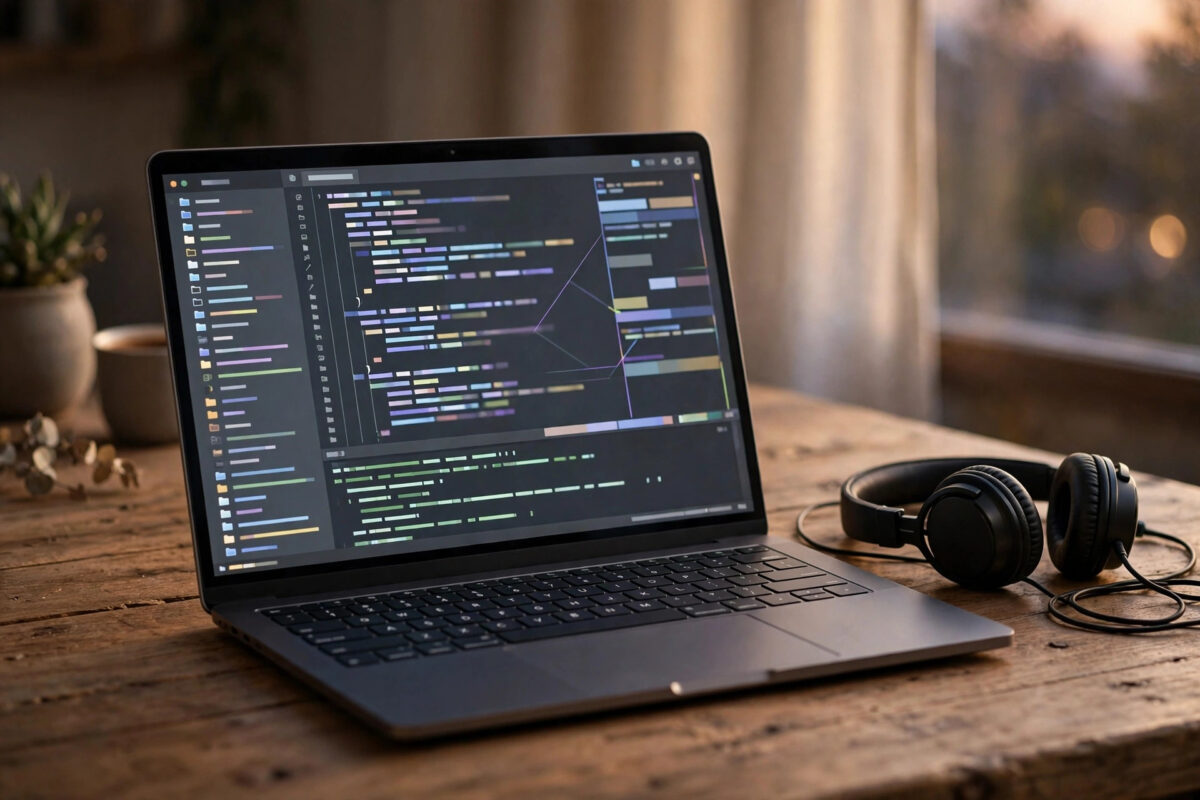
Many beginners install the Code Runner extension because they want one simple thing: press a button and see their code result. But VS Code can already run code and show the output without that extension. In fact, the built-in ways are often cleaner and closer to how real developers work.
Whether you write JavaScript, Python, or another language, you have good options already inside the editor. This guide shows how to run code in the terminal and the Output and Debug Console panels, how the Run button works, and how to set up a simple task you can reuse every day.
Quick Answer
You can run code in VS Code without Code Runner by using the built-in Run and Debug button for supported languages, or by running your file directly in the integrated terminal, such as node app.js or python app.py. For a panel that looks like an output window, use the Debug Console, or create a simple task that runs your file and shows results in the terminal panel. No extra extension is required.
Why You Might Skip Code Runner
Code Runner is popular and it is not a bad tool. Still, learning the built-in methods gives you skills that transfer to any computer, even one where you cannot install extensions. School and work machines often block extensions, but the terminal is always there.
Built-in running also teaches you the real commands behind the button. When something fails, you see the same errors a professional would see, instead of a simplified message. That honesty helps you learn faster.
Method 1: Run JavaScript With Node in the Terminal
For JavaScript, the most reliable method is Node.js. Once Node is installed on your computer, running a file takes one short command.
- Save your file with a name like
app.js. - Open the integrated terminal with
Ctrl+`. - Type
node app.jsand press Enter. - Read the result directly below your command in the terminal panel.
Anything your code prints with console.log appears there, and errors show in red with the line number that caused them. If you have not installed Node yet, our guide on how to install Node.js on Windows covers the download, the setup, and the version check step by step.
Useful Terminal Habits
Press the up arrow to repeat your last command, so running again is just arrow plus Enter. Use Ctrl+C to stop a program that runs forever, such as a small server. And keep your terminal in the project folder, which VS Code does automatically when you open the folder first.
Method 2: Use the Built-In Run and Debug Button
VS Code has a proper debugger built in, and its side effect is a clean output panel. For JavaScript with Node installed, and for several other languages with their runtimes present, the Run button works with no configuration at all.
- Open the file you want to run.
- Click the Run and Debug icon in the left sidebar, or press
Ctrl+Shift+D. - Click Run and Debug, and choose the environment if VS Code asks, such as Node.js.
- Watch the Debug Console panel, where your output appears without terminal commands mixed in.
The Debug Console is the closest built-in match to a pure output window. Your printed lines appear there on their own, and you can even type simple expressions to inspect values while the program runs. The official VS Code debugging documentation explains the Run view, breakpoints, and the Debug Console in detail.
Method 3: Run Python Files the Built-In Way
Python deserves a special mention because so many beginners start there. The official Python extension from Microsoft adds a Run button, but even without discussing extra tools, the terminal method always works.
- Save your file as something like
main.py. - Open the terminal and type
python main.pyon Windows, orpython3 main.pyon macOS and Linux. - Press Enter and read the printed output in the panel.
If the command says Python was not found, Python is either not installed or not added to your system path. Reinstalling from the official site and ticking the Add to PATH option during setup fixes that for most Windows users.
Method 4: Create a Task That Runs Your File
If you miss the one-click feeling, tasks are the built-in answer. A task is a saved command inside your project that VS Code can run from a menu or a shortcut.
- Open the Command Palette with
Ctrl+Shift+P. - Run Tasks: Configure Task and choose Create tasks.json file from template, then Others.
- Edit the command to run your file, for example set
"command": "node app.js"for a JavaScript project. - Save the file inside the
.vscodefolder that VS Code created. - Run it any time with Terminal, then Run Task, and choose your task name.
The result appears in the terminal panel, clearly labelled with your task name. The VS Code tasks documentation shows more examples, including tasks that run automatically when a folder opens.
Give Your Task a Keyboard Shortcut
Open Keyboard Shortcuts from the Command Palette and search for Run Task. Bind it to a key you like, such as Ctrl+Shift+R. Now your workflow is: write code, press your shortcut, pick the task once, and read the output. It feels just as fast as any extension button.
Understanding the Output, Terminal, and Debug Console Panels
Beginners often mix these three panels up, so here is the simple difference. The Terminal is a real shell where you type commands and see everything, including your commands themselves. The Debug Console shows output from the debugger only, which makes it cleaner to read.
The Output panel is mostly for logs from VS Code and its extensions. Normal user programs cannot easily print there, which is why Code Runner uses its own tricks to write into it. If a clean reading view is what you want, the Debug Console gives you that experience with built-in tools only.
Common Mistakes to Avoid
- Running an unsaved file: The terminal runs the file on disk, so save first or your changes will not appear.
- Being in the wrong folder: If the terminal says the file is not found, check the folder path in the prompt.
- Forgetting the runtime: VS Code edits code; Node, Python, or another runtime actually runs it, so install the one you need.
- Confusing the panels: Look in the Debug Console after using Run and Debug, not in the Output panel.
- Leaving programs running: A server or endless loop keeps the terminal busy until you stop it with
Ctrl+C. - Typing commands into the Debug Console expecting a shell: It evaluates expressions in your program; it is not a general terminal.
Conclusion
You do not need Code Runner to run code and see results in VS Code. The integrated terminal handles any language with a runtime, the Run and Debug button gives you a clean Debug Console view, and tasks restore the one-click feeling with built-in features only. Learn these methods once, and you can run code confidently on any machine, with or without extensions.
Frequently Asked Questions
Can VS Code run code without any runtime installed?
No. VS Code is an editor, so a runtime such as Node.js for JavaScript or Python for Python files must be installed on your computer to actually execute the code.
Where does output appear when I use Run and Debug?
Printed output appears in the Debug Console panel at the bottom of the window. If the panel is hidden, open it from the View menu or start another run to bring it forward.
Why does the terminal say my file is not found?
The terminal is probably in a different folder from your file, or the file name is typed differently. Use cd to move into the project folder, or type the full file name carefully, including its extension.
Is using the terminal slower than a Run button?
After a little practice, no. The up arrow repeats your last run command instantly, and tasks with a shortcut give you a true one-press workflow without any extension.
Can I run only part of my code, like a few lines?
Some languages support interactive windows or notebooks, but the simple and reliable approach is to keep small test files for experiments. Run the whole small file in the terminal and read the result.


Leave a Reply